How to Install Webmin on Ubuntu 18.04
April 8, 2020 by Hitesh Jethva ( 680 ) under VPS Hosting
0 Comments
Webmin is a free and open-source web-based control panel for the Linux operating system. It is specifically designed for those who are unable to manage Linux servers from the command-line interface. Webmin allows you to manage users and groups, share files and folders, configure a web server, DNS, SSH, and FTP, install and update packages, create and manage databases, and start and stop services, all using a web-based interface.
Webmin is written in Perl language and runs as its own process and web server. It also allows you to control many Linux machines through a single interface.
In this tutorial, we will describe how to install Webmin on Ubuntu 18.04 server. We will also configure Apache as a reverse proxy for Webmin.
In This Article
Step 1 – Install Webmin
By default, Webmin is not available in the Ubuntu 18.04 default repository. You can install it by adding the Webmin repository in your system.
First, install the required packages with the following command:
apt-get install software-properties-common apt-transport-https wget -y
Next, download and add the Webmin GPG key with the following command:
wget -q http://www.webmin.com/jcameron-key.asc -O- | apt-key add -
Next, add the Webmin repository with the following command:
add-apt-repository "deb [arch=amd64] http://download.webmin.com/download/repository sarge contrib"
Once the repository is added, run the following command to install Webmin in your system:
apt-get install webmin -y
Once Webmin has been installed successfully, you should get the following output:

You cal also verify the status of the Webmin service with the following command:
systemctl status webmin
You should get the following output:
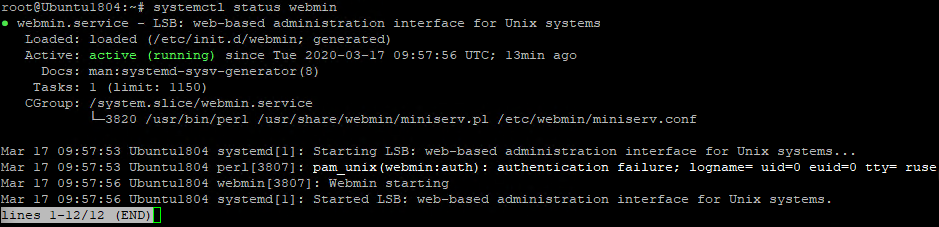
At this point, Webmin is installed and listening on port 10000.
Step 2 – Configure Apache as a Reverse Proxy For Webmin
In this section, we will configure the Apache as a reverse proxy for Webmin so you can access Webmin without specifying the port (10000).
To do so, first install the Apache webserver with the following command:
apt-get install apache2 apache2-utils -y
After installing the Apache server, you will need to configure Webmin to disable SSL. You can disable SSL by editing the file /etc/webmin/miniserv.conf:
nano /etc/webmin/miniserv.conf
Change the SSH value from 1 to 0, as shown below:
ssl=0
Save and close the file. Next, you will need to add your domain name to the list of allowed domains. You can add your domain by editing the file /etc/webmin/config:
nano /etc/webmin/config
Add the following line at the end of the file:
referers=webmin.example.com
Save and close the file when you are finished. Then, restart the Webmin service to implement the changes:
systemctl restart webmin
Next, you will need to create an Apache virtual host configuration file to serve Webmin.
You can create it using the following command:
nano /etc/apache2/sites-available/webmin.conf
Add the following lines:
<VirtualHost *:80>
        ServerAdmin [email protected]
        ServerName webmin.example.com
        ProxyPass / http://localhost:10000/
        ProxyPassReverse / http://localhost:10000/
</VirtualHost>
Save and close the file, then enable the virtual host and proxy module with the following command:
a2ensite webmin
a2enmod proxy_http
Finally, restart the Apache service to implement the changes:
systemctl restart apache2
Step 3 – Access Webmin Interface
Now, open your web browser and type the URL http://webmin.example.com. You will be redirected to the Webmin login page:
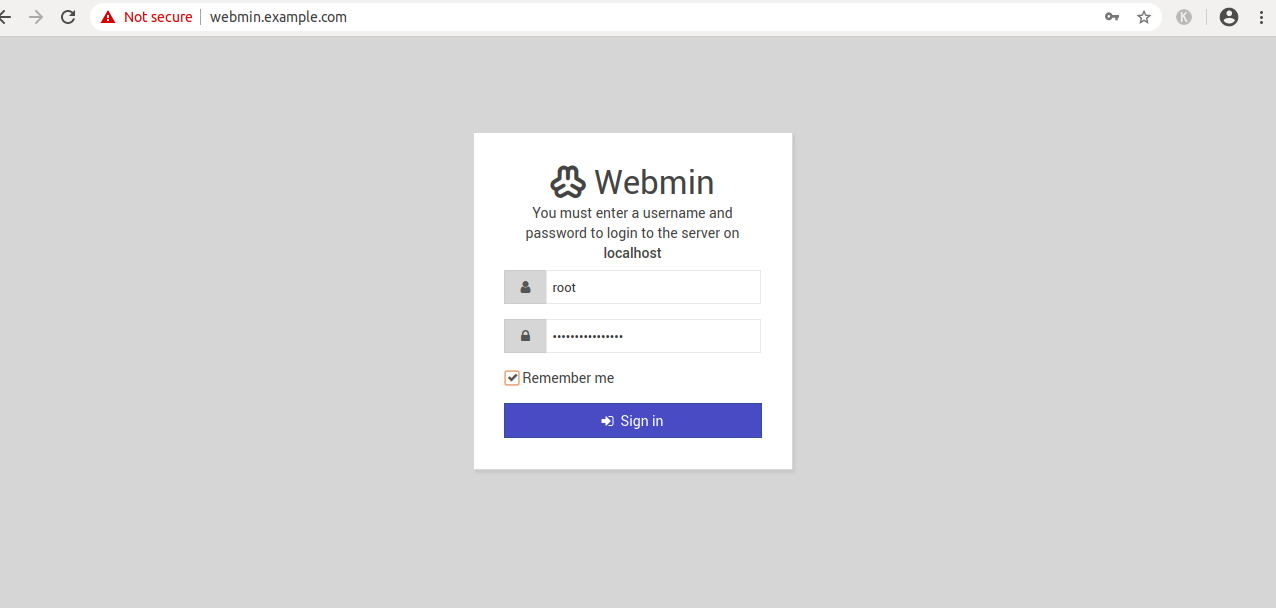
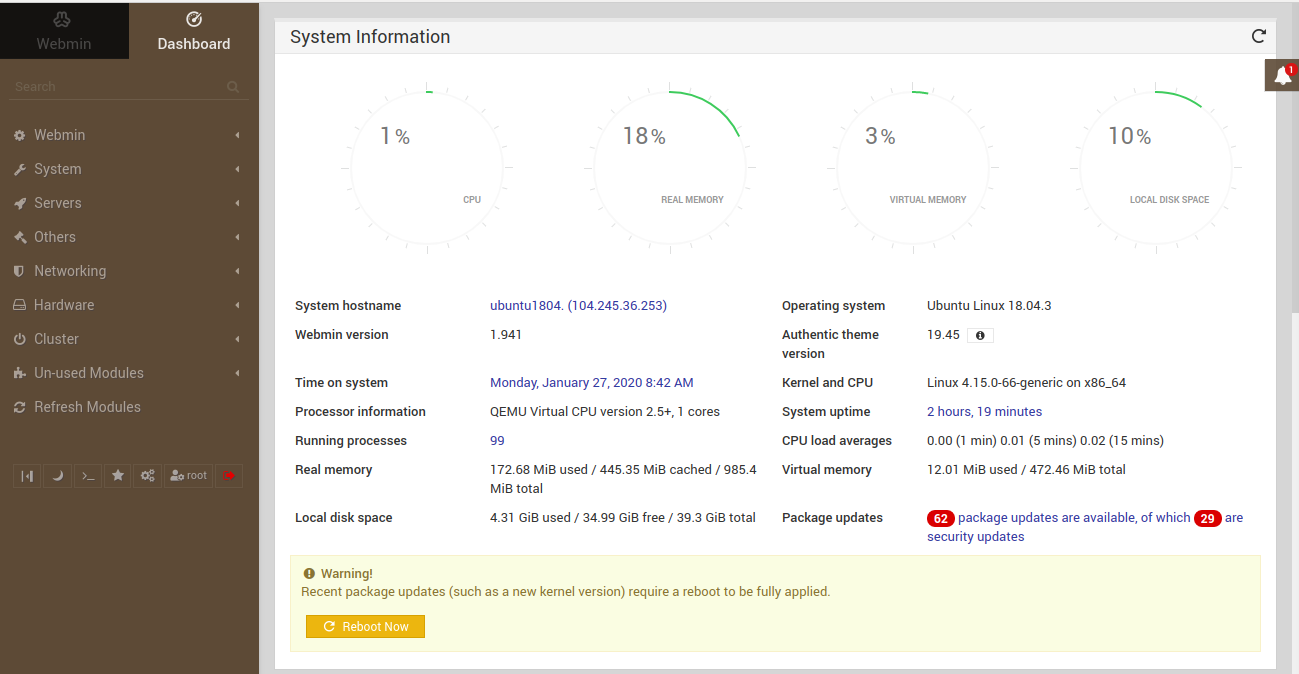
Provide your system root username and password and click on the Sign in button. You should see the Webmin dashboard in the following screen:
To access the file manager, click on the Others => File Manager. You should see the following screen:
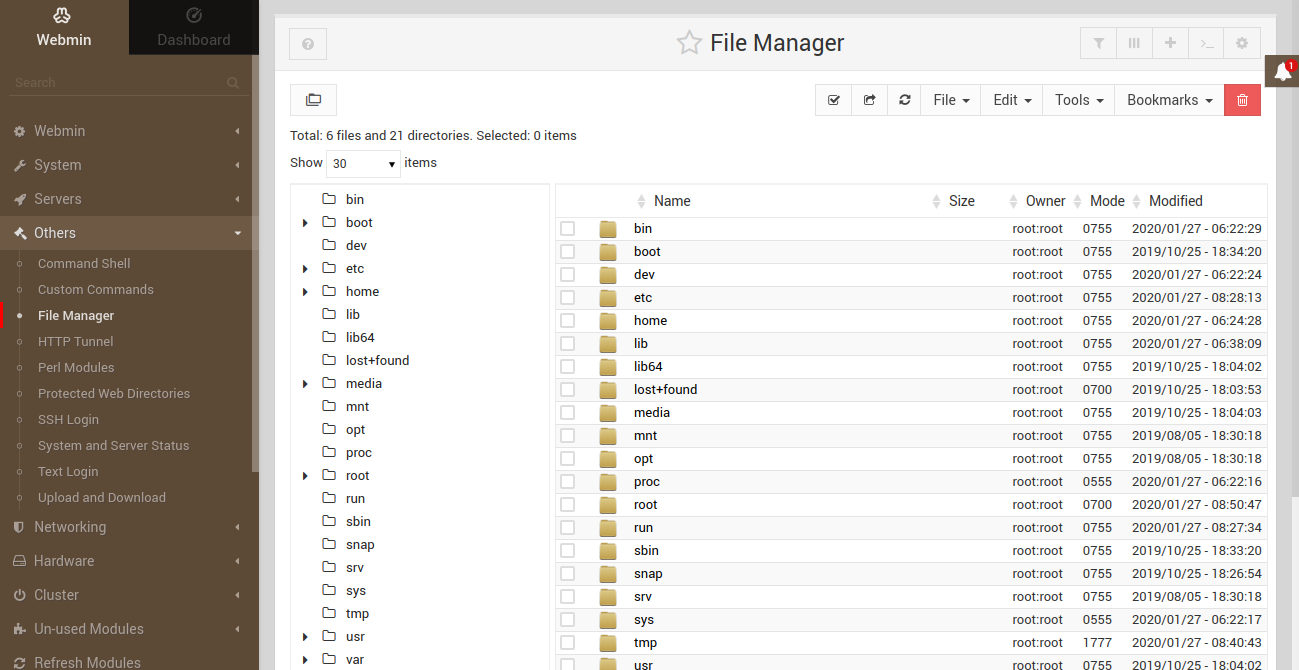
From here, you can manage files and directory through a web-based interface.
To access the password manager page, click on the System => Change Passwords. You should see the following screen:
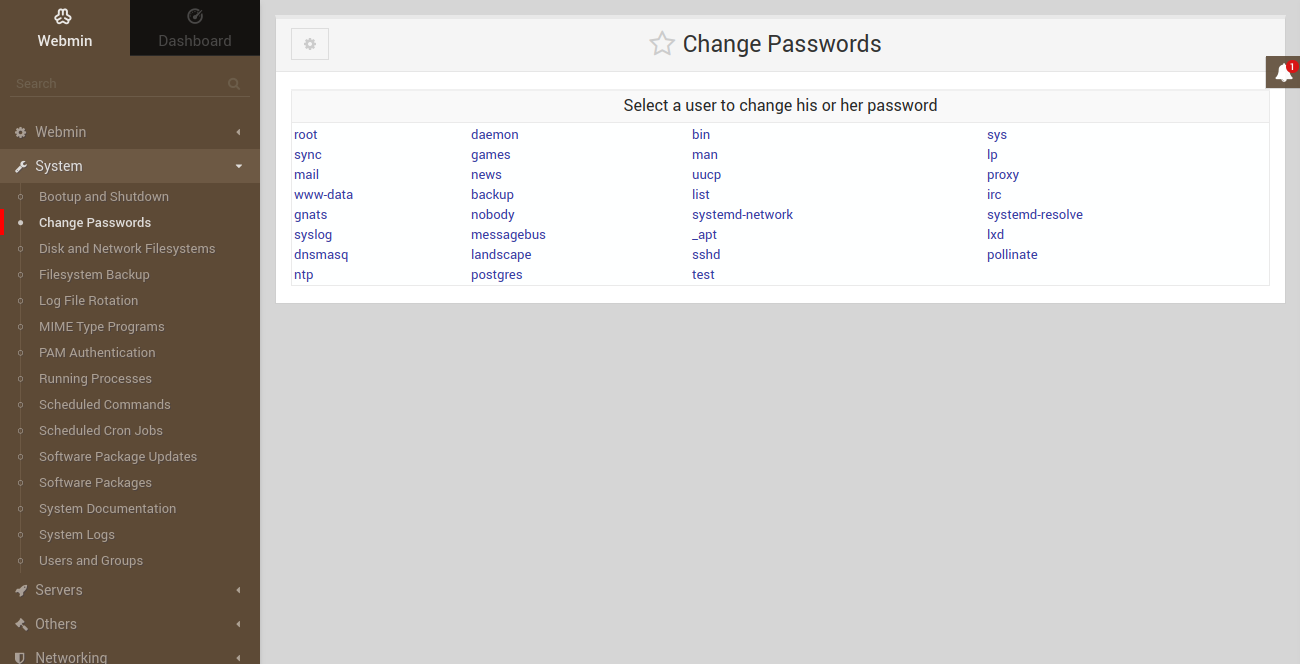
From here, you can change any user’s password easily.
Conclusion
Congratulations! You have successfully installed and configured Webmin on Ubuntu 18.04 server. You can now manage your Linux system easily through a web-based interface from the remote location. Test it today with a VPS Hosting package from Atlantic.Net!
Get a $250 Credit and Access to Our Free Tier!
Free Tier includes:
G3.2GB Cloud VPS a Free to Use for One Year
50 GB of Block Storage Free to Use for One Year
50 GB of Snapshots Free to Use for One Year