How to Install Apache with Nginx as a Reverse Proxy on Arch Linux
May 2, 2023 by Hitesh Jethva ( 680 ) under Dedicated Server Hosting
0 Comments
A reverse proxy is an intermediate server that sits between clients and web servers. It serves as a front-end and is responsible for handling all client requests and forwarding them to the backend server. For better privacy and security, you may need to implement a reverse proxy in front of a web server.
Apache and Nginx both are very popular open-source web servers used by thousands of users worldwide. Nginx hosts static websites, proxy servers, and caching servers. While Apache is used to host dynamic websites, you can also configure Nginx as a reverse proxy for Apache webserver to get advantages of both web servers.
In this post, we will show you how to configure Nginx as a reverse proxy for the Apache web servers on Arch Linux.
In This Article
Step 1 – Configure Repository
By default, the default repository is outdated in Arch Linux, so you will need to modify the default mirror list. You can do it by editing the mirror list configuration file:
nano /etc/pacman.d/mirrorlist
Remove all lines and add the following lines:
## Score: 0.7, United States
Server = http://mirror.us.leaseweb.net/archlinux/$repo/os/$arch
## Score: 0.8, United States
Server = http://lug.mtu.edu/archlinux/$repo/os/$arch
Server = http://mirror.nl.leaseweb.net/archlinux/$repo/os/$arch
## Score: 0.9, United Kingdom
Server = http://mirror.bytemark.co.uk/archlinux/$repo/os/$arch
## Score: 1.5, United Kingdom
Server = http://mirrors.manchester.m247.com/arch-linux/$repo/os/$arch
Server = http://archlinux.dcc.fc.up.pt/$repo/os/$arch
## Score: 6.6, United States
Server = http://mirror.cs.pitt.edu/archlinux/$repo/os/$arch
## Score: 6.7, United States
Server = http://mirrors.acm.wpi.edu/archlinux/$repo/os/$arch
## Score: 6.8, United States
Server = http://ftp.osuosl.org/pub/archlinux/$repo/os/$arch
## Score: 7.1, India
Server = http://mirror.cse.iitk.ac.in/archlinux/$repo/os/$arch
## Score: 10.1, United States
Server = http://mirrors.xmission.com/archlinux/$repo/os/$arch
Save and close the file, then update all the package indexes with the following command:
pacman -Syu
Step 2 – Install Apache Web Server
First, open your terminal and install the Apache package with the following command.
pacman -S apache
After successful installation, start and enable the Apache service with the following command.
systemctl start httpd
systemctl enable httpd
You can also verify the Apache status using the following command.
systemctl status httpd
Output.
● httpd.service - Apache Web Server
     Loaded: loaded (/usr/lib/systemd/system/httpd.service; disabled; preset: disabled)
     Active: active (running) since Sun 2023-03-26 05:46:34 UTC; 3min 7s ago
   Main PID: 14223 (httpd)
      Tasks: 9 (limit: 4685)
     Memory: 45.5M
        CPU: 207ms
     CGroup: /system.slice/httpd.service
             ├─14223 /usr/bin/httpd -k start -DFOREGROUND
             ├─14224 /usr/bin/httpd -k start -DFOREGROUND
             ├─14225 /usr/bin/httpd -k start -DFOREGROUND
             ├─14226 /usr/bin/httpd -k start -DFOREGROUND
             ├─14227 /usr/bin/httpd -k start -DFOREGROUND
             ├─14228 /usr/bin/httpd -k start -DFOREGROUND
             ├─14231 /usr/bin/httpd -k start -DFOREGROUND
             ├─14232 /usr/bin/httpd -k start -DFOREGROUND
             └─14233 /usr/bin/httpd -k start -DFOREGROUND

Mar 26 05:46:34 archlinux systemd[1]: Started Apache Web Server.
Step 3 – Configure Apache as a Backend Server
By default, Apache listens on port 80. To configure Apache as a backend server, you will need to change the Apache default port. You can change it by editing the Apache main configuration file.
nano /etc/httpd/conf/httpd.conf
Change the following line.
Listen 8000
Save and close the file, then restart the Apache service to implement the changes.
systemctl restart httpd
You can now check the Apache listening port using the following command.
ss -antpl | grep httpd
You should see the new Apache port in the following output.
LISTEN 0 511 *:8000 *:* users:(("httpd",pid=14233,fd=4),("httpd",pid=14232,fd=4),("httpd",pid=14231,fd=4),("httpd",pid=14228,fd=4),("httpd",pid=14227,fd=4),("httpd",pid=14226,fd=4),("httpd",pid=14225,fd=4),("httpd",pid=14224,fd=4),("httpd",pid=14223,fd=4))
Step 4 – Create a Simple Page for Apache
Next, you will need to create a simple HTML page to test the Apache server. You can create it with the following command.
nano /srv/http/index.html
Add the following code:
<html>
 <title>Welcome</title>
  <body>
   <h2>Welcome to Apache Web Server</h2>
  </body>
</html>
Save and close the file when you are done.
Step 5 – Install and Configure Nginx as a Reverse Proxy
First, install the Nginx package using the following command.
pacman -S nginx-mainline
After installing Nginx, start and enable the Nginx service using the following command.
systemctl start nginx
systemctl enable nginx
Next, create a directory to store Nginx virtual host.
mkdir /etc/nginx/sites-enabled
Next, create an Nginx configuration file to forward traffic to the Apache backend server.
nano /etc/nginx/sites-enabled/apache.conf
Add the following configuration.
upstream apache_backend {
  server localhost:8000;
}

server {
    listen 80;
    server_name apache.example.com;

    location / {
        proxy_pass http://apache_backend/;
        proxy_http_version 1.1;
        proxy_set_header Upgrade $http_upgrade;
        proxy_set_header Connection "upgrade";
        proxy_set_header Host $http_host;

        proxy_set_header X-Real-IP $remote_addr;
        proxy_set_header X-Forward-For $proxy_add_x_forwarded_for;
        proxy_set_header X-Forward-Proto http;
        proxy_set_header X-Nginx-Proxy true;

        proxy_redirect off;
    }
}
Save and close the file, then edit the Nginx configuration file.
nano /etc/nginx/nginx.conf
Add the following lines after http{:
server_names_hash_bucket_size 64;
include sites-enabled/*;
Save the file when you are done. Then, verify the Nginx configuration.
nginx -t
You will see the following output.
nginx: the configuration file /etc/nginx/nginx.conf syntax is ok
nginx: configuration file /etc/nginx/nginx.conf test is successful
Next, restart the Nginx service to implement the changes.
systemctl restart nginx
Step 6 – Verify Nginx Proxy
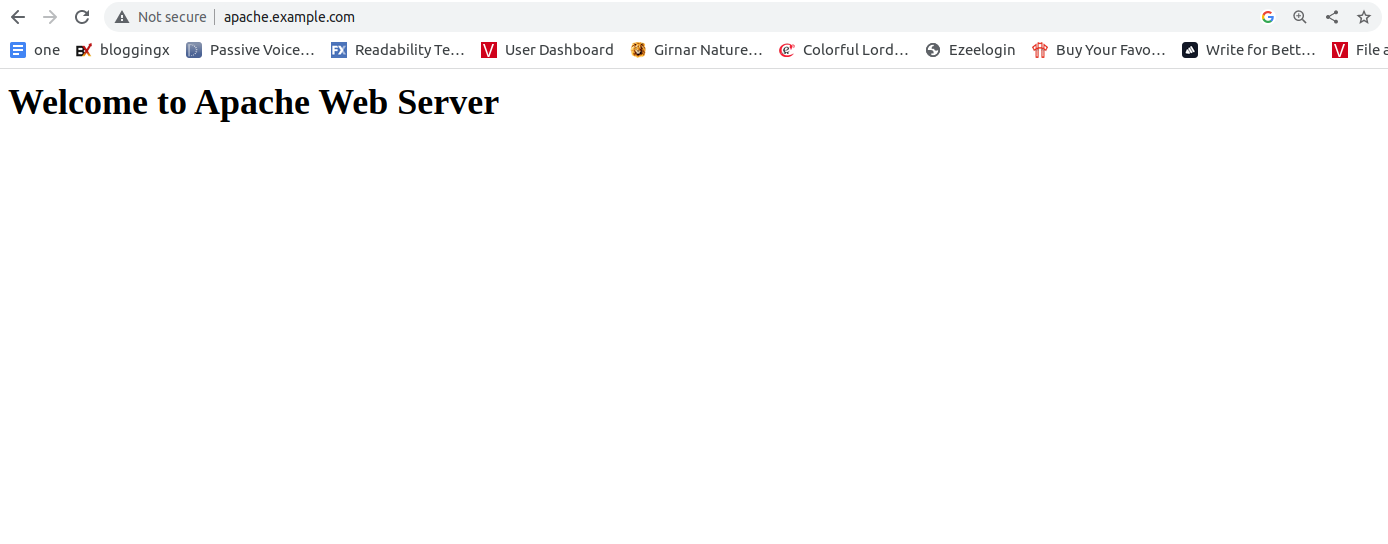
At this point, Nginx is installed and configured to forward traffic to the Apache backend server. You can test it using the URL http://apache.example.com in your web browser. You should see the Apache backend page on the following screen.
Conclusion
In this tutorial, you learned how to configure Nginx as a reverse proxy for the Apache web server. You can use this guide to implement this setup in the production environment. Try this setup on dedicated server hosting from Atlantic.Net!
Get a $250 Credit and Access to Our Free Tier!
Free Tier includes:
G3.2GB Cloud VPS a Free to Use for One Year
50 GB of Block Storage Free to Use for One Year
50 GB of Snapshots Free to Use for One Year