How to Install Apache on Debian 8.2
September 5, 2015 by Editorial Team ( 450 ) under VPS Hosting
0 Comments
Verified and Tested 09/05/15
Introduction
This how-to will help you with your install and configuration of Apache on your Debian 8.2 server. Apache is a web server that is very popular in Linux systems and over the Internet. It is used by many Web Hosting companies worldwide because of its popularity and efficiency in hosting sites over the World Wide Web.
Install Apache
To get started, login to your Debian 8.2 via SSH or through the Atlantic.Net Cloud VNC Portal.
Once you have access to the server, the first step is to install Apache with the following command:
sudo apt-get install apache2
Start Apache with the following command:
service apache2 start
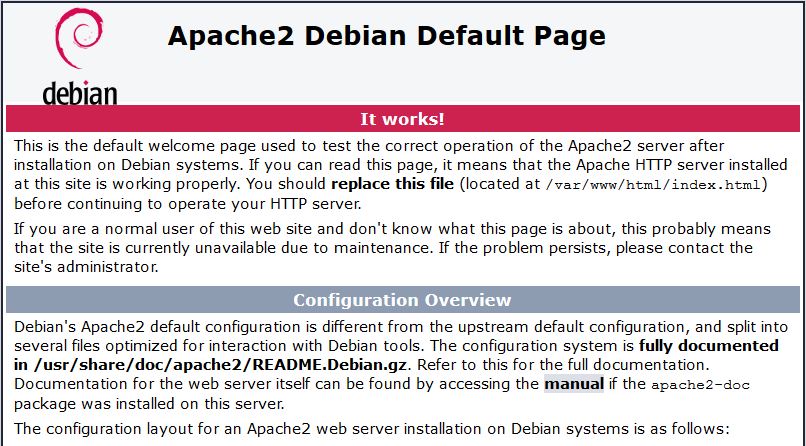
Verify if all is working by typing http://YOUR.IP.ADD.RESS
Your IP could be retrieved from the server with following command:
ifconfig eth0 | grep inet | awk '{ print $2 }'
Configure Apache (Single Host)
We will now configure Apache by opening the main configuration file and edit ServerName and ServerAdmin lines accordingly.
nano /etc/apache2/sites-available/000-default.conf
This image is the configuration file when Apache is installed on your server.
Save the file and restart the Apache HTTP service, so the changes take effect.
service apache2 restart
Now you can create/upload your web content to the HTML directory of Apache.(Remember to replace the existing index.html file with your index.html which is your home page)
nano /var/www/html/index.html
Configure Apache (Multi-Host)
If you would like to host multiple websites, proceed by opening the main configuration file, copy the existing Virtual Host entry and paste it underneath it. Then edit the ServerName, ServerAdmin, and DocumentRoot lines accordingly.
nano /etc/apache2/sites-available/000-default.conf
Alternatively you can just copy the following entries and edit accordingly:
<VirtualHost *:80>
ServerAdmin [email protected]
DocumentRoot /var/www/site1
ServerName site1.com
ServerAlias www.site1.com
 ErrorLog ${APACHE_LOG_DIR}/error.log
 CustomLog ${APACHE_LOG_DIR}/access.log combined
</VirtualHost>

<VirtualHost *:80>
ServerAdmin [email protected]
DocumentRoot /var/www/site2
ServerName site2.com
ServerAlias www.site2.com
 ErrorLog ${APACHE_LOG_DIR}/error.log
 CustomLog ${APACHE_LOG_DIR}/access.log combined
</VirtualHost>
We must now make directories for the sites that were just configured, site1 and site2.
mkdir /var/www/site1
mkdir /var/www/site2
Now you may begin creating/uploading your web content in the sites directory of Apache.
nano /var/www/site1/index.html
nano /var/www/site2/index.html
What Next?
With that, you now have a server installed and configured with Apache. You may now continue building your website. Thank you for following along and feel free to check back with us for further updates.
Get a $250 Credit and Access to Our Free Tier!
Free Tier includes:
G3.2GB Cloud VPS a Free to Use for One Year
50 GB of Block Storage Free to Use for One Year
50 GB of Snapshots Free to Use for One Year