How to Install DNS Role on Windows Server 2012
May 18, 2015 by Jose Velazquez ( 38 ) under VPS Hosting
0 Comments
Verified and Tested 03/18/2015
Introduction
This how-to will walk you through the Install of DNS Server in Windows Server 2012.
Domain Name System (DNS) is a system that translates a Domain name to the IP address that is associated with it over the World Wide Web. It is widely used to store the following records: A Records, AAA Records, MX Records, Name Servers, PTR/ Reverse Records, C Names, and more. It is what makes a Domain Name resolve.
In This Article
Install DNS Role on Windows Server 2012
Open the Server Manager from the taskbar.
From Server Manager Dashboard, select Add roles and features. This will launch the Roles and Features Wizard, allowing modifications to be performed on the Windows Server 2012 instance.
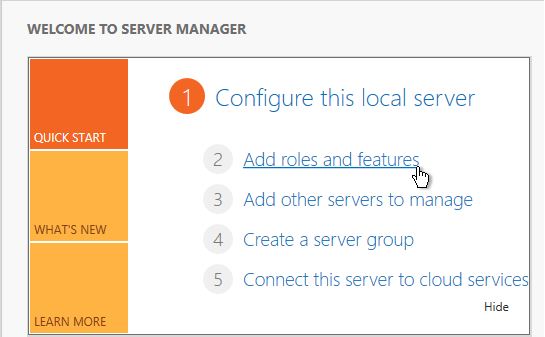
Add roles and features
Note: If it’s the first time you have entered this wizard, you will get a Before you Begin page. Review it, and you can check the Skip this page by default box, then click Next.
Select Role-based or feature-based installation from the Installation Type screen and click Next.
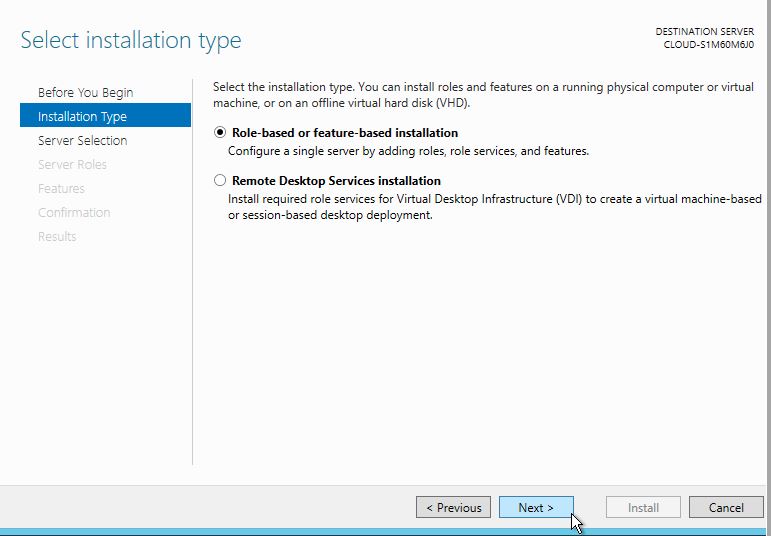
Installation Type
You will now have the Select destination server page. Your server will be selected by default, so you can click Next to continue.
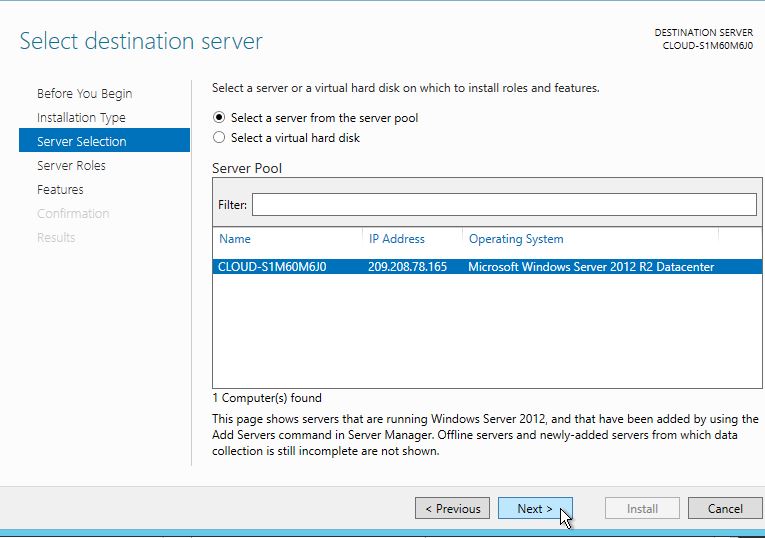
Select your server
Select DNS Server, and the following page will come up. Click Add Features to continue.
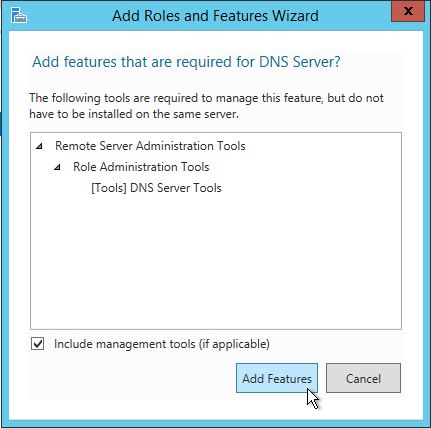
Add roles and features wizard
Click Next on the Server Roles page. Then review and select optional features to install during the DNS Server installation by placing a check in the box next to any desired features; Once done, click Next.
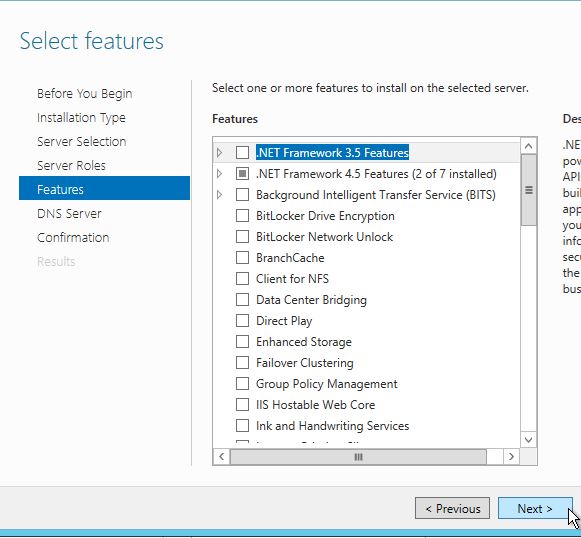
Select any optional features
Click Next on the DNS Server tab. Then Confirm the installation selections, then click Install. (Note: DNS Server doesn’t require a restart after the installation so that box can remain unchecked).
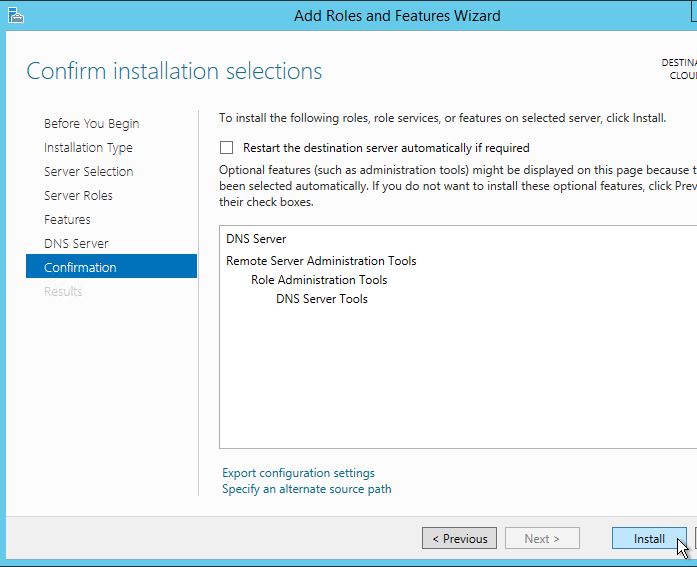
Confirm and Install your DNS server
Once the installation is completed, you can click Close on the Results page, and you’re all set.
Congratulations! You have just Installed DNS in Windows Server 2012. If you would like the configure DNS, please Check our “Configure DNS in Windows Server 2012” article. Thank you for following along in this How-To, and feel free to check back with us for any new updates.
Learn more about our VPS hosting services and VPS hosting price.
Get a $250 Credit and Access to Our Free Tier!
Free Tier includes:
G3.2GB Cloud VPS a Free to Use for One Year
50 GB of Block Storage Free to Use for One Year
50 GB of Snapshots Free to Use for One Year