How to Install FTP on Windows Server 2012 R2
February 25, 2015 by Atlantic.Net NOC ( 43 ) under VPS Hosting
0 Comments
Verified and Tested 02/25/2015
Introduction
We will show you how to install FTP on a Windows Server 2012 R2.
Prerequisites
- Windows server with IIS – take a look at our helpful how-to on installing IIS on your Windows Server. If you need a server, you can spin up a Windows VPS Hosting server in under 30 seconds with Atlantic.Net.
Installing FTP on Windows Server 2012 R2
Open Server Manager by going to Start>Administrative Tools>Server Manager.
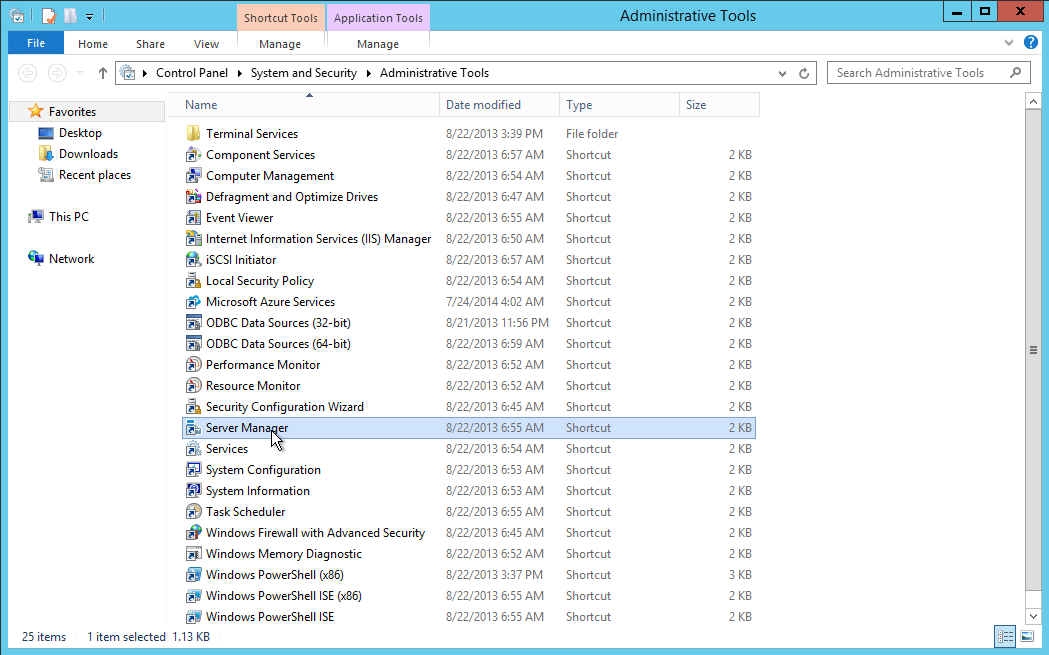
Server Manager
In Server Manager, click on Add Roles and Features.
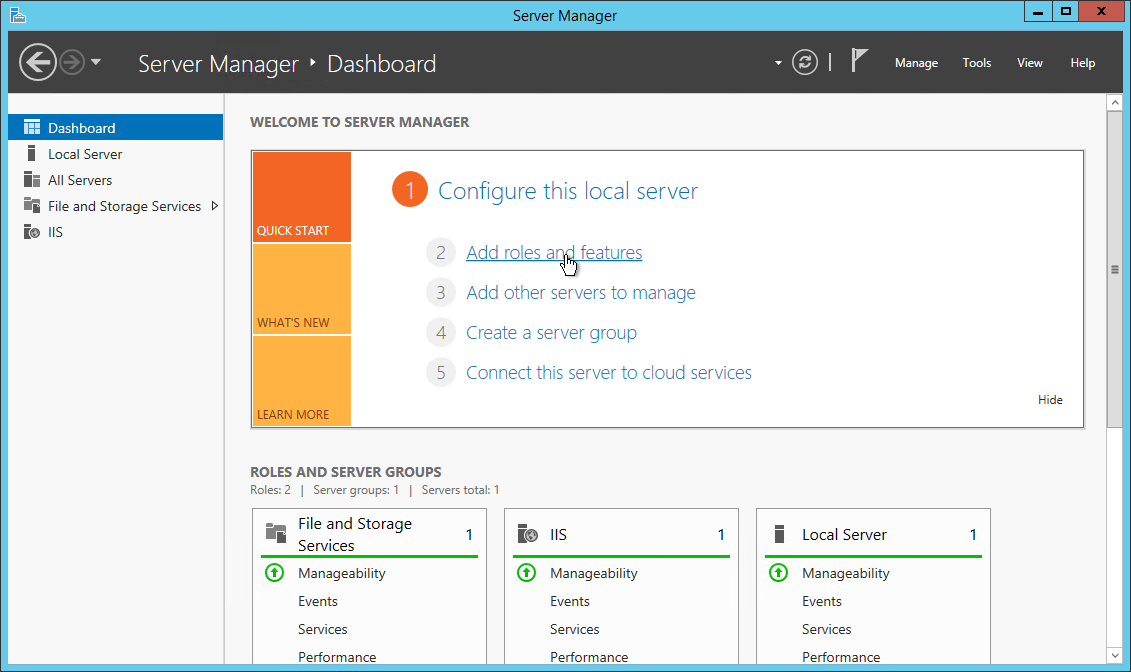
Add Roles and Features
The Add Roles and Features wizard should open. Click Next on the Before you begin section.
Make sure Role-based or feature-based installation is selected in the Installation Type Section, then click Next.
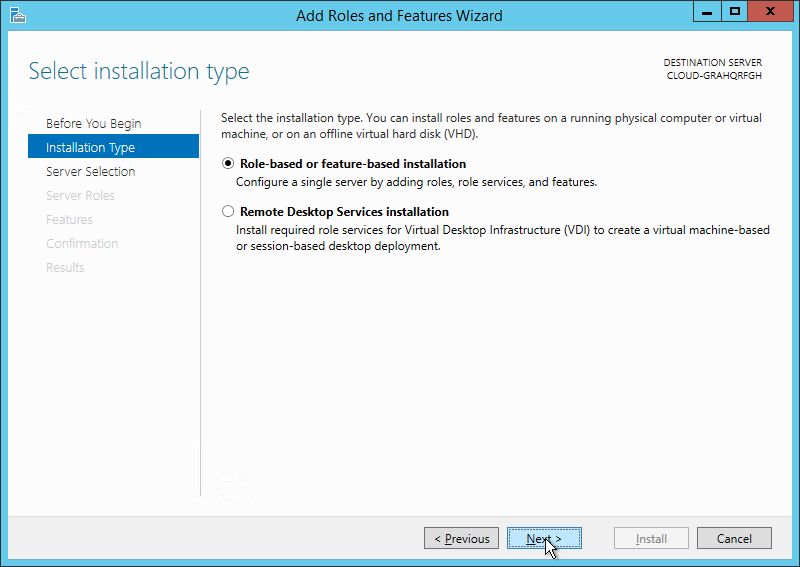
Installation Type
Make sure Select a server from the server pool is selected. Select your server in the server pool section. Once done, click Next.
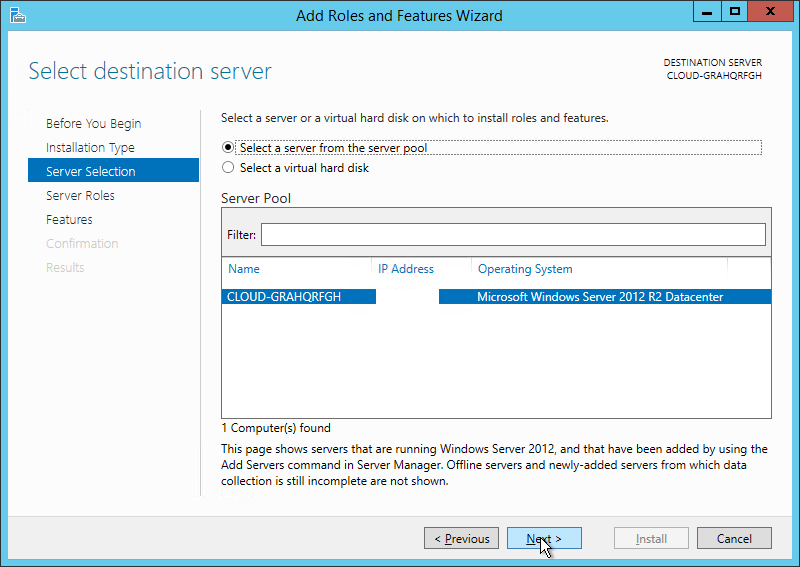
Server Selection
Scroll down and click on the arrow next to Web Server (IIS). Check FTP Server and click Next.
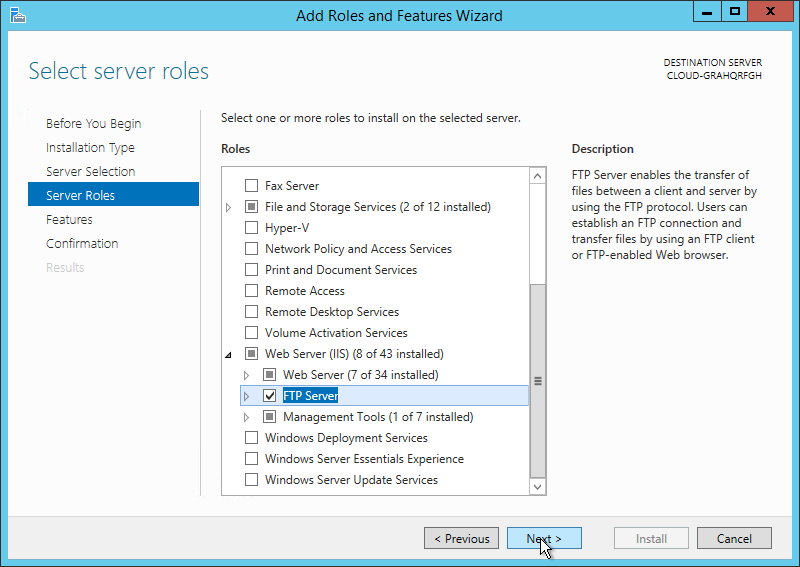
Server Roles
Select any additional features you want installed. Once done, click Next.
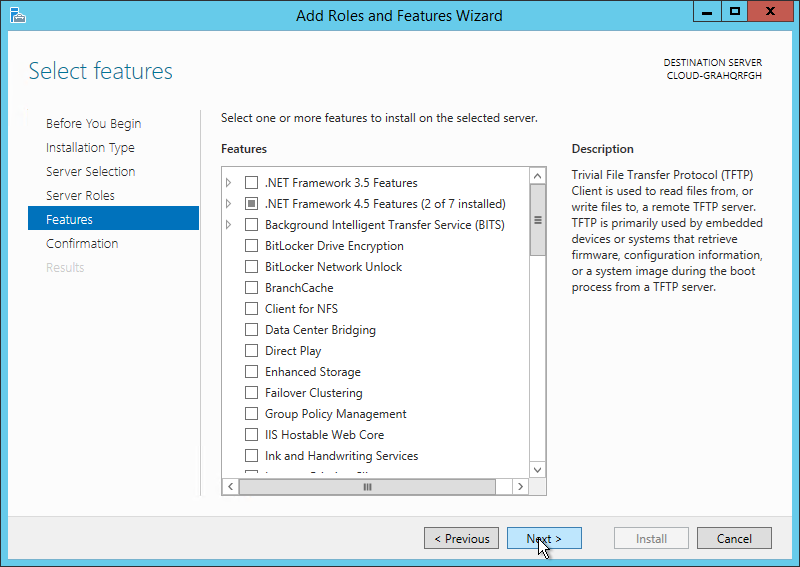
Features
Review what is being installed. Once ready, click Install.
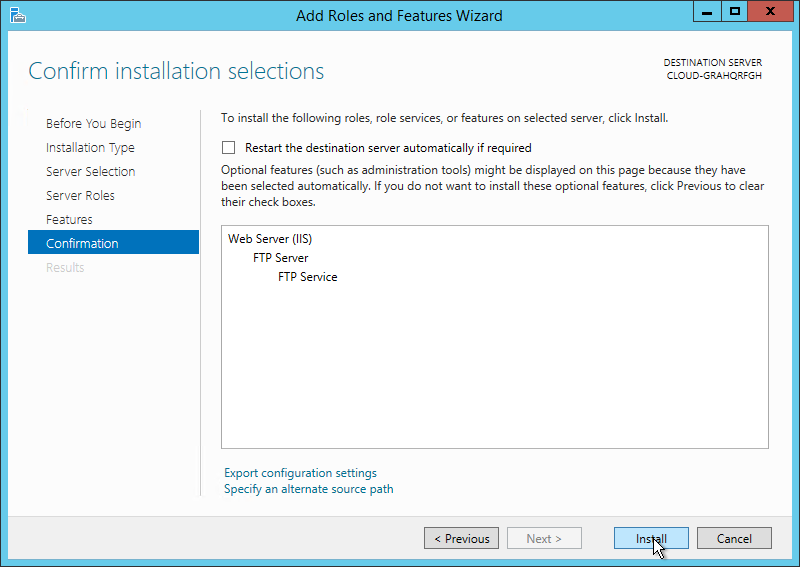
Confirm
You should then see a progress bar. Once complete, click Close.
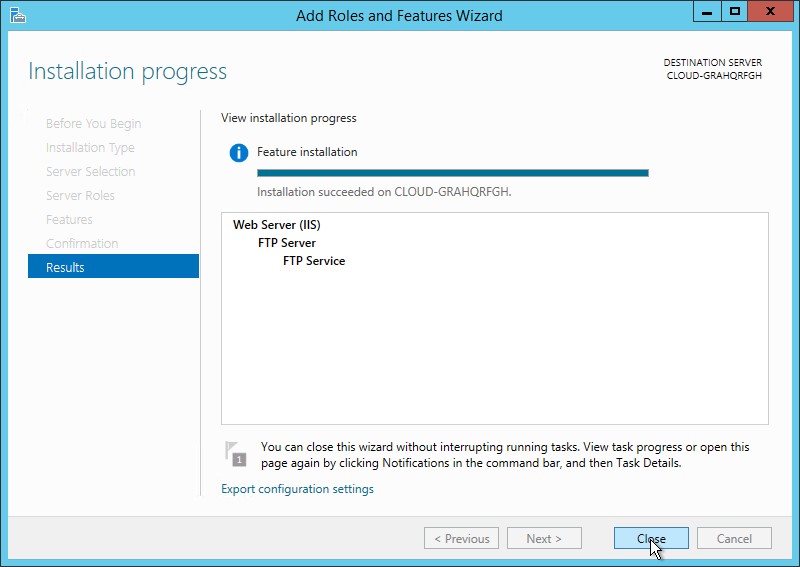
Results Pane
Now FTP is installed. You can not yet connect to your Web Site via FTP. Next, you will need to Add a FTP Publishing to your site.
Open IIS, expand your computer, expand Sites, right click on your Web Site and then click on Add FTP Publishing…
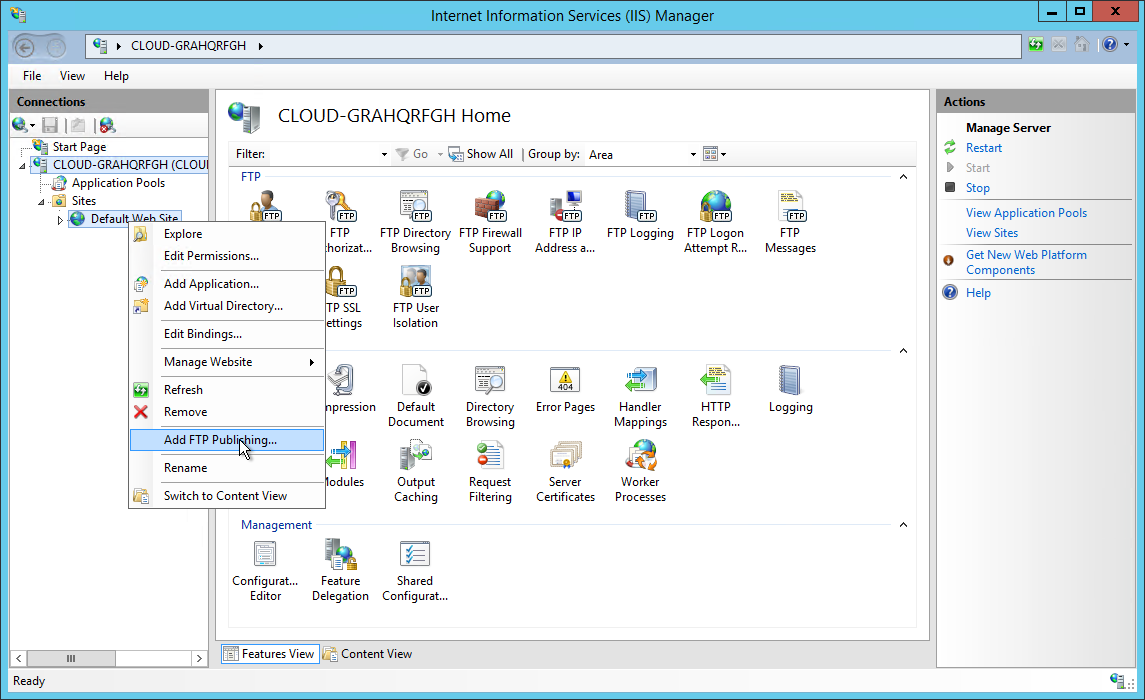
IIS Manager
Once the Add FTP Site Wizard comes up:
- Choose an IP address for your FTP site from the IP address drop-down, or choose to accept the default selection of “All Unassigned.”
- Normally, you would enter the TCP/IP port for the FTP site in the port box. For this how-to, choose to accept the default port of 21.
- For this how-to, we will not use a host name, so make sure that the Virtual Host box is blank.
- Make sure that the Certificates drop-down is set to “Not Selected” and that the No SSL option is selected.
- When you have completed these items, click Next.
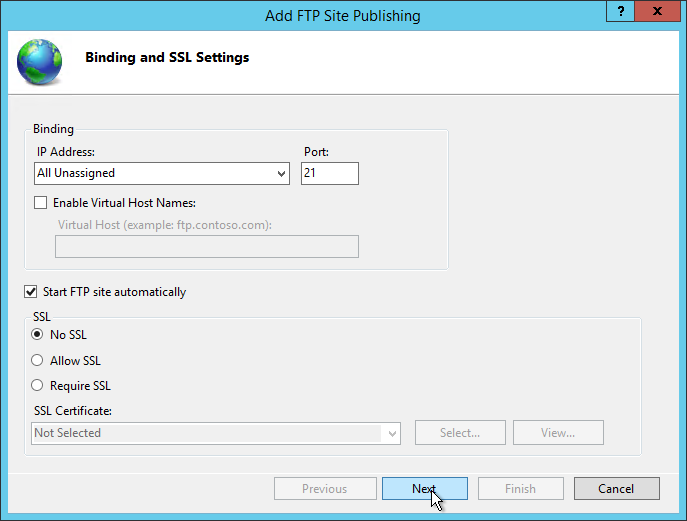
Bindings and SSL Settings
On the Authentication and Authorization Information page:
- Select Basic for the Authentication settings.
- For the Authorization settings:
- Choose “Specified users” from the Allow access to drop-down
- Type “administrator” for the user name.
- Select Read and Write for the Permissions option.
- When you have completed these items, click Finish.
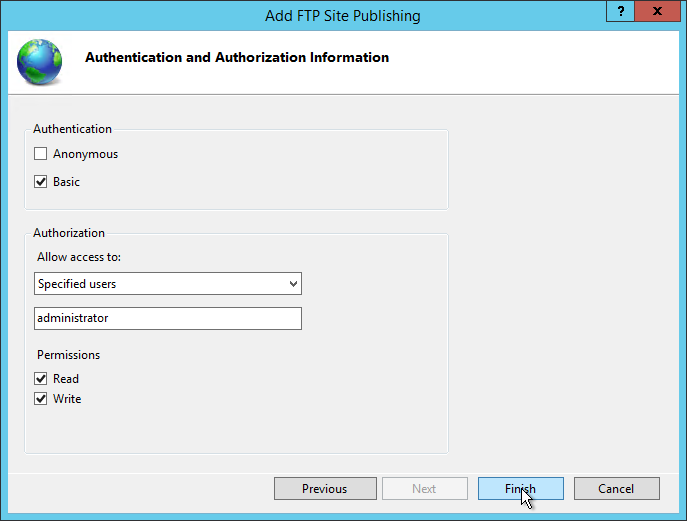
Authentication and Authorization Information
Last thing to make sure is if your Windows Firewall has a rule set for FTP default port 21.
Open Windows Firewall with Advanced Security by going to Start>Administrative Tools>Windows Firewall with Advanced Security.
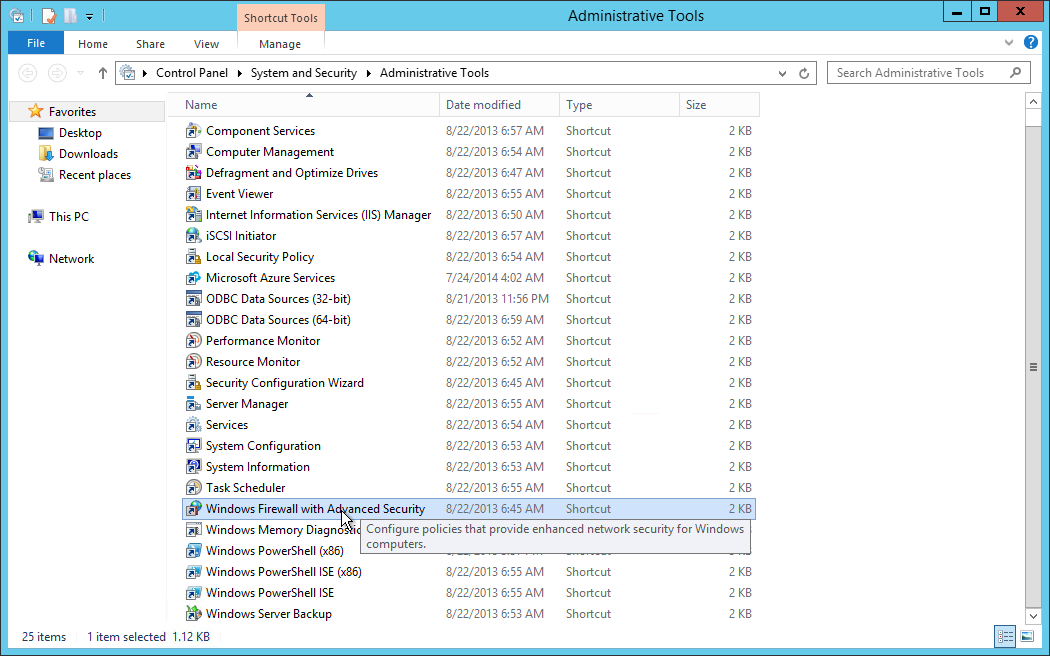
Administrative Tools
Once opened, click on Inbound Rules and then click on New Rule under the Actions Pane.
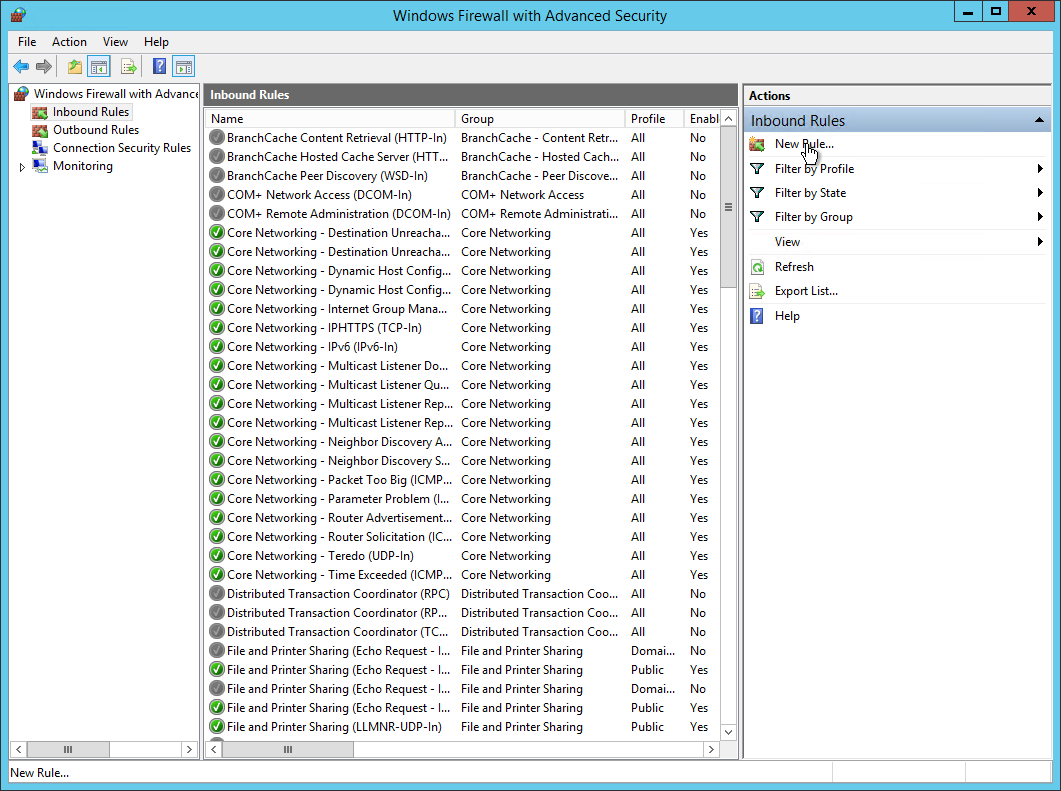
Windows Firewall and Advanced Security
The New Inbound Rule Wizard will pop up. You will select Port and click Next.

New Inbound Rule Wizard
Since this is for the default port 21 for FTP, we will use the TCP protocol and 21 for the Specific local ports. Once done, click Next.
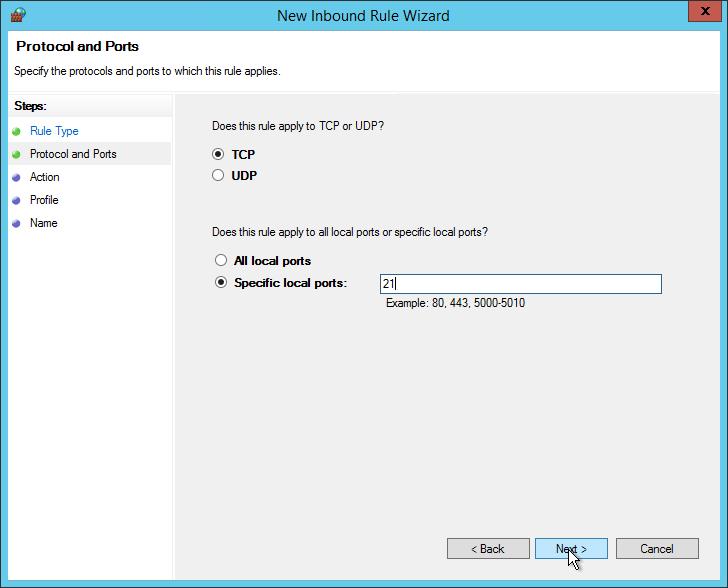
New Inbound Rule Wizard
In the Action page, we will select to Allow the connection and click Next.
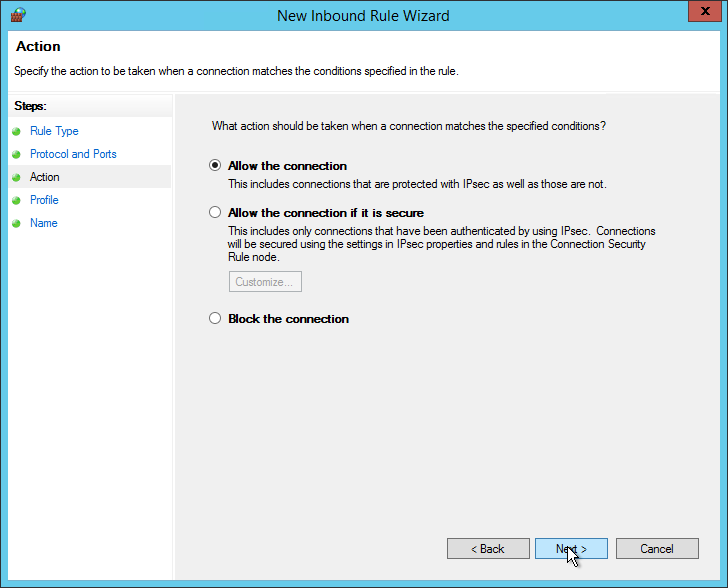
New Inbound Rule Wizard
The next page is the Profile page, which we will check all the boxes and then click Next.
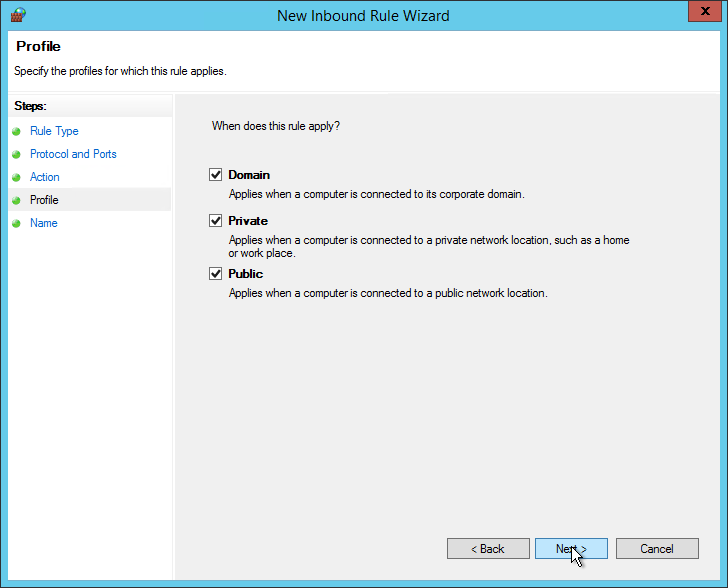
New Inbound Rule Wizard
On the Last page, you will need to select a name for the new rule. Here, we will name it “FTP” and then click Finish.
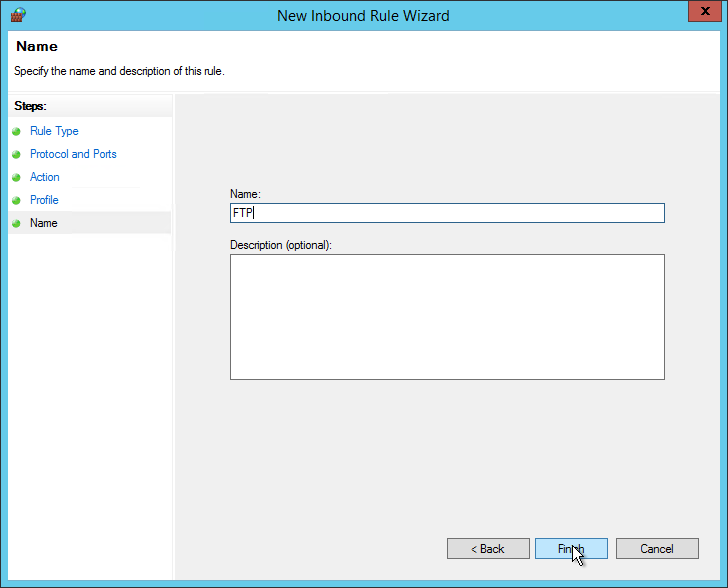
New Inbound Rule Wizard
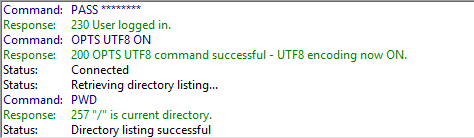
Now the firewall rule has been added for the default port 21. We can now test FTP connection to the Web Site. In this how-to, I will use FileZilla to show connection but there are many FTP clients out there to download.
With FileZilla, we will need to fill in the Host/IP Address, Username, Password and Port # to connect. Earlier, I set up FTP to use a specific user (administrator) and also used the default FTP port 21. Once you hit Connect, you will be connected to your Web Site via FTP!
Thank you for reading! Be sure to check back for more updates, and to learn more about our VPS hosting solutions and Virtual private servers.
Get a $250 Credit and Access to Our Free Tier!
Free Tier includes:
G3.2GB Cloud VPS a Free to Use for One Year
50 GB of Block Storage Free to Use for One Year
50 GB of Snapshots Free to Use for One Year