How to Install Apache, MySQL, PHP (LAMP) On Arch Linux
January 12, 2016 by Editorial Team ( 450 ) under VPS Hosting
0 Comments

Verified and Tested 1/12/16
Introduction
This how-to will help you with your LAMP installation in Arch Linux so that you can successfully run a high available solid platform for your web environment. LAMP is simply a software bundle that consists of 4 components that work together to form a powerful web server. However, in this setup the acronym’s are as follows: Linux (L) is the core of the platform which will sustain the other components. Apache (A) is used for the web service. MySQL (M) is used for database management, and PHP (P) is used as the programming language.
In This Article
Install LAMP on Arch Linux
To get started, log in to your Arch Linux server via SSH or through the VNC Console here. Atlantic.Net Cloud servers are setup as minimal installations in order to avoid having unnecessary packages from being installed and never used. If some software packages that you’re used to using aren’t installed by default, feel free to install them as needed.
Let’s make sure that your server is fully up-to-date.
sudo pacman -Syu
With the server up-to-date, we can continue the process and install LAMP on your server.
Install Apache on Arch Linux
We must first begin by installing Apache with the following command:
sudo pacman -S apache
Start the Apache service with the following command:
sudo systemctl start httpd
To edit the main Apache configuration file for one or many websites according to your preference, they are configured in the following directory:
sudo nano /etc/httpd/conf/httpd.conf
In order to verify and test the installation, create a test PHP file in the following directory with the command below:
sudo nano /srv/http/index.html
Insert the following HTML code in the empty file then save and exit:
<html>
<title>CONGRATULATIONS</title>
<body>
<h2>You have just installed Apache on your Arch Linux Server</h2>
</body>
</html>
You can now verify that Apache is installed correctly by typing http:// and your IP address on your browser.
http://YOUR.IP.ADD.RESS (To get your servers IP Address type the following command:)
curl -s icanhazip.com
Restart the Apache HTTP service so the changes can take effect on your system.
sudo systemctl restart httpd.service
Install MySQL on Arch Linux
We then would like to continue by installing MySQL. However, in Arch Linux MySql is replaced with MariaDB. So, after running the following MySql command hit enter to select 1 then Enter, then confirm your installation by tapping Enter.
sudo pacman -S mysql
After the install, you must run the following command to fully complete the installation.
mysql_install_db --user=mysql --basedir=/usr --datadir=/var/lib/mysql
Make sure that the MySql/MariaDB service is on with the following command before proceeding:
sudo systemctl start
mysqld.service
To ensure the security of the default settings of MySQL/MariaDB, continue with the command below:
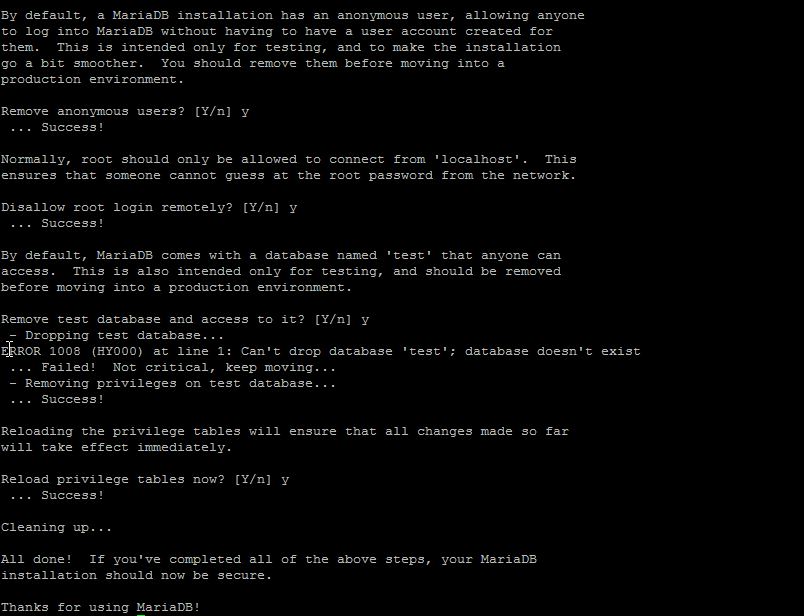
sudo mysql_secure_installation
Note: When prompt with “Enter current password for root” hit enter for none then Y(Yes) to set MYSQL password. You will then be prompted with a series of questions. Simply type Y for yes on all of them, see the screenshot below:
Install PHP on Arch Linux
Finally, we will conclude the LAMP Stack by installing PHP with the following command:
sudo pacman -S php php-apache
We must now add the correct PHP modules in the Apache Configuration file for PHP to function correctly. Using your test editor access the Apache configuration file with the following command:
sudo nano /etc/httpd/conf/httpd.conf
The following instructions are crucial and must be completed in the correct order. By default, the Apache configurations file uses the mod_mpm_event.so module which doesn’t work for this setup. Using the Ctrl+w locate the following line :
LoadModule mpm_event_module modules/mod_mpm_event.so
Having identified the mod_mpm_event.so line, replace it with the one below:
LoadModule mpm_prefork_module modules/mod_mpm_prefork.so
We must now add the libphp5.so module below the new code that we just added in the previous step.
LoadModule php5_module modules/libphp5.so
We’re almost done with the configuration of PHP. Scroll to the bottom of the LoadModule list and add the following line:
Include conf/extra/php5_module.conf
Fantastic! You can now save the file and restart Apache so all your configuration takes effect.
sudo systemctl restart httpd.service
In order to verify and test the installation, create a test PHP file in the following directory with the command below:
sudo nano /srv/http/info.php
Insert the following PHP code in the empty file then save and exit:
<?php
phpinfo();
?>
Restart the Apache HTTP service one last time so all the changes take effect.
sudo systemctl restart httpd.service
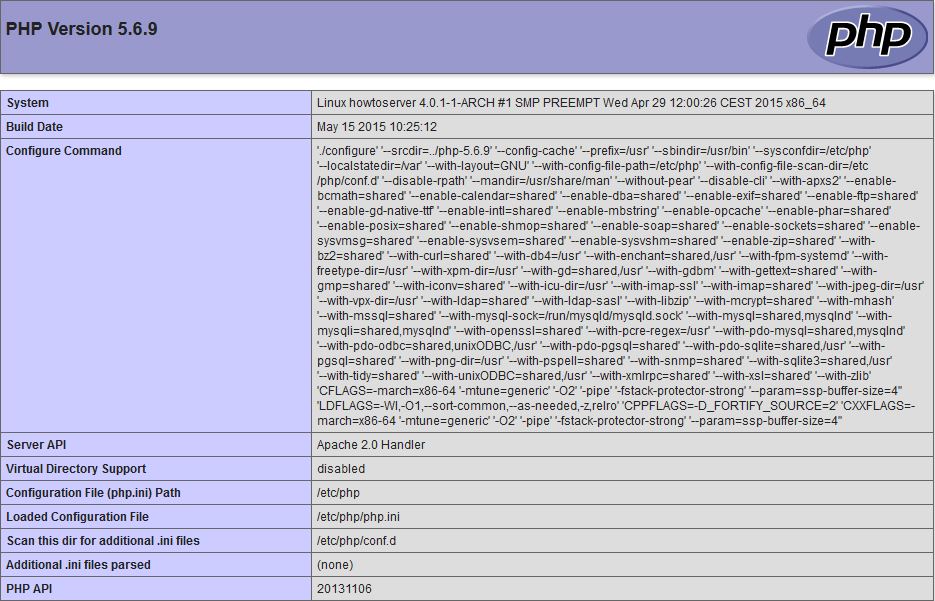
You can now verify that PHP is installed correctly by typing the following on your browser.
http://YOUR.IP.ADD.RESS/info.php
What Next?
Congratulations! You now have a LAMP Stack VPS for your web environment. Thank you for following along. Feel free to check back with us for further updates or related articles like How to Install LAMP using Atlantic.Net’s One-Click Install.
Get a $250 Credit and Access to Our Free Tier!
Free Tier includes:
G3.2GB Cloud VPS a Free to Use for One Year
50 GB of Block Storage Free to Use for One Year
50 GB of Snapshots Free to Use for One Year