 LAMP – Lighting created by Walker Cahall
Verified and Tested 10/22/15
Introduction
In this how-to we are going to show you how to install a LAMP stack on Ubuntu 15.10. LAMP is the most common web server configurations on the web. LAMP is made up of 4 parts: Linux, Apache, MySQL, and PHP. LAMP is the foundation for a vast array of web-based software, such as WordPress, Drupal, Joomla and other web-hosting platforms. We will be using Ubuntu 15.10 for our Linux installation in this how-to. Apache is our web server; MySQL is our database management system, and PHP is our scripting language.
In This Article
Prerequisites
A server with Ubuntu 15.10 installed. If you don’t have a server already, why not spin up an affordable and reliable VPS from Atlantic.Net.
Installing LAMP on Ubuntu 15.10
Before we get to installing Apache, it’s best that we make sure our system is updated with the following command:
sudo apt-get update
Installing Apache on Ubuntu 15.10
Install Apache by running the following command:
sudo apt-get install apache2
Hit enter to when it asks “Do you want to continue?” during the install.
After the install, you can check to see if Apache is running by running the command:
sudo service apache2 status
Also, you can verify if all is working by opening your browser and going to http://youripaddress
If you do not know your IP address, you can run the following command:
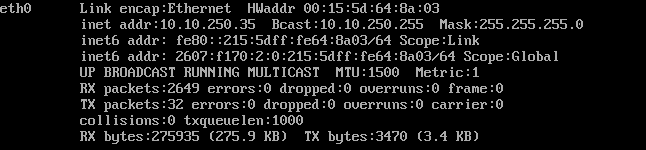
sudo ifconfigThis is an example of ifconfig that shows the IP address of 10.10.250.35 on eth0
In our case, we would put http://10.10.250.35 in our browser’s address bar and get the following page:
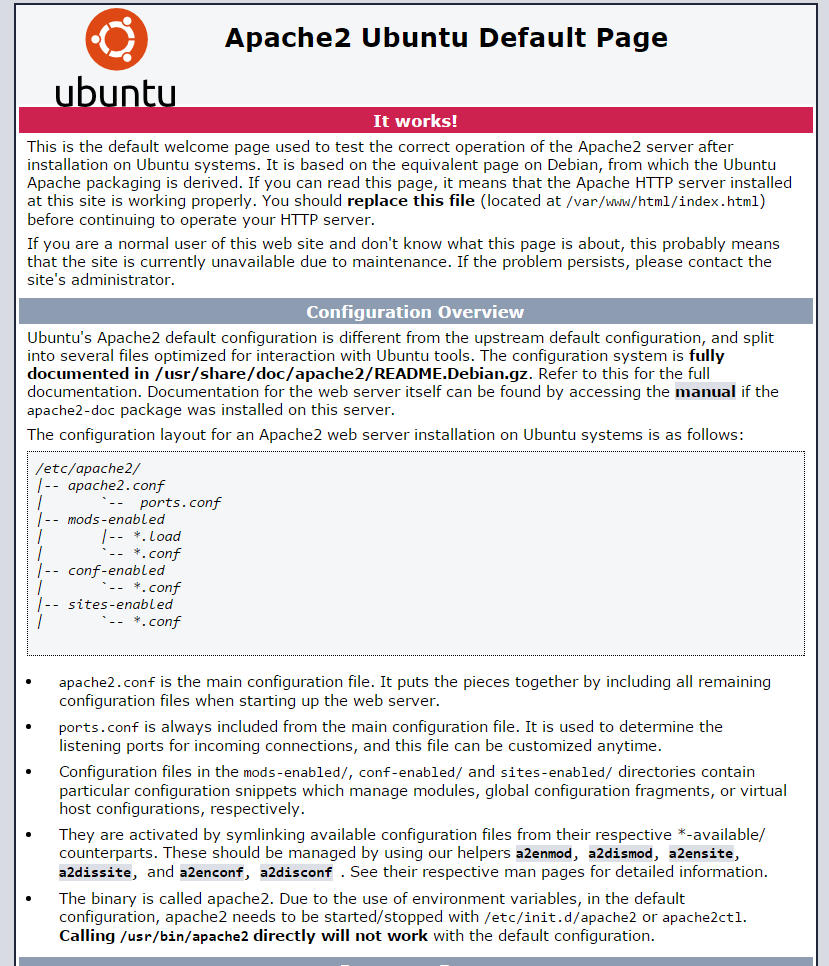
The default page for Apache on Ubuntu 15.10
Installing MySQL on Ubuntu 15.10
Install MySQL with the following command:
sudo apt-get install mysql-server php5-mysql
Hit enter to when it asks “Do you want to continue?” during the install.
It will prompt you to enter a MySQL root password during the install. Set any password that you would like. However, It should be a strong password that is hard to break.
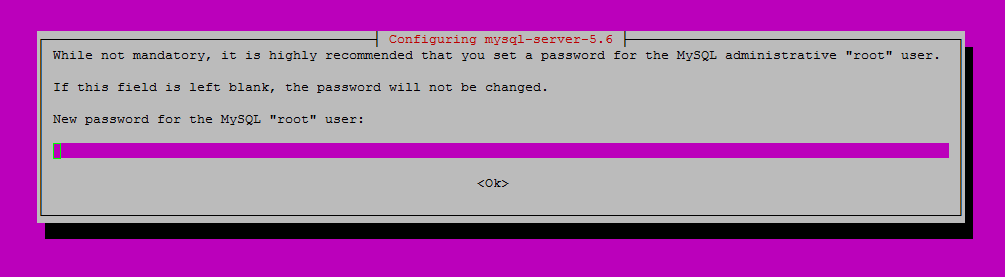
Enter a strong password of your choice
After you enter your MySQL root password, you will need to re-enter it.
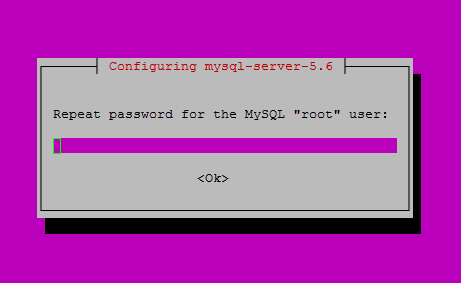
Repeat the password you just entered
Continue with the MySQL Security installation with the following command:
sudo mysql_secure_installation
Note: You will be prompted with a series of questions. Just type N for the change root password since you just set it. For standard installations, the next questions you can hit enter for the default yes response.
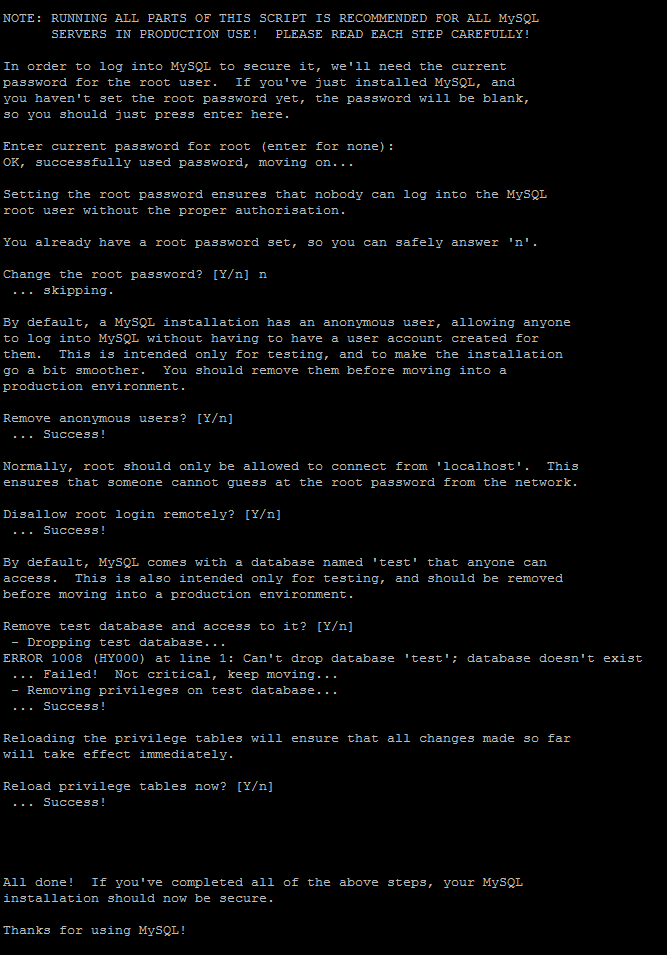
An example mysql_secure_installation after completion.
You can verify that MySQL is running using the following command:
sudo service mysql status
Installing PHP on Ubuntu 15.10
Install PHP with the following command:
sudo apt-get install php5
Hit enter to when it asks “Do you want to continue?” during the install.
Create a test PHP file called info.php in /var/www/html/. In this how-to, we will be using the text editor nano with the following command:
sudo nano /var/www/html/info.php
In your text editor insert the following code:
<?php
phpinfo();
?>
Since we made changes, we need to restart Apache so that the changes take effect:
sudo service apache2 restart
We can now test your info.php file in your browser by entering the following hyperlink, updated with your IP:
http://youripaddress/info.php
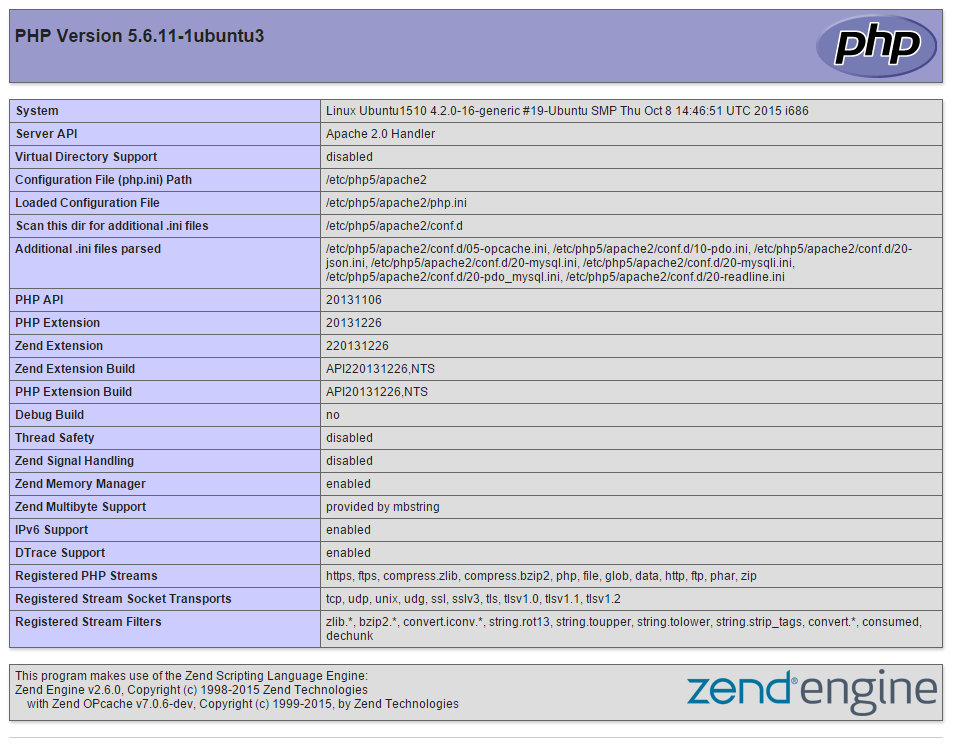
Your info.php page should look similar to this with your server information. After verifying that PHP is working, it is a smart idea to remove the info.php file. Hackers could use this information to plan attacks against you. Remove it with the following command:
sudo rm /var/www/html/info.php
Congratulations! You have just installed LAMP on your Ubuntu 15.10 Server. Thank you for following along this how-to, we hoped you have enjoyed it. Please check back here for more updates, other interesting posts like LAMP vs. LEMP – tips on choosing Apache or nginx for your web server, or check out the many services offered by Atlantic.Net including VPS Hosting, Web Server Hosting and VMWare Hosting.