How to Install a PHP7 LAMP Stack on CentOS 7
October 12, 2015 by Editorial Team ( 450 ) under VPS Hosting
0 Comments

Verified and Tested 10/12/15
Introduction
This how-to we will be installing PHP7 with a CentOS 7 LAMP stack. PHP7 is due to release sometime in November 2015, and it is a good time to try out PHP7 and test your code.
NOTE: PHP is still in development, do not use this in a production environment, this is only to be used for testing purposes.
In This Article
Install LAMP on CentOS 7
To start, we need to take care of a few things before installing Apache. We are going to add the PHP7 repo, go ahead and make the following file with your favorite editor.
nano /etc/yum.repos.d/php7-dev.repo
Inside of that file, we need to add the following:
[zend-php7]
name = PHP7 nightly by Zend Technologies
baseurl = http://repos.zend.com/zend-server/early-access/php7/repos/centos/
gpgcheck=0
After saving and closing your new file, we can go ahead and update your system with the following command:
sudo yum update
You will see a prompt that says ‘Is this ok?’ Hit Y and then Enter to proceed.
Installing Apache on CentOS 7
We are going to install Apache first by running the following command:
sudo yum install httpd
You will see a prompt that says ‘Is this ok?’ Hit Y and then Enter to proceed.
To start Apache run the following command:
sudo systemctl start httpd.service
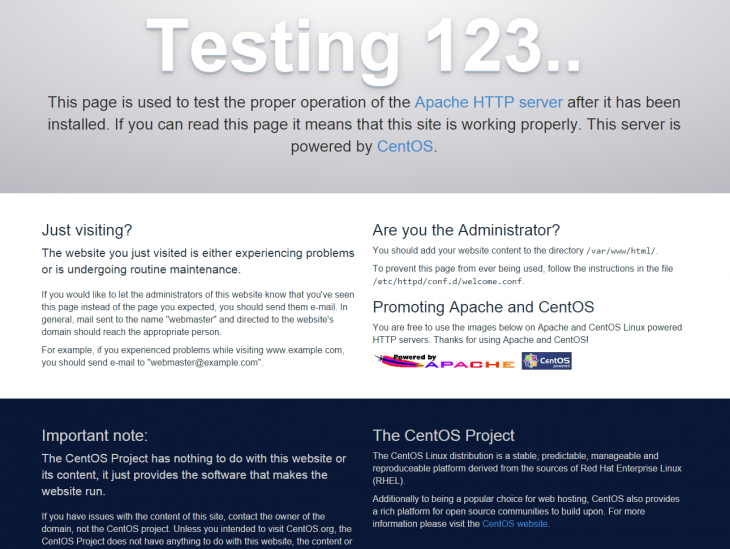
Verify Apache is working by opening a browser and entering the URL http://your-server's-address. You will get a “Testing 123” page like the image below.
Don’t know your IP address? Run the following command:
sudo ip addr show eth0
In this example, we would put
http://192.168.100.10in the browser’s address bar.

If you would like Apache to be enabled when your CentOS 7 systems boots, run the following command:
sudo systemctl enable httpd.service
Installing MariaDB on CentOS 7
If your testing does not require the need of a database, please feel free to skip this section.
Install MariaDB with the following command:
sudo yum install mariadb-server mariadb
You will see a prompt that says ‘Is this ok?’ Hit Y and then Enter to proceed.
To start the MariaDB service use the following command:
sudo systemctl start mariadb
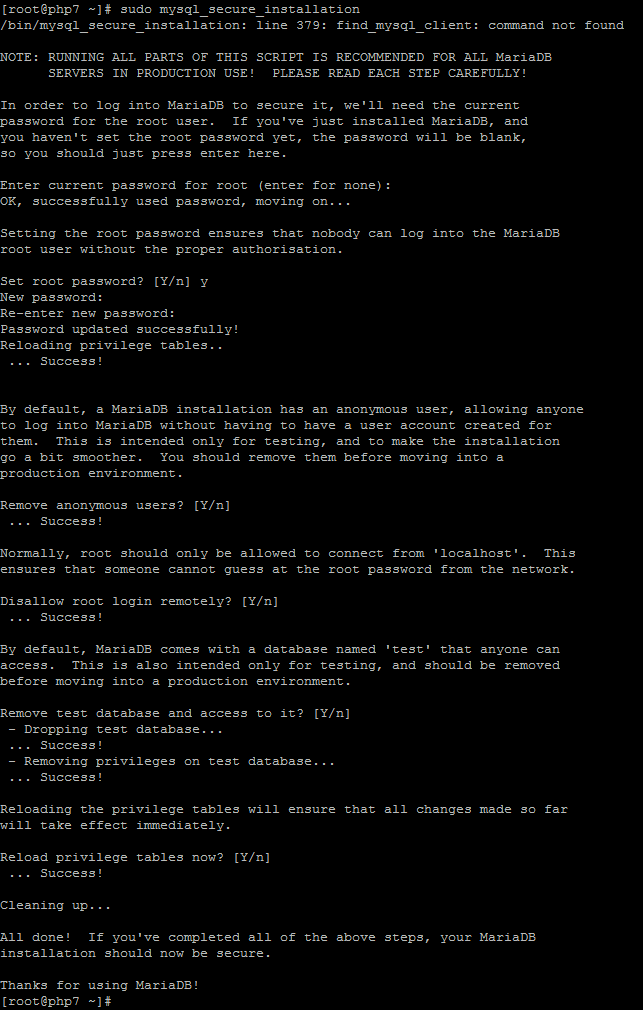
Finish the installation of MariaDB with the following command:
sudo mysql_secure_installation
After running the above command, you will be prompted to answer a series of questions. It will ask you to enter the current root password, however since we have just set MariaDB up, there should not be one, so simply hit Enter. It will then ask you if you would like to set a new root password Hit Y and then Enter. It will then ask you to enter a password. Use a strong root DB password that is different from any user’s passwords, including the root user. Then re-enter it. From there, you can typically just hit Y and then Enter for each of the next questions, as below unless you need something specific.
If you want to have MariaDB enabled on boot, run the following command:
sudo systemctl enable mariadb.service
Installing PHP7 on CentOS 7
You have the option to install the PHP7 nightly or beta1 builds
PHP7 Nightly Build Install:
sudo yum install php7-nightly
PHP7 Beta 1 Install:
sudo yum install php7-beta1
You will see a prompt that says ‘Is this ok?’ Hit Y and then Enter to proceed.
Once PHP7 is installed, we need to make some modifications to get it to work with Apache. Copy the PHP7 modules into the Apache directory with the following command:
sudo cp /usr/local/php7/libphp7.so /etc/httpd/modules/
Using an editor of your choice, open /etc/httpd/conf/httpd.conf and add the following to the bottom of the file.
IncludeOptional conf.d/*.conf
LoadModule php7_module        /usr/lib64/httpd/modules/libphp7.so
<FilesMatch \.php$>
SetHandler application/x-httpd-php
</FilesMatch>
Once added you can then save and exit.
Now that we made some changes to Apache, we need to restart, so the changes we made take place. Run the following command to restart Apache.
sudo systemctl restart httpd.service
Testing PHP7 on CentOS 7
We are going to make a PHP file to test that PHP7 is working properly. Use your preferred text editor to make a new file
nano /var/www/html/info.php.
Insert the following code:
<?php
phpinfo();
?>
You can then save and exit.
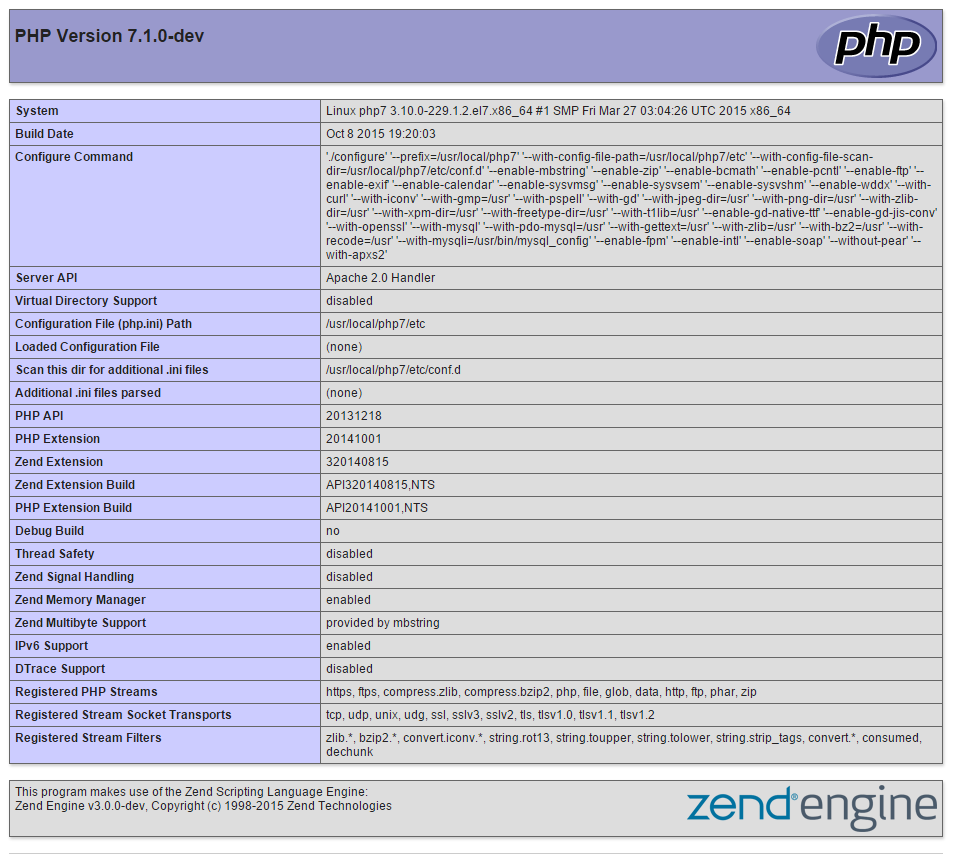
Test that PHP7 is working by opening up a browser and going to http://your-server's-address/info.php. Check your PHP version number at the top left corner of the page, it should be higher than 7.0, it should look similar to the image below.
Now, that you have verified that PHP7 is working. You should remove the info.php file since it contains information that hackers can use against you.
Remove it by running the following command:
sudo rm /var/www/html/info.php
You should see “rm: remove regular file ‘/var/www/html/info.php’?” Hit Y and then Enter.
You now have a basic PHP7 LAMP stack on CentOS 7. You can now start placing your site in the /var/www/html/ directory.
Congratulations and thank you for following along in this How-To. Check back with us for any new updates or to learn more about our reliable VPS hosting solutions.
Get a $250 Credit and Access to Our Free Tier!
Free Tier includes:
G3.2GB Cloud VPS a Free to Use for One Year
50 GB of Block Storage Free to Use for One Year
50 GB of Snapshots Free to Use for One Year