How to Install Tomcat and Java on CentOS 8
April 16, 2015 by Jason Mazzota ( 17 ) under VPS Hosting
0 Comments
Verified and Tested 6/01/21
Introduction
This tutorial will take you through installing Tomcat 9 on CentOS 8 x86_64. Tomcat is an application server used to execute Java servlets and publish web pages that include Java coding. Tomcat requires Java to be installed, which will be covered in this tutorial.
In This Article
Step 1 – Install Java
Tomcat is a Java-based application, so Java must be installed on your server. If not installed you can install it with the following command:
dnf install java-11-openjdk-devel
Once the Java is installed, check the Java version using the following command:
java --version
Output:
openjdk 11.0.11 2021-04-20 LTS
OpenJDK Runtime Environment 18.9 (build 11.0.11+9-LTS)
OpenJDK 64-Bit Server VM 18.9 (build 11.0.11+9-LTS, mixed mode, sharing)
Step 2 – Download Tomcat
First, you will need to create a user to run Tomcat. You can make it with the following command:
useradd -m -U -d /opt/tomcat -s /bin/false tomcat
Next, you only need to download Tomcat. You can find the latest version of Tomcat on the Tomcat website. At the time of this article, the latest version of Tomcat 9 is Tomcat 9.0.46. You can download it by running:
wget https: //downloads.apache.org/tomcat/tomcat-9/v9.0.46/bin/apache-tomcat-9.0.46.tar.gz
Once the download is completed, extract the downloaded file with the following command:
tar -xvf apache-tomcat-9.0.46.tar.gz
Next, move the content from the extracted directory to the /opt/Tomcat:
mv apache-tomcat-9.0.46/* /opt/tomcat/
Next, set proper permission and ownership to the /opt/tomcat directory:
chown -R tomcat: /opt/tomcat
chmod -R 755 /opt/tomcat
Step 3 – Create a Systemd Service File for Tomcat
Next, you will need to create a systemd service to manage the Tomcat service. You can create it with the following command:
nano /etc/systemd/system/tomcat.service
Add the following lines:
[Unit]
Description=Tomcat 9 servlet container
After=network.target

[Service]
Type=forking

User=tomcat
Group=tomcat

Environment="JAVA_HOME=/usr/lib/jvm/jre"
Environment="JAVA_OPTS=-Djava.security.egd=file:///dev/urandom"

Environment="CATALINA_BASE=/opt/tomcat/"
Environment="CATALINA_HOME=/opt/tomcat/"
Environment="CATALINA_PID=/opt/tomcat//temp/tomcat.pid"
Environment="CATALINA_OPTS=-Xms512M -Xmx1024M -server -XX:+UseParallelGC"

ExecStart=/opt/tomcat/bin/startup.sh
ExecStop=/opt/tomcat/bin/shutdown.sh

[Install]
WantedBy=multi-user.target
Save and close the file, then reload the systemd daemon with the following command:
systemctl daemon-reload
Next, start the Tomcat service and enable it to start at system reboot:
systemctl enable --now tomcat
You can also check the status of the Tomcat service with the following command:
systemctl status tomcat
Output:
● tomcat.service - Tomcat 9 servlet container
   Loaded: loaded (/etc/systemd/system/tomcat.service; enabled; vendor preset: disabled)
   Active: active (running) since Tue 2021-06-01 00:59:30 EDT; 4s ago
  Process: 1661 ExecStart=/opt/tomcat/bin/startup.sh (code=exited, status=0/SUCCESS)
 Main PID: 1668 (java)
    Tasks: 30 (limit: 12524)
   Memory: 155.5M
   CGroup: /system.slice/tomcat.service
           └─1668 /usr/lib/jvm/jre/bin/java -Djava.util.logging.config.file=/opt/tomcat//conf/logging.properties -Djava.util.logging.manager=o>

Jun 01 00:59:30 centos systemd[1]: Starting Tomcat 9 servlet container...
Jun 01 00:59:30 centos systemd[1]: Started Tomcat 9 servlet container.
Step 4 – Configure Tomcat
Next, you will need to set Tomcat admin password and user for admin-gui and manager-gui. You can set it by editing the tomcat-users.xml file:
nano /opt/tomcat/conf/tomcat-users.xml
Add the following lines above the last line :
   <role rolename="admin-gui"/>
   <role rolename="manager-gui"/>
   <user username="admin" password="adminpassword" roles="admin-gui,manager-gui"/>
Save and close the file when you are finished.
By default, the Tomcat manager and Host manager apps are configured to access only from the localhost. So you will need to configure it to access from the outside network.
To configure the Manager app, edit the context.xml file:
nano /opt/tomcat/webapps/manager/META-INF/context.xml
Remove the following lines:
  <Valve className="org.apache.catalina.valves.RemoteAddrValve"
         allow="127\.\d+\.\d+\.\d+|::1|0:0:0:0:0:0:0:1" />
Save and close the file.
To configure the Host Manager app, edit the context.xml file:
nano /opt/tomcat/webapps/host-manager/META-INF/context.xml
Remove the following lines:
  <Valve className="org.apache.catalina.valves.RemoteAddrValve"
         allow="127\.\d+\.\d+\.\d+|::1|0:0:0:0:0:0:0:1" />
Save and close the file, then restart the Tomcat service to apply the changes:
systemctl restart tomcat
Step 5 – Access Tomcat Web UI
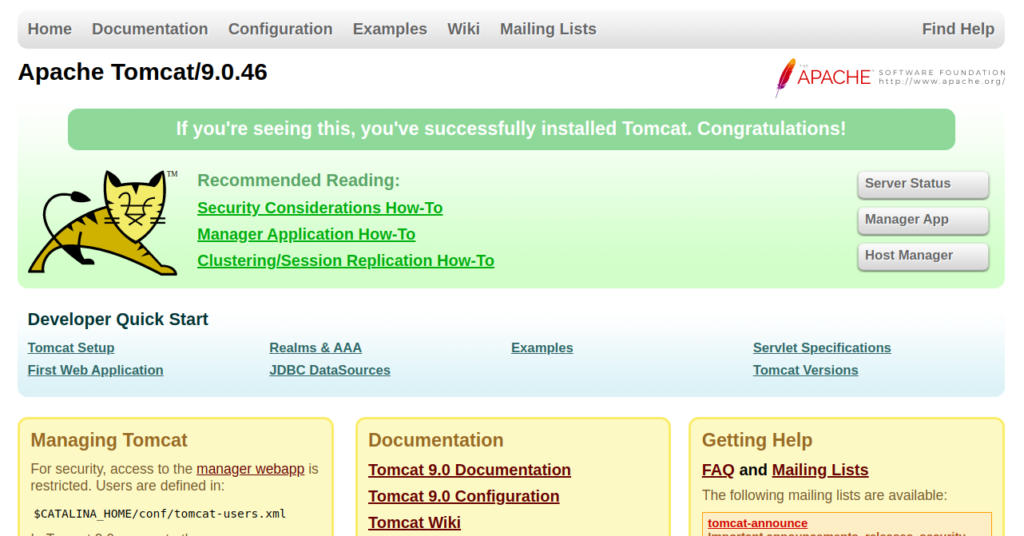
Now, open your web browser and access the Tomcat using the URL HTTP: //your-server-ip:8080. You should see the following page:
Now, click on the Manager App. You should see the following page:
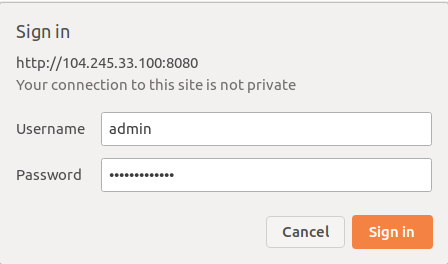
Provide your admin username, password and click on the Sign-in button. You should see the following page:
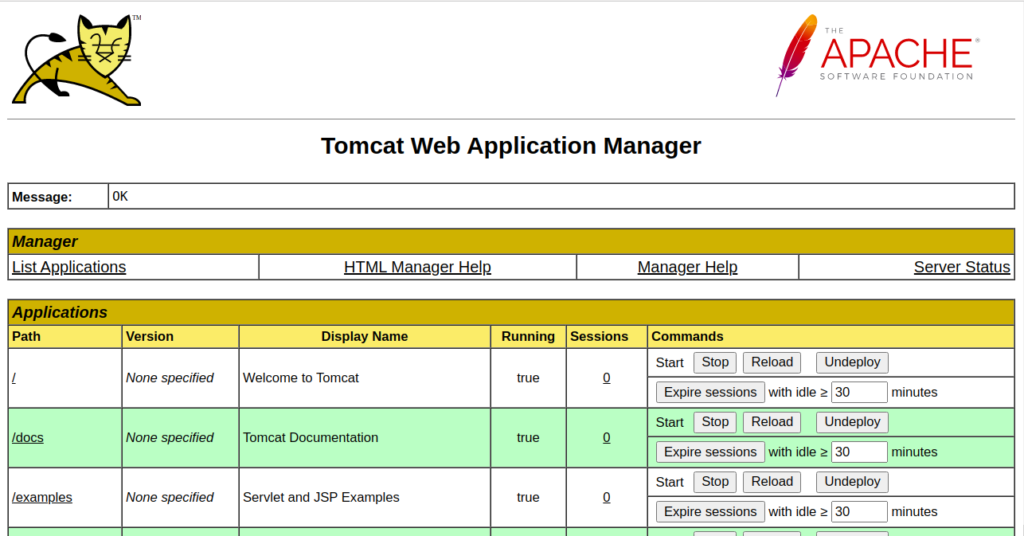
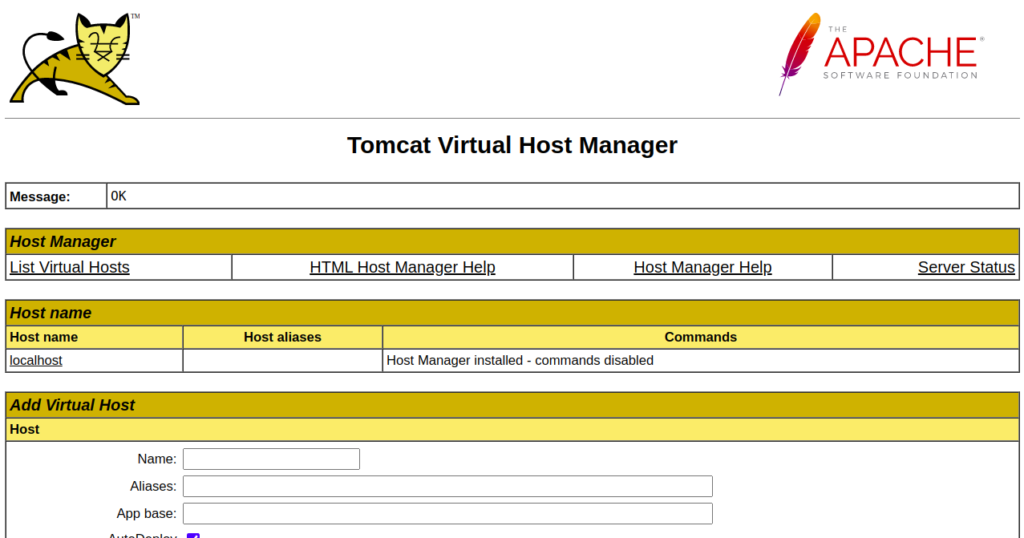
Now, go to the Tomcat main dashboard again and click on the Host Manager. You should see the following page:
Congratulations! You have just installed Tomcat and Java on your CentOS 8 Cloud Server. Thank you for following along in this How-To, and check back with us for any new updates. You may want to follow the guides on changing the CentOS 8 hostname. Contact us today for a consultation for more information on our reliable VPS hosting solutions and VPS hosting price.
Get a $250 Credit and Access to Our Free Tier!
Free Tier includes:
G3.2GB Cloud VPS a Free to Use for One Year
50 GB of Block Storage Free to Use for One Year
50 GB of Snapshots Free to Use for One Year