# How to Install and Configure Caddy Web Server with PHP on Oracle Linux 10
> URL: https://www.atlantic.net/dedicated-server-hosting/how-to-install-and-configure-caddy-web-server-with-php-on-oracle-linux-10/ | Published: 2022-08-12 | Updated: 2025-12-28 | Author: Hitesh Jethva
Caddy is a free, open-source web server used to host websites and applications on the internet. It is a simple, lightweight, modern web server written in the Go language. Caddy can be used as a file server, dynamic server, and scalable reverse proxy. It offers a lot of plugins that help you to extend the server functionality. Caddy offers a rich set of features including HTTP/2 support, virtual hosting support, Let’s Encrypt SSL support, a dependency-free codebase, and more.
In this post, we will show you how to install the Caddy web server with PHP support on Oracle Linux 10.
## Step 1 – Install Caddy Web Server on Oracle Linux 10
By default, the Caddy package is not included in the Oracle Linux 10 default repo, so you will need to enable the special repository on your system.
```
dnf install 'dnf-command(copr)'
dnf copr enable @caddy/caddy
```
Once the repository is enabled, you can install the Caddy web server with the following command:
```
dnf install caddy -y
```
Once Caddy is installed, verify the Caddy version using the following command:
```
caddy version
```
Sample output:
```
v2.10.2
```
Next, start the Caddy service and enable it to start at system reboot:
```
systemctl start caddy
systemctl enable caddy
```
You can also check the status of the Caddy service using the following command:
```
systemctl status caddy
```
You should see the following output:
```
● caddy.service - Caddy
Loaded: loaded (/usr/lib/systemd/system/caddy.service; disabled; vendor preset: disabled)
Active: active (running) since Tue 2025-12-28 07:07:28 EDT; 7s ago
Docs: https://caddyserver.com/docs/
Main PID: 1784 (caddy)
Tasks: 5 (limit: 11409)
Memory: 14.5M
CGroup: /system.slice/caddy.service
└─1784 /usr/bin/caddy run --environ --config /etc/caddy/Caddyfile
```
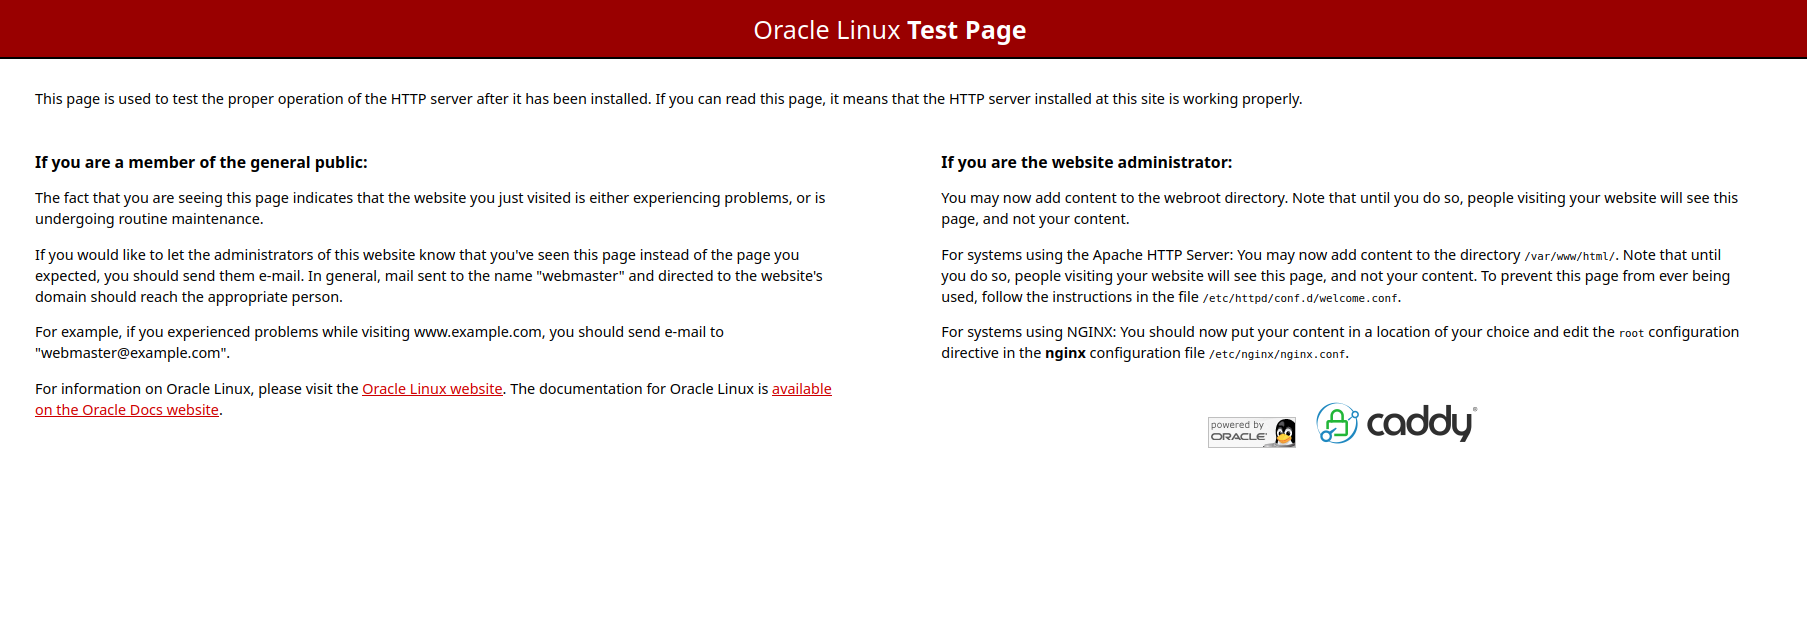
Now, open your web browser and access the Caddy web server using the URL **http://your-server-ip**. You should see the Caddy test page on the following screen:
## Step 2 – Create a Simple Website Using Caddy
First, create a directory structure for the new website using the following command:
```
mkdir -p /var/www/example.com
mkdir /var/log/caddy
```
Next, set proper ownership to the new website:
```
chown -R caddy:caddy /var/www/example.com
chown -R caddy:caddy /var/log/caddy
```
Next, create an index.html page for a new website:
```
nano /var/www/example.com/index.html
```
Add the following HTML codes:
```
Caddy Web Server
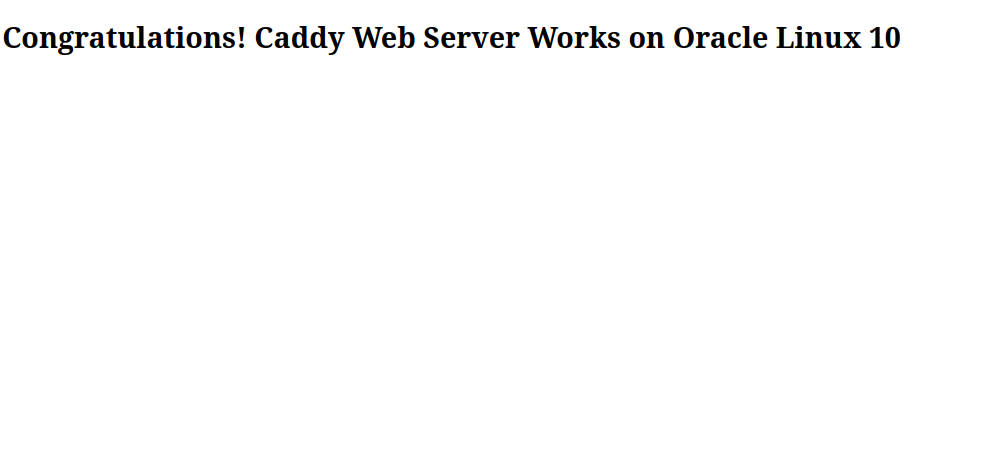
Congratulations! Caddy Web Server Works on Oracle Linux 10
```
Save and close the file when you are finished.
## Step 3 – Create a Virtual Host Configuration File
Next, you will need to edit the Caddy default configuration file to host the new website. You can edit it with the following command:
```
nano /etc/caddy/Caddyfile
```
Remove all lines and add the following lines:
```
test.example.com:80 {
root * /var/www/example.com
file_server
encode gzip
log {
output file /var/log/caddy/example.access.log
}
@static {
file
path *.ico *.css *.js *.gif *.jpg *.jpeg *.png *.svg *.woff *.pdf *.webp
}
header @static Cache-Control max-age=5184000
}
```
Save and close the file when you are finished. Next, validate the Caddy configuration file:
```
caddy validate --adapter caddyfile --config /etc/caddy/Caddyfile
```
You should see the following output:
```
2025/12/28 07:40:17.733 INFO using config from file {"file": "/etc/caddy/Caddyfile"}
2025/12/28 07:40:17.734 INFO adapted config to JSON {"adapter": "caddyfile"}
2025/12/28 07:40:17.734 WARN Caddyfile input is not formatted; run 'caddy fmt --overwrite' to fix inconsistencies {"adapter": "caddyfile", "file": "/etc/caddy/Caddyfile", "line": 2}
2025/12/28 07:40:17.735 WARN http.auto_https server is listening only on the HTTP port, so no automatic HTTPS will be applied to this server {"server_name": "srv0", "http_port": 80}
2025/12/28 07:40:17.735 INFO tls.cache.maintenance started background certificate maintenance {"cache": "0xc000608500"}
2025/12/28 07:40:17.735 INFO http servers shutting down with eternal grace period
2025/12/28 07:40:17.735 INFO tls.cache.maintenance stopped background certificate maintenance {"cache": "0xc000608500"}
Valid configuration
```
Next, restart the Caddy service to apply the changes:
```
systemctl restart caddy
```
You can also check the Caddy service using the following command:
```
systemctl status caddy
```
You will get the following output:
```
● caddy.service - Caddy
Loaded: loaded (/usr/lib/systemd/system/caddy.service; disabled; vendor preset: disabled)
Active: active (running) since Tue 2025-12-28 07:12:22 EDT; 8s ago
Docs: https://caddyserver.com/docs/
Main PID: 1812 (caddy)
Tasks: 5 (limit: 11409)
Memory: 12.6M
CGroup: /system.slice/caddy.service
└─1812 /usr/bin/caddy run --environ --config /etc/caddy/Caddyfile
```
Now, open your web browser and access the Caddy website using the URL **http://test.example.com**. You should see your website on the following screen:
## Step 4 – Enable PHP Support on Caddy Web Server
To enable PHP support on Caddy, PHP must be installed on your server. You can install PHP and other required extensions using the following command:
```
dnf install php-fpm php-cli php-gd -y
```
Once all the packages are installed, edit the Caddy configuration file:
```
nano /etc/caddy/Caddyfile
```
Define the php_fastcgi location as shown below:
```
test.example.com:80 {
root * /var/www/example.com
php_fastcgi unix//run/php-fpm/www.sock
file_server
encode gzip
log {
output file /var/log/caddy/example.access.log
}
@static {
file
path *.ico *.css *.js *.gif *.jpg *.jpeg *.png *.svg *.woff *.pdf *.webp
}
header @static Cache-Control max-age=5184000
}
```
Save and close the file, then restart the Caddy service:
```
systemctl restart caddy
```
Next, edit the PHP-FPM file:
```
nano /etc/php-fpm.d/www.conf
```
Change the following lines:
```
user = caddy
group = caddy
listen.acl_users = apache,nginx,caddy
```
Save and close the file, then start the PHP-FPM service and enable it to start at system reboot:
```
systemctl start php-fpm
systemctl enable php-fpm
```
Next, create a sample info.php page:
```
nano /var/www/example.com/info.php
```
Add the following line:
```
```
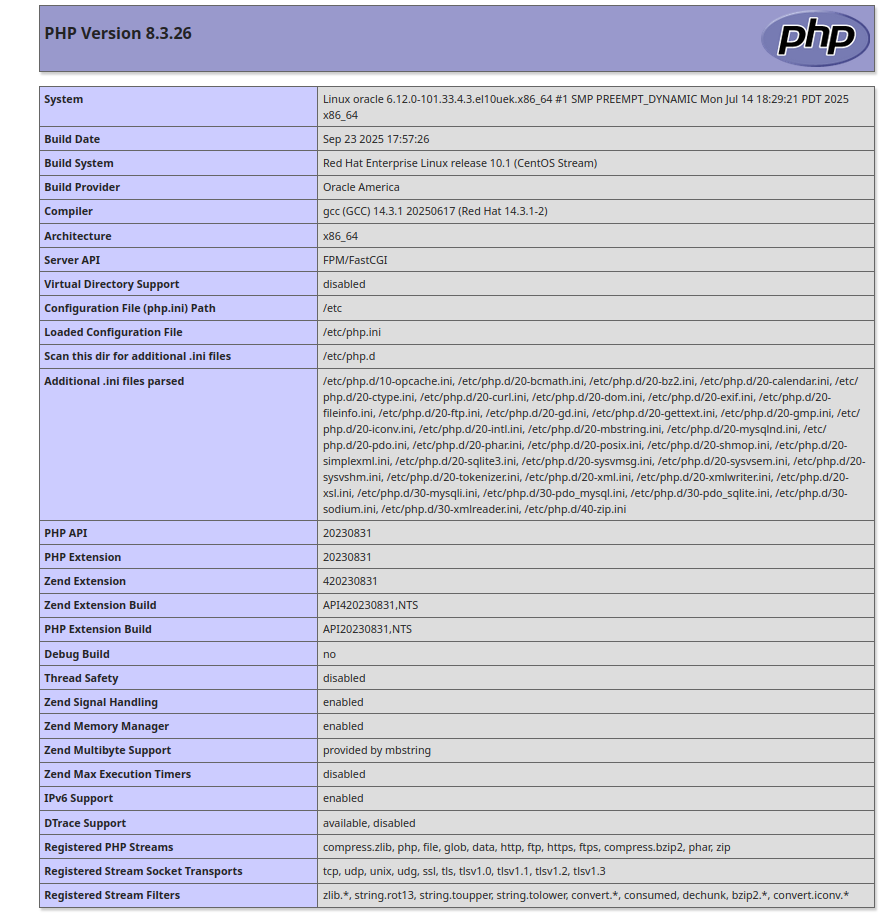
Save and close the file, then open your web browser and access the info.php page using the URL **http://test.example.com/info.php**. You will get the following page:
## Conclusion
In the above post, you learned how to install Caddy with PHP on Oracle Linux 10. You can now use Caddy on your production environment to deploy a website and test its performance. Try it on [dedicated hosting](https://www.atlantic.net/dedicated-server-hosting/) from Atlantic.Net!