Install eSpeak on Ubuntu
November 28, 2023 by Hitesh Jethva ( 680 ) under Dedicated Server Hosting
0 Comments
eSpeak is free and open-source software that can be used to convert text to voice in English and other languages. It can be installed on Windows and Linux-based operating systems. eSpeak takes input from the string or files and generates an audio format file. You can play this file using any player.
Gespeaker is a graphical interface for eSpeak. It is also used to play a text file in multiple languages. You can also record a text file in WAV format for future listening.
Features
- Speak text from a file
- Can be used with screen-readers and other programs in Windows
- Ported to several platforms, including Android, Mac OSX, etc.
- Supports multiple languages
In this tutorial, we will show you how to install eSpeak and Gespeaker on an Ubuntu desktop system. This procedure is compatible with Ubuntu 20.04 and Ubuntu 22.04.
In This Article
Step 1 – Install eSpeak
By default, this tool is available in all major Linux distributions. You can install it by just running the following command:
apt-get install espeak -y
Once the installation is finished, verify the installed version of eSpeak with the following command:
espeak --version
You should get the following output:
eSpeak text-to-speech: 1.47.11 03.May.13 Data at: /usr/lib/x86_64-linux-gnu/espeak-data
Step 2 – Generate Audio File with eSpeak
Now, let’s speak the line “Hi Welcome to eSpeak” and record it to the file1.mp4 audio file:
espeak "Hi Welcome to eSpeak" -w file1.mp4 -g 60 -p 70 -s 100 -v en-us
You can now play the file1.mp4 using any audio player.
You can also specify the text file that you want to record in the mp4 format.
First, create a sample file named file.txt:
nano file.txt
Add the following contents:
Atlantic Cloud offers hosting solutions customized to your business needs including cloud,
managed, dedicated, HIPAA compliant, and more.
Save and close the file when you are finished.
Next, run the following command to convert file.txt to the mp4 audio format file named file2.mp4:
espeak -f file.txt -w file2.mp4 -g 60 -p 70 -s 100 -v en-us
Step 3 – Install Gspeaker
Gespeaker is a GUI interface for eSpeak. It provides a graphical interface to manage text-to-speech features.
You can install it with the following command:
apt-get install gespeaker -y
Once the installation is completed, you can launch it from your Unity search bar. You should see the following page:
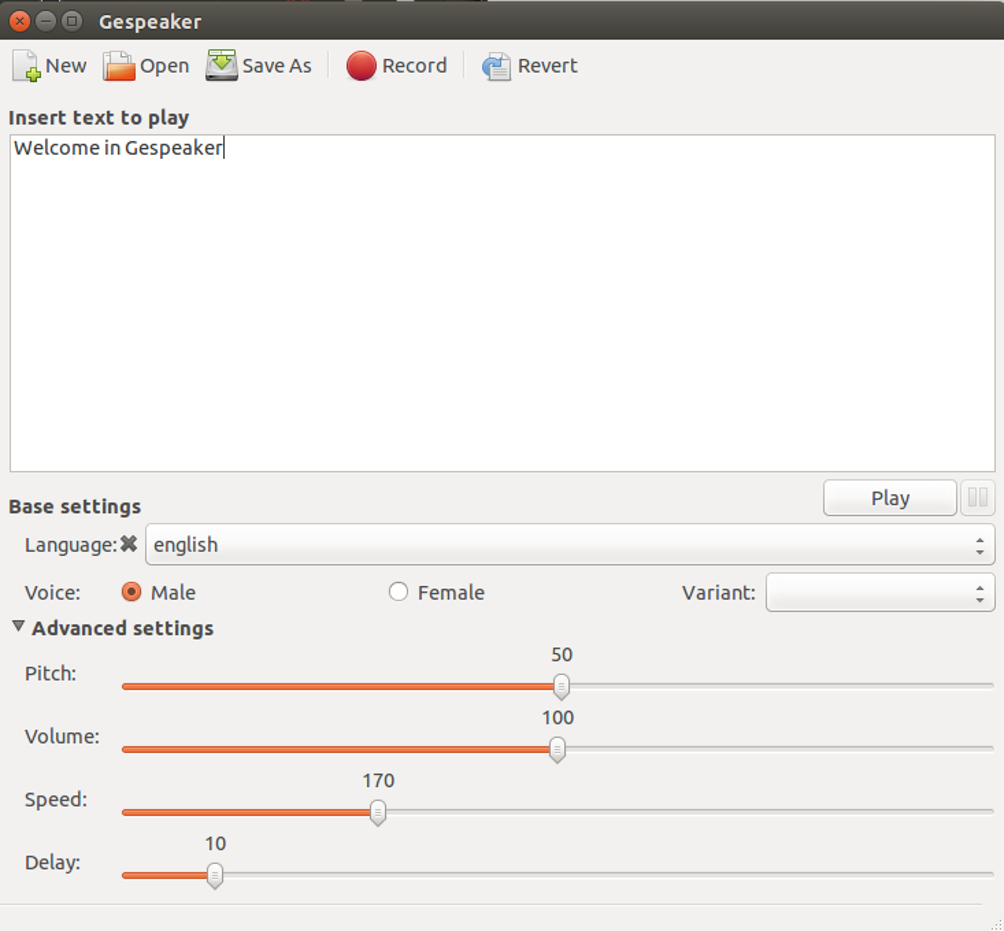
You can now type any text that you want to play inside the “Insert text to play” bar and click on the Play button to hear it.
You can also click on the Record button and save it to the audio file for future listening.
Conclusion
In the above guide, you learned how to install eSpeak and Gspeaker on Ubuntu 20.04. You can now easily convert any text file into an audio file. Try it today on dedicated server hosting from Atlantic.Net!
Get a $250 Credit and Access to Our Free Tier!
Free Tier includes:
G3.2GB Cloud VPS a Free to Use for One Year
50 GB of Block Storage Free to Use for One Year
50 GB of Snapshots Free to Use for One Year