How to Install GNOME Desktop for Debian 8.2
January 4, 2016 by Editorial Team ( 450 ) under HIPAA Compliant Hosting
0 Comments
Introduction
In this guide, we show how easy it is to get one of the most popular GUI’s installed called GNOME Desktop. Some of the special features of GNOME are Activities overview. This special feature give one click access to show all open windows and programs running in the background. It also has a powerful integrated search feature which allows you to keep all your work in one single place for quick access. It also can sync up to various online accounts like Gmail, Facebook, and many others.
Prerequisites
A server with Debian 8.2 installed.
This installation for GNOME will not function properly on anything less that 1gb. We highly recommend 2gb ram or more.
Installing GNOME Desktop on Debian 8.2
SSH to the server using a program like Putty.
First thing you want to do is prepare the server with the latest updates.
apt-get update
apt-get upgrade
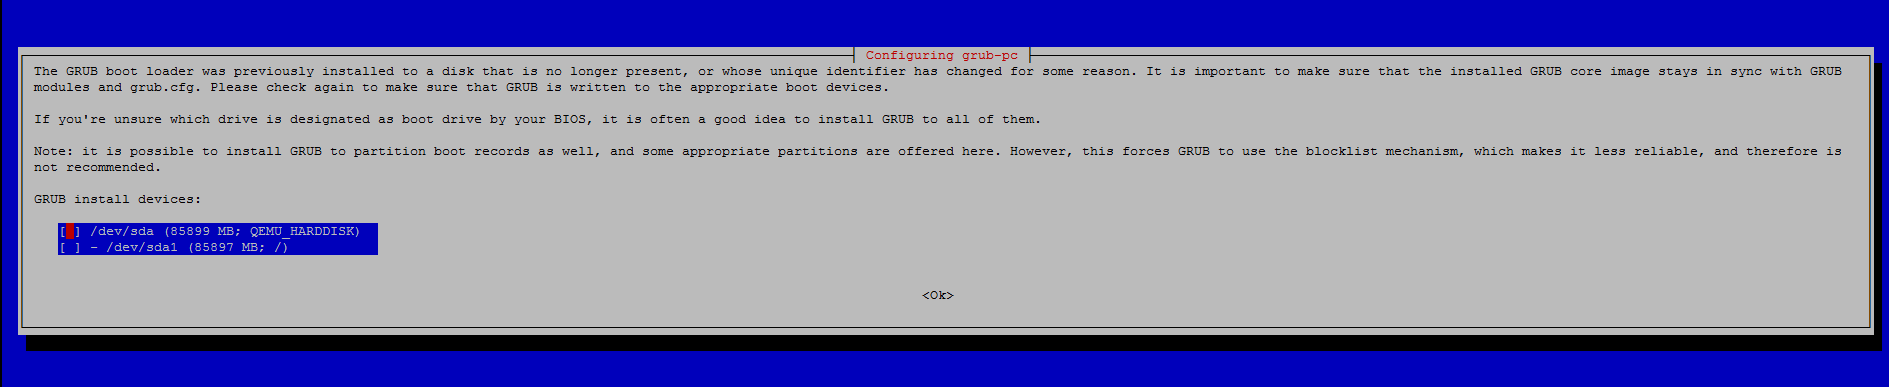
Note: During the upgrade from Debian 8.0 to 8.2 the UID of your disks may change and a message similar to the one below will appear. This means that we need to install Grub on your disk. To do this select /dev/sda by hitting the spacebar, once done you can tab to OK and hit Enter.
Once this is done. The next step is to be sure that tasksel is installed or is at least the latest version.
apt-get install aptitude tasksel
It will report back either installed already or it will download and install to the latest version.
Now we can install GNOME Desktop.
tasksel install gnome-desktop –new-install
The next step is a rather important step! Since one thing to note is that by default root login is not allowed login access to the GNOME Desktop gui. It is possible to disable the lock out feature to allow root gui access but it is highly not recommended! So you will need to create a user login of your choice.
adduser user
Replace user with what name you want to give the account. After pressing enter. Debian will make the user login. It will ask what password you wish to assign it and it will make the /home/user folder and assign permissions for that user to that folder. In older versions of Debian this was not automatically done.
We need to reboot our server so our changes can take place, restart the server with the following command:
shutdown -r now
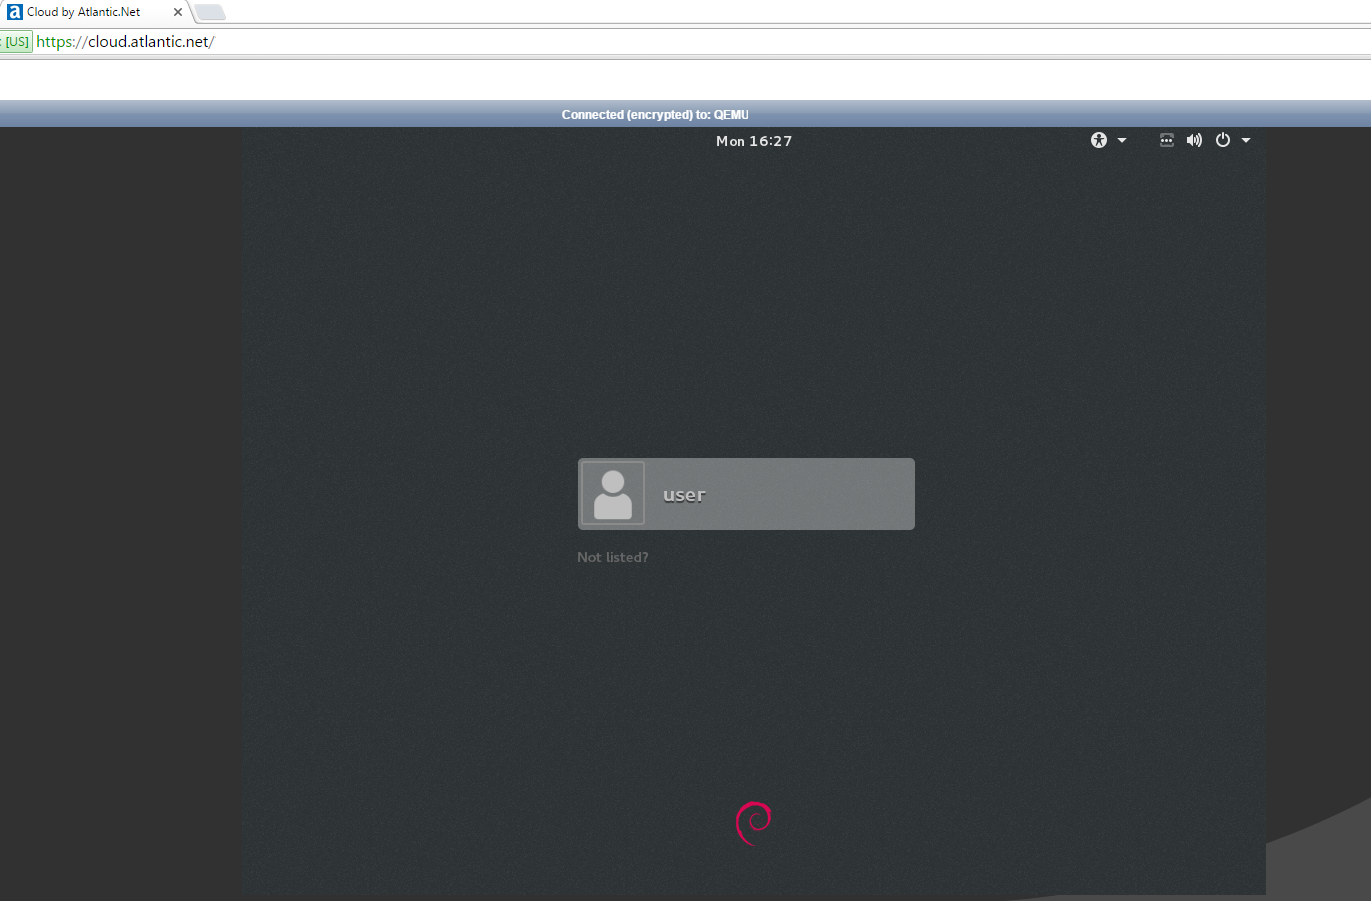
Now go to our cloud hosting web portal. Click on your server and start console. This enables VNC to view your local console virtually. The system will boot up login as the user you created and you are all done. Here is what the login screen should look like. Login name will be whatever you used when you executed the add user command.
Thank you for following along this how-to, we hoped you have enjoyed it. Please check back here for more updates or check out our related how-to’s below.
If you’re interested in making your server HIPAA-compliant, we recommend you read more about our HIPAA Cloud Hosting.
Get a $250 Credit and Access to Our Free Tier!
Free Tier includes:
G3.2GB Cloud VPS a Free to Use for One Year
50 GB of Block Storage Free to Use for One Year
50 GB of Snapshots Free to Use for One Year