Install Apache by running the following command:
sudo apt-get install apache2
Hit enter to when it asks “Do you want to continue?” during the install.
After installing, check to see if Apache is running by running the command:
October 8, 2015 by Editorial Team ( 450 ) under Dedicated Server Hosting
0 Comments

In this How-To, we will install a LAMP Stack on an Ubuntu 14.04 Cloud Server with PHP7. PHP7 should be released sometime in November 2015 and if you plan on adopting the new version, now is a great time to test your code. This guide will give you the option to install the Beta1 build or the newest nightly build of PHP7. If you’d like to learn more about PHP7, read our articles What is PHP7 – Breaking Changes from PHP5 and What is PHP7 – Performance Improvement.
NOTE: PHP7 is still in development and should not be used in production environments until it is fully released.
A server with Ubuntu 14.04 installed is required, which will take care of the Linux portion of the LAMP stack install.
To get PHP7 working we need to add the early access repo with the following command:
sudo echo "deb http://repos.zend.com/zend-server/early-access/php7/repos ubuntu/" >> /etc/apt/sources.list
Once added we should make sure our system is up to date with the following command:
sudo apt-get update
Install Apache by running the following command:
sudo apt-get install apache2
Hit enter to when it asks “Do you want to continue?” during the install.
After installing, check to see if Apache is running by running the command:
sudo service apache2 status
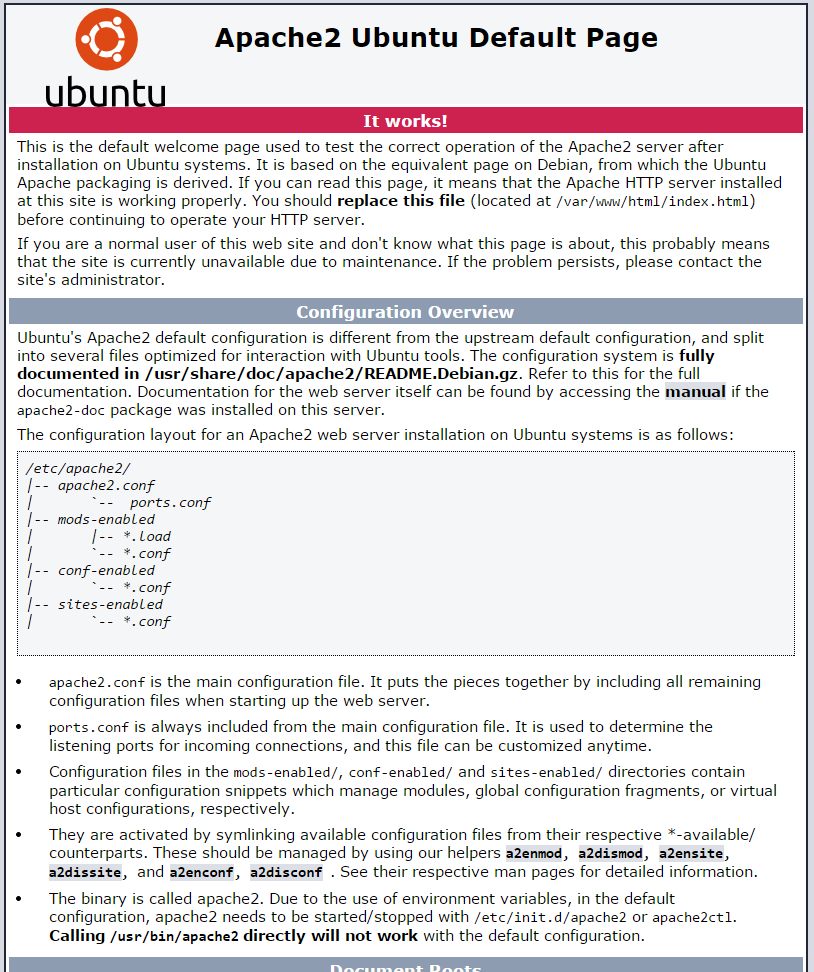
You can also verify if Apache is working by opening your browser and going to http://youripaddress
If you do not know your IP address, run the following command:
ifconfig
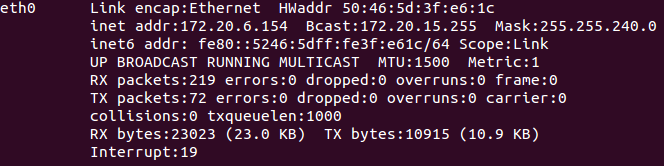
In our case, we would put http://172.20.6.154 in our browser’s address bar and get the following page:
Install MariaDB with the following command:
sudo apt-get install mariadb-server
Hit enter when it asks “Do you want to continue?” during the install.
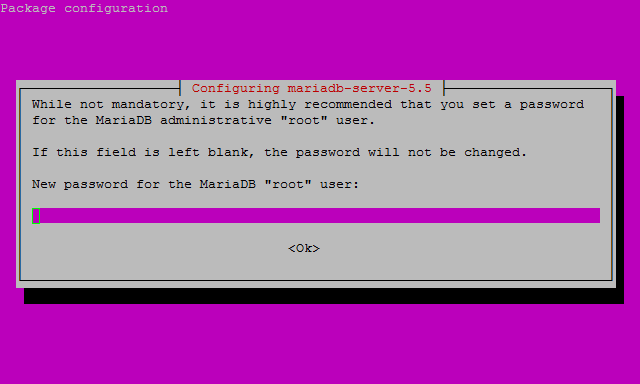
During the install, it will prompt you to enter a MariaDB root password. Set any password that you would like. It should be a strong password.
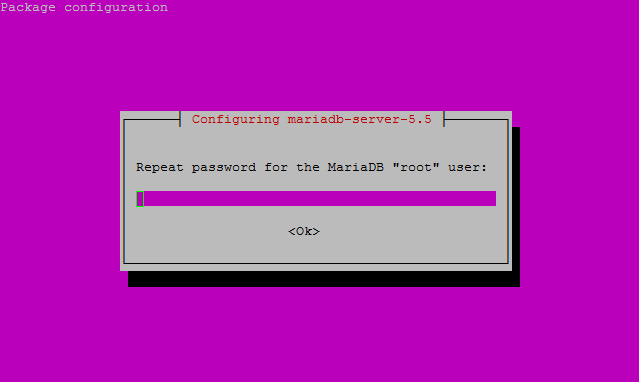
After you enter your MariaDB root password, you will need to re-enter it.
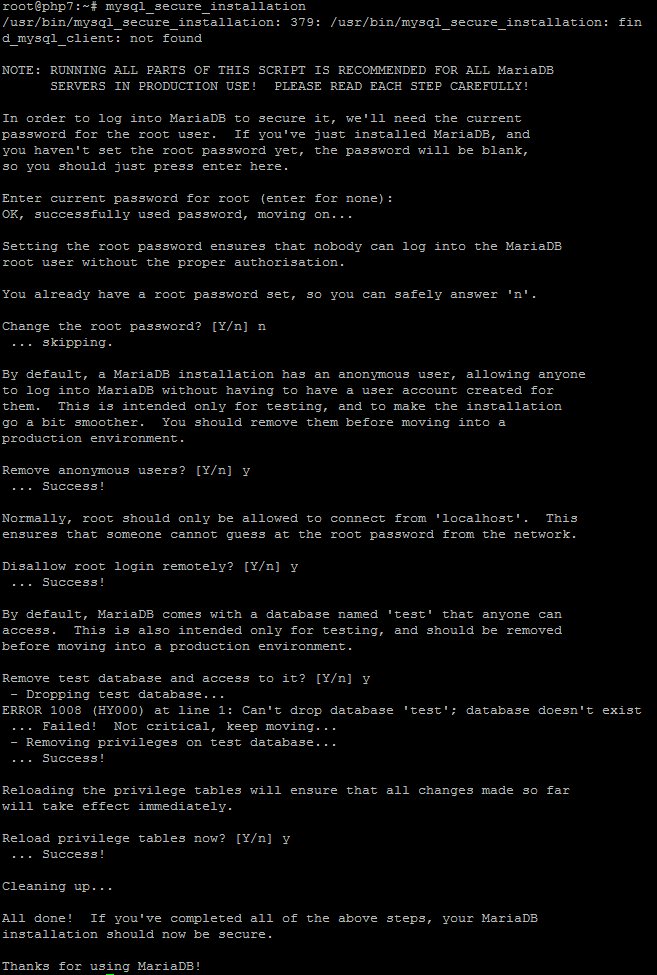
Continue with the MariaDB Security installation with the following command:
sudo mysql_secure_installation
Note: You will be prompted with a series of questions. Just type N for the change root password question and Y for yes on all of the rest, see the screen shot below:
Verify that MariaDB is running with the following command:
sudo service mysql status
We can now go ahead and install either the beta or the nightly release for PHP7. I would suggest the nightly release as it has fixed more bugs than the beta.
sudo apt-get install php7-nightly
sudo apt-get install php7-beta1
Hit Enter when it asks “Do you want to continue?” during the install.
You will also get a warning similar to the following
WARNING: The following packages cannot be authenticated!
  php7-nightly
Install these packages without verification? [y/N]
Type Y and then hit Enter to continue.
We need to move the modules and libraries of PHP7 into the appropriate Apache directories with the following commands:
sudo cp /usr/local/php7/libphp7.so /usr/lib/apache2/modules/
sudo cp /usr/local/php7/php7.load /etc/apache2/mods-available/
We now need to edit /etc/apache2/apache2.conf and add the following lines to the bottom of the file.
<FilesMatch \.php$>
SetHandler application/x-httpd-php
</FilesMatch>
Once added run the following command to enable the PHP mpm module and switch to mpm_prefork.
sudo a2dismod mpm_event && a2enmod mpm_prefork && a2enmod php7
Since we made changes, we need to restart Apache so that the changes take effect:
sudo service apache2 restart
To test out PHP7, we need to create a PHP file a named info.php in /var/www/html/ using your favorite editor and insert the following lines of code.
<?php
phpinfo();
?>
Test out this page in your browser with the following hyperlink with your IP address:
http://youripaddress/info.php
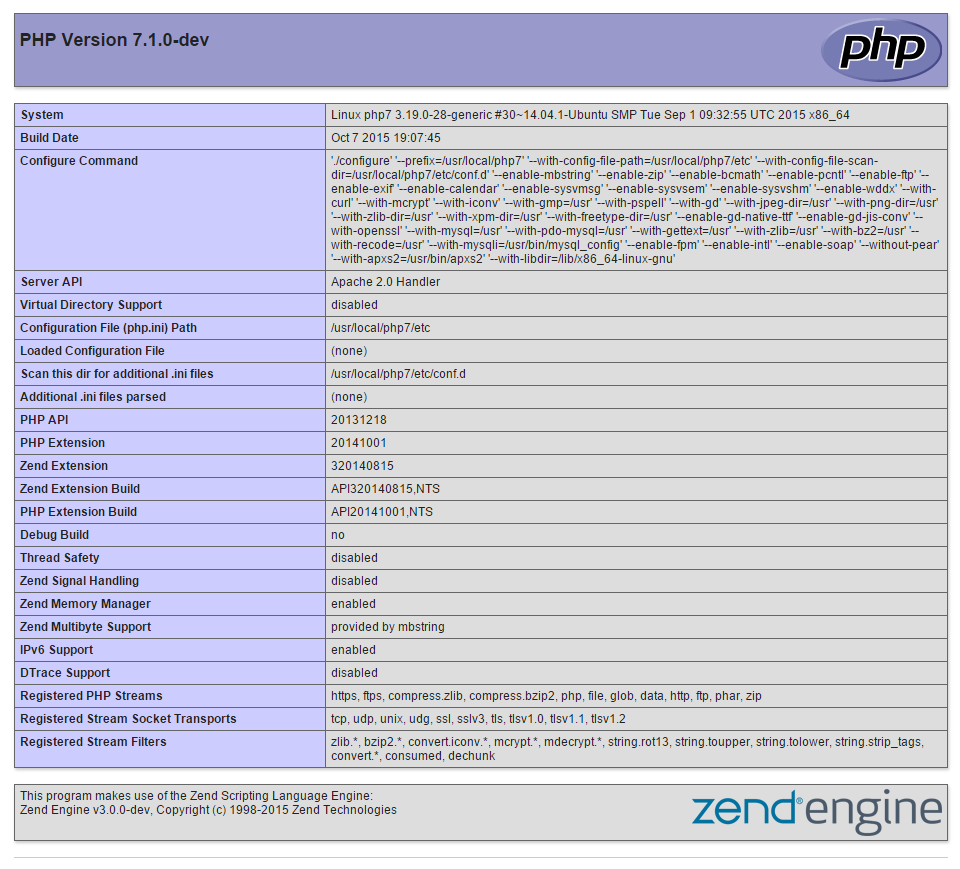
Check the PHP version at the top of the page it should be 7.0 or higher.
It’s a good idea to remove your info.php as hackers can set up attacks as they know more information about your server. Remove it with the following command:
sudo rm /var/www/html/info.php
Congratulations! You have just installed PHP7 with LAMP on your Ubuntu 14.04 Server. Thank you for following this How-To, and please check back for more updates or learn more about our reliable dedicated servers and dedicated server hosting solutions.
Free Tier includes:
G3.2GB Cloud VPS a Free to Use for One Year
50 GB of Block Storage Free to Use for One Year
50 GB of Snapshots Free to Use for One Year