# How to Install Apache on CentOS 7
> URL: https://www.atlantic.net/hipaa-compliant-hosting/how-to-install-apache-centos-7/ | Published: 2017-03-10 | Updated: 2026-03-01 | Author: Alexander Wise
##### Verified and tested on March 3, 2017
## Introduction
Apache is a commonly used service that allows you to serve web pages from your Cloud server. It had robust support for many different technologies by adding modules. It has become commonplace in many web workflows, like LAMP (Linux, Apache, MySQL, and PHP).
In order to install Apache on CentOS 7, you will need to create an Atlantic.Net Cloud Server and select CentOS 7.x for the operating system. You can sign up for our service or spin up a server in our[Atlantic.Net Cloud here](https://cloud.atlantic.net/?page=userlogin).
## Let’s Get Started – Installing Apache
The first thing we need to do is to make sure CentOS’s YUM package manager is up to date:
```
[root@atlanticnet ~]# sudo yum update
```
Next, we need to install the `httpd` package, which is the Apache web server.
```
[root@atlanticnet ~]# sudo yum install -y httpd
```
*Note: `-y` signifies to automatically answer “yes” to if we want to install the httpd package and its dependencies. If you choose not to use this, you will be prompted to answer yes or no before it will install the packages.*
Once Apache has finished installing, the `httpd` service will need to be started and enabled so it will run automatically when the server starts.
```
[root@atlanticnet ~]# sudo systemctl start httpd
[root@atlanticnet ~]# sudo systemctl enable httpd
```
We can check that the changes were successful by querying `systemctl`:
- On the “Loaded” line, right after “/usr/lib/systemd/system/httpd.service;” it should now says “enabled,” meaning it will automatically start Apache when the server boots up.
- The “Active” line will show “active (running)” if Apache was started successfully.
```
httpd.service - The Apache HTTP Server
Loaded: loaded (/usr/lib/systemd/system/httpd.service; enabled; vendor preset: disabled)
Active: active (running) since Fri 2017-03-10 20:03:41 UTC; 20s ago
Docs: man:httpd(8)
man:apachectl(8)
Main PID: 1101 (httpd)
Status: "Total requests: 0; Current requests/sec: 0; Current traffic: 0 B/sec"
CGroup: /system.slice/httpd.service
├─1101 /usr/sbin/httpd -DFOREGROUND
├─1102 /usr/sbin/httpd -DFOREGROUND
├─1103 /usr/sbin/httpd -DFOREGROUND
├─1104 /usr/sbin/httpd -DFOREGROUND
├─1105 /usr/sbin/httpd -DFOREGROUND
└─1106 /usr/sbin/httpd -DFOREGROUND
Mar 10 20:03:41 atlanticnet systemd[1]: Starting The Apache HTTP Server...
Mar 10 20:03:41 atlanticnet systemd[1]: Started The Apache HTTP Server.
```
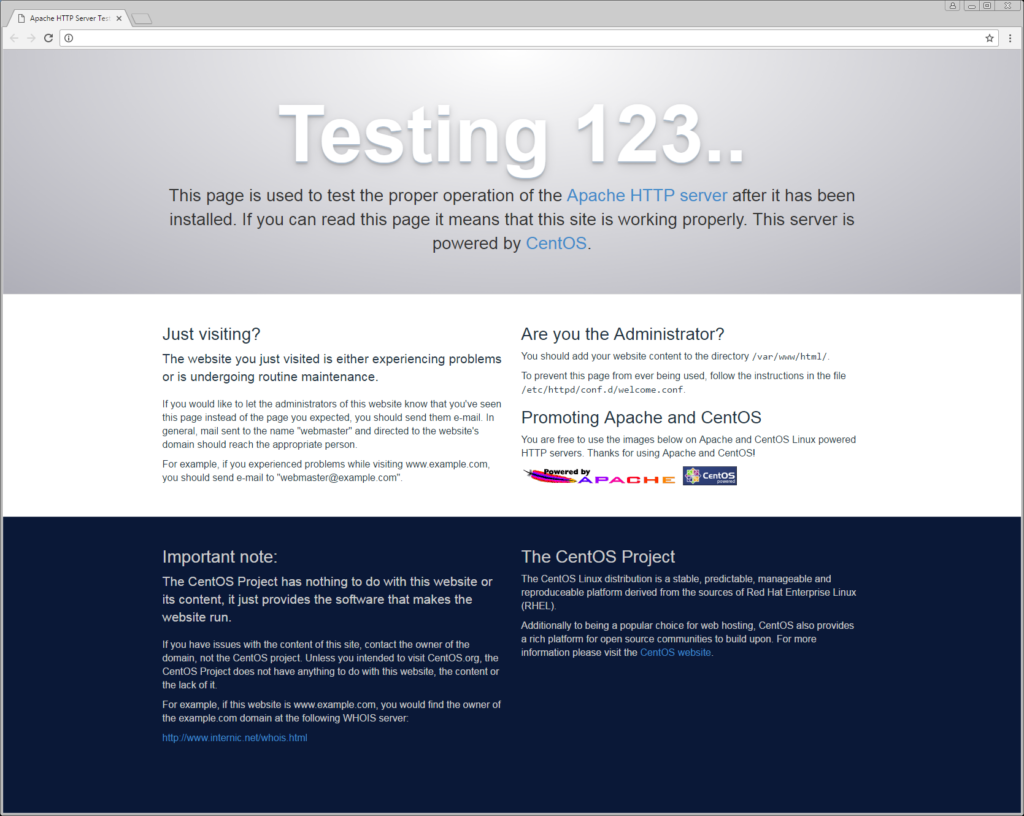
We can now check if Apache is accessible from the internet by going to a web browser and typing in the `http://[your server's IP address]`. This should bring up the Apache test page:
In order to add your own web pages, we will need to navigate to the directory that Apache is, by default, set up to look for HTML files:
```
[root@atlanticnet conf]# cd /var/www/html
```
We are now in the directory where your first HTML file, index.html, will be located at. The index.html file is the default page a web server will access when typing in `http://[your server's IP address]` or `http://[your domain.com].`
Let’s create index.html with the nano text editor:
```
[root@atlanticnet conf]# sudo nano index.html
```
Paste in the following HTML.
```
This is my new website.
This is my first web page create running on Apache's web server!
```
We will save the file with `CTRL + O` on the keyboard, and then selecting `CTRL + X` to exit nano.
Finally, go back to your web browser and once again type in `http://[your server's IP address]`. You should now see your test page:

## Congratulations!
You have successfully installed and tested the Apache web server! Thank you for following along and feel free to check back with us for further updates. We also have guides on how to [install Apache on Debian](https://www.atlantic.net/vps-hosting/how-to-install-apache-debian-7/) and [install Apache on Ubuntu](https://www.atlantic.net/vps-hosting/how-to-install-apache-ubuntu-20-04/) in our blog.
Cloud hosting is just one of the many hosting services offered by Atlantic.Net – We also offer dedicated, managed and [HIPAA compliant cloud hosting services](https://www.atlantic.net/hipaa-compliant-hosting/). Contact us today for more information on any of our services!