How to Enable Audio on a Windows Server 2008 R2
February 26, 2015 by Atlantic.Net NOC ( 43 ) under VPS Hosting
0 Comments
Verified and Tested 02/28/2015
Introduction
Audio is not enabled by default on Windows Server 2008 R2, but it is capable of playing sound. We will learn how to enable audio on your server.
Prerequisites
- Administrative access
Enabling Audio on Windows Server 2008 R2
First, we need to open Services by going to Start>All Programs>Administrative Tools>Services. You can also type “services.msc” in the search bar.
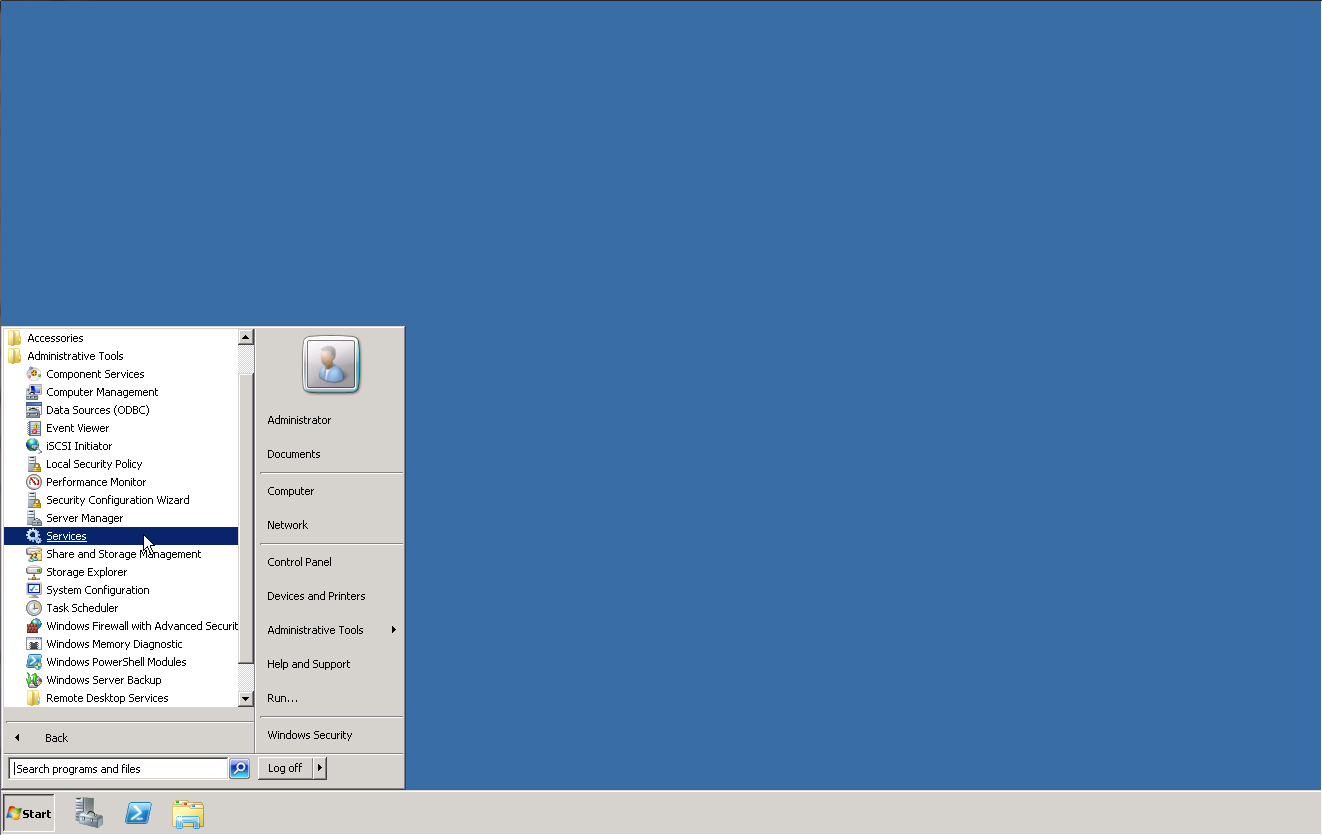 Start: Services
In Services, scroll down to Windows Audio and double click on it.
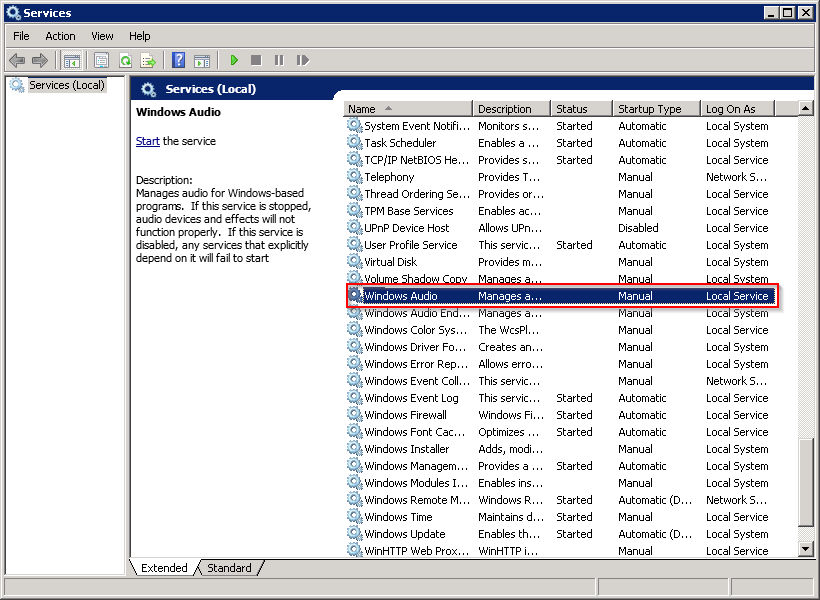 Services: Windows Audio
The Windows Audio Properties should open up. You will need to change the Startup Type to Automatic and then click on Start under the Service Status. Once done, click OK.
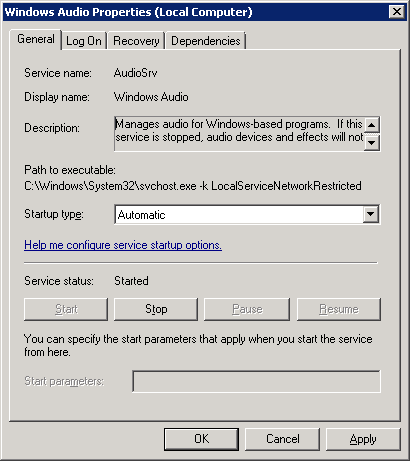 Windows Audio Properties.
We’re not quite done yet. Windows 2008 R2 disables remote audio playback by default. In order to enable this, you will need to enter your Terminal Services Configuration. To enter this, click on the Start button and search for this exact file: tsconfig.msc
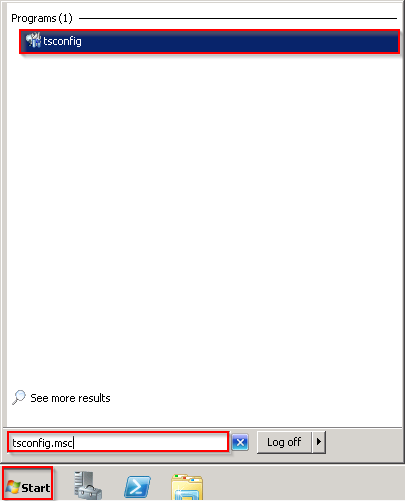 tsconfig
Click on tsconfig to run your Terminal Services Configuration. Once here, right-click on RDP-Tcp under Connections and choose Properties.
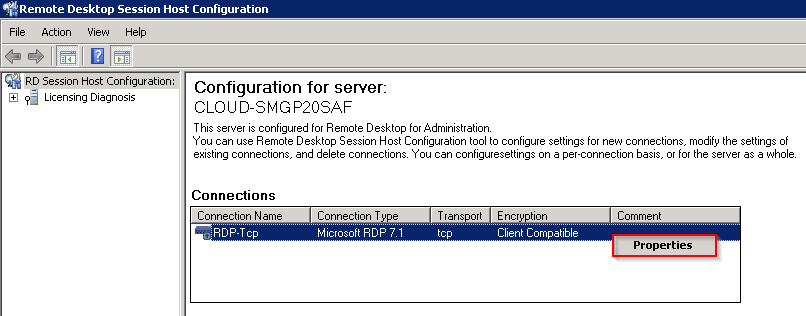 Remote Desktop Session Host Configuration
In the properties, click on the Client Settings tab and un-check the Audio and video playback box under the redirection section. Then click OK.
 RDP-Tcp Properties.
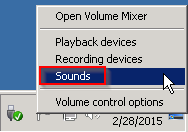
Close Terminal Services Config. In order for this new setting to take effect, you will need to exit your current Remote Desktop Session. Once you reconnect to your server, audio will be enabled! You can test this by right-clicking on the speaker icon in the bottom-right of your server’s desktop and clicking Sounds.
 Test Sounds
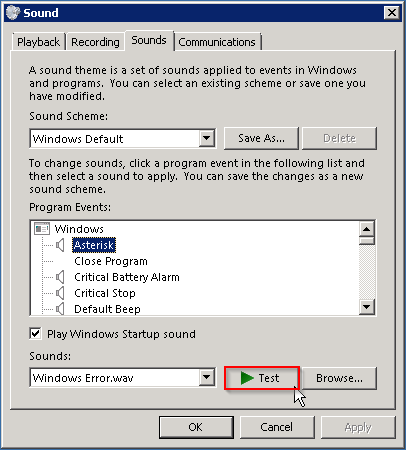
Click on any of the Windows sounds under Program Events and then click the Test button. You should hear the chosen sound.
 Sound
Sound
Thank you for following along this how-to, we hoped you have enjoyed it. Please check back here for more updates or click here to read some other interesting how-to’s for Windows. Atlantic.Net offers VPS hosting as well as managed hosting services which include a layer of business-essential managed services to your hosting packages. Contact us today for more information.
Get a $250 Credit and Access to Our Free Tier!
Free Tier includes:
G3.2GB Cloud VPS a Free to Use for One Year
50 GB of Block Storage Free to Use for One Year
50 GB of Snapshots Free to Use for One Year