This is my first atlantic App.
``` Save and close the file, then run the following command to adds changes in the working directory to the staging area: ``` git add test.html ``` Next, run the following command to save your changes to the local repository: ``` git commit -m "This my first version of test.html file" ``` You should see the following output: ``` [master (root-commit) 4d7a3de] This my first version of test.html file 1 file changed, 4 insertions(+) create mode 100644 test.html ```  Next, run the following command to upload local repository content to a remote repository. ``` git push origin master ``` You will be asked to provide your GitHub username and password, as shown below: ``` Username for 'https://github.com': YOUR_USERNAME Password for 'https://github.com’: YOUR_PASSWORD ``` After providing the correct details, your local repository content has been added to the remote repository: ``` Counting objects: 3, done. Delta compression using up to 4 threads. Compressing objects: 100% (2/2), done. Writing objects: 100% (3/3), 292 bytes | 0 bytes/s, done. Total 3 (delta 0), reused 0 (delta 0) To https://github.com/hitjethva/exampleapp.git * [new branch] master -> master ``` 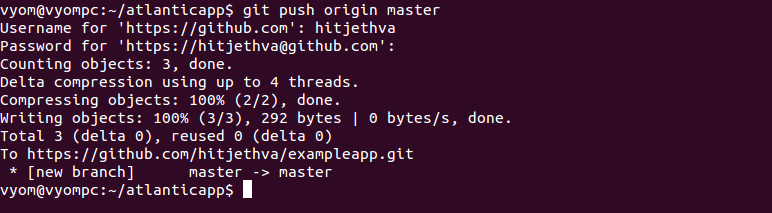 To verify it, go to the GitHub account page and refresh it. You should see the added file in the following screen: 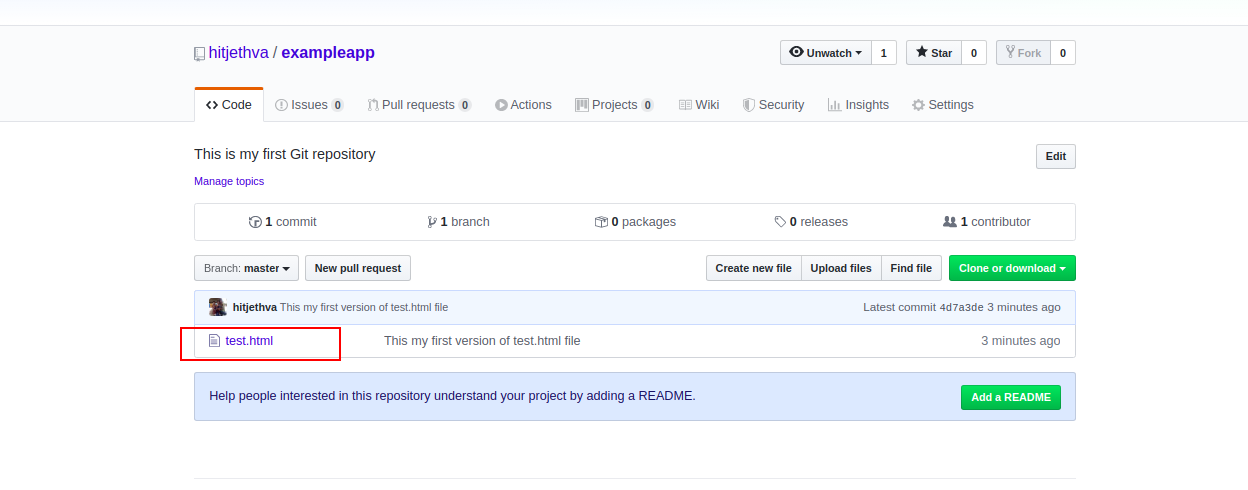 You can also view which remote servers are configured using the following command: ``` git remote -v ``` You should see the names of your remote repositories in the following output: ``` origin https://github.com/hitjethva/exampleapp.git (fetch) origin https://github.com/hitjethva/exampleapp.git (push) ``` ## Working with Git Revisions Next, edit the test.html file and add some more contents: ``` nano test.html ``` Make the following changes: ```This is my first atlantic App.
I am adding some content to this file.
``` Save and close the file when you are finished. Then, add the updated file to the remote repository with the following commands: ``` git add test.html git commit -m "This my second version of test.html file" git push origin master ``` 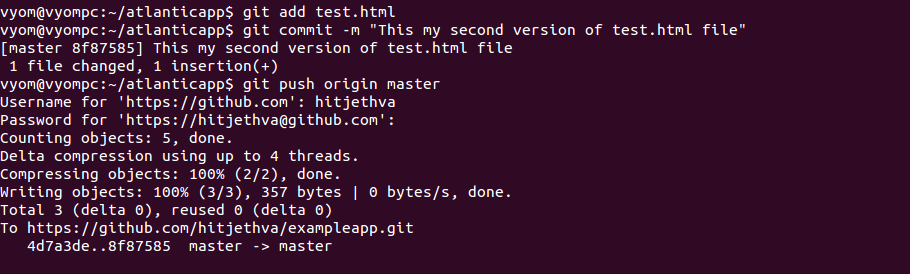 Now, go to the GitHub page and refresh it. You should see the updated file with different revision number in the following screen: 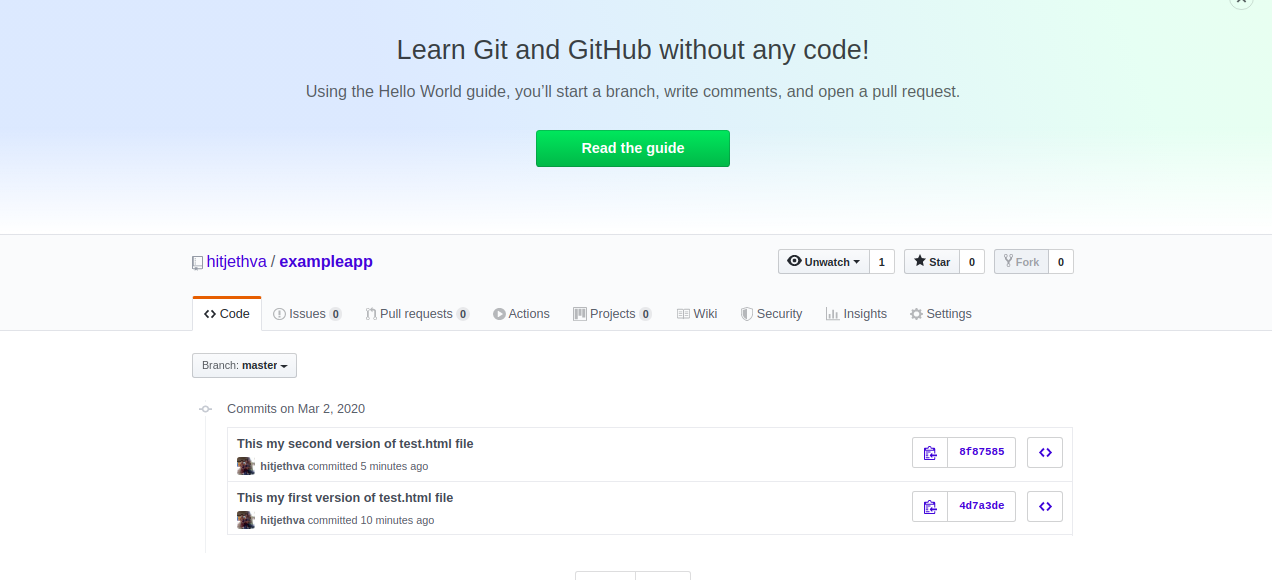 Next, open your terminal and clone your repository to the local system with the following command: ``` git clone https://github.com/hitjethva/exampleapp.git ``` You should see the following output: ``` Cloning into 'exampleapp'... remote: Enumerating objects: 6, done. remote: Counting objects: 100% (6/6), done. remote: Compressing objects: 100% (4/4), done. remote: Total 6 (delta 1), reused 5 (delta 0), pack-reused 0 Unpacking objects: 100% (6/6), done. Checking connectivity... done. ``` Next, change the directory to the cloned directory. ``` cd exampleapp/ ``` Now, you can use the git checkout command to download the files in the working directory to match with your desired version stored in that branch. For example, to download the previous version file, go to the GitHub page and copy the previous version file’s revision number as shown below: 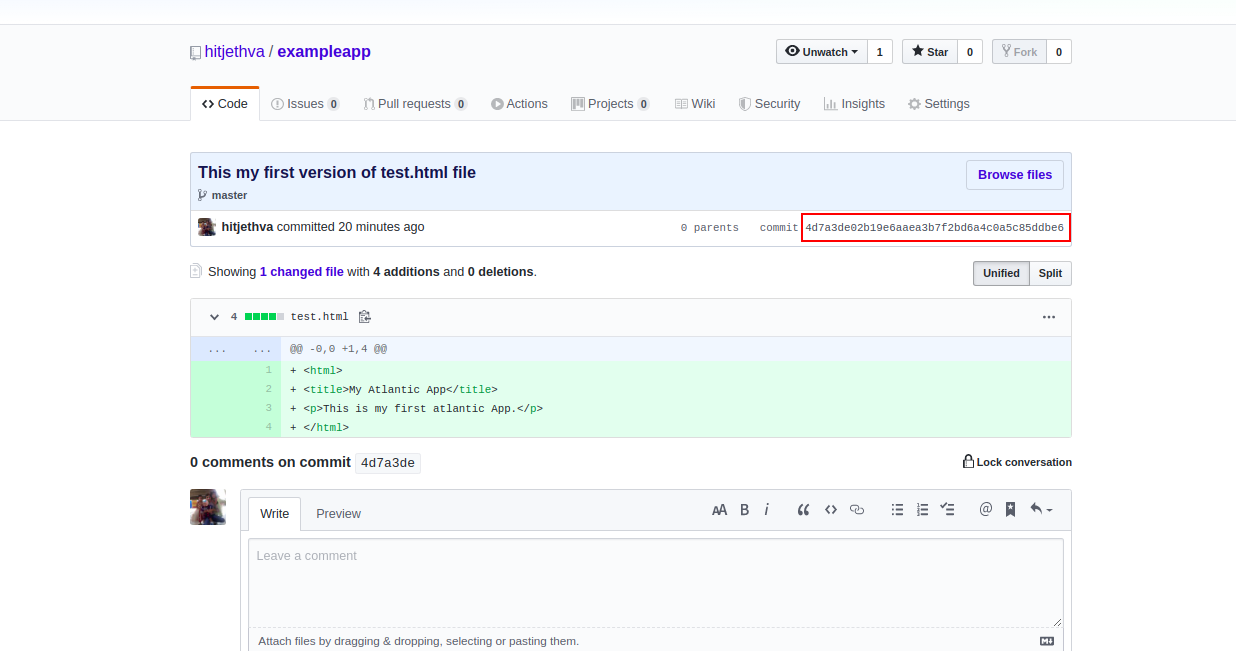 Next, run the git checkout command with revision number as shown below: ``` git checkout 4d7a3de02b19e6aaea3b7f2bd6a4c0a5c85ddbe6 ``` You should see the following output: ``` Note: checking out '4d7a3de02b19e6aaea3b7f2bd6a4c0a5c85ddbe6'. You are in 'detached HEAD' state. You can look around, make experimental changes and commit them, and you can discard any commits you make in this state without impacting any branches by performing another checkout. If you want to create a new branch to retain commits you create, you may do so (now or later) by using -b with the checkout command again. Example: git checkout -b new_branch_name HEAD is now at 4d7a3de... This my first version of test.html file ``` 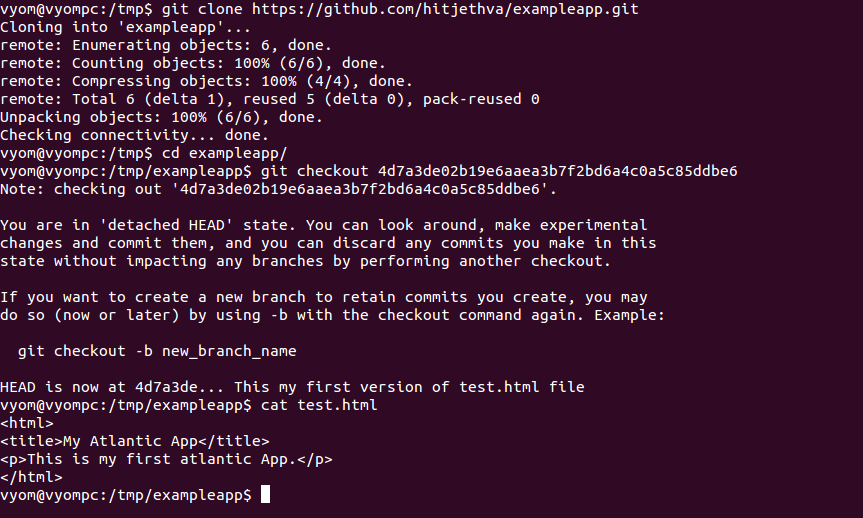 Now, check the content of test.html file: ``` cat test.html ``` You should see the content of your previous version file: ```This is my first atlantic App.
``` ## Conclusion In the above tutorial, we learned how to install Git on Ubuntu 18.04. We also learned how to add files and commit changes to the remote repository. You can now manage and track your project from a central location – start using Git today with a [VPS from Atlantic.Net](https://www.atlantic.net/vps-hosting/).