# How to Install Apache Subversion on Ubuntu 18.04
> URL: https://www.atlantic.net/vps-hosting/how-to-install-apache-subversion-on-ubuntu-18-04/ | Published: 2020-02-29 | Updated: 2023-11-17 | Author: Hitesh Jethva
Apache Subversion is an open-source version control system that stores previous versions of and changes to your files and directories. This will allow you to recover your older versions of files when you need it. You can also track the repository and identify who made specific changes.
Subversion is very similar to Git with the key difference that Git is a distributed version control system while SVN is a centralized version control system. Subversion has a single central repository that makes it easier for you to maintain a top-down approach to control.
In this tutorial, we will show you how to install and configure Apache Subversion on Ubuntu 18.04.
## Step 1 – Install Apache Subversion
Before starting, Apache webserver must be installed on your server. If not installed, you can install it with the following command:
```
apt-get install apache2 apache2-utils -y
```
Once the installation has been completed, you can install the Subversion with the following command:
```
apt-get install subversion libapache2-mod-svn -y
```
After installing Apache Subversion, you will need to enable some SVN modules. You can enable them with the following command:
```
a2enmod dav
a2enmod dav_svn
a2enmod authz_svn
```
Once all the modules are enabled, restart the Apache service to implement the changes:
```
systemctl restart apache2
```
At this point, Apache Subversion is installed. You can now proceed to create your first repository.
## Step 2 – Create the Subversion Repository
In this section, we will create the Subversion repository and create a user to access this repository.
First, create a directory for Subversion:
```
mkdir /svn
```
Next, create a repository named atlanticrepo inside the /svn directory:
```
svnadmin create /svn/atlanticrepo
```
Once the repository is created, change the ownership of the repository to www-data:
```
chown -R www-data:www-data /svn/atlanticrepo
chmod -R 775 /svn/atlanticrepo
```
Next, create a new Subversion user with the following command:
```
htpasswd -cm /etc/svn-user atlantic
```
Provide your desired password, as shown below:
```
New password:
Re-type new password:
Adding password for user atlantic
```
## Step 3 – Configure Apache for Subversion
Next, you will need to create an Apache virtual host file to access Apache Subversion through a web browser.
You can create it with the following command:
```
nano /etc/apache2/sites-available/svn.conf
```
Add the following lines:
```
ServerName svn.example.com
DAV svn
SVNParentPath /svn
AuthType Basic
AuthName "Subversion Repository"
AuthUserFile /etc/svn-user
Require valid-user
ErrorLog ${APACHE_LOG_DIR}/svn-error.log
CustomLog ${APACHE_LOG_DIR}/svn-access.log combined
```
Save and close the file when you are finished. Then, restart the Apache service to implement the changes:
```
systemctl restart apache2
```
## Step 4 – Access Apache Subversion
Now, open your web browser and type the URL **http://svn.example.com/svn/atlanticrepo**. You should see the following page:
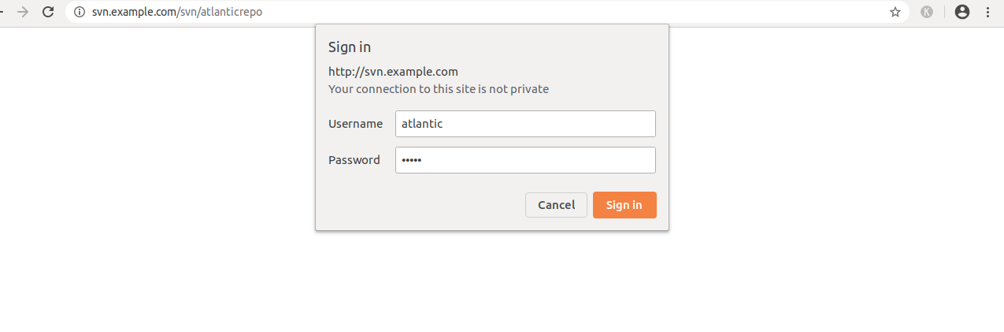
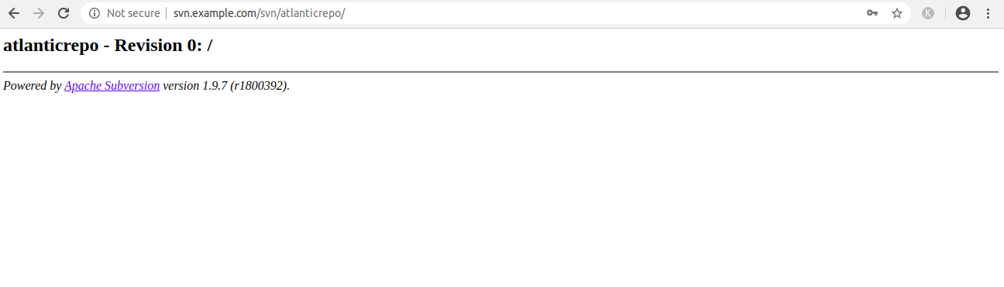
Now, provide your username, password and click on the O**K b**utton. You should see your created repository in the following screen:
## Step 5 – Test Subversion
In this section, we will install the Subversion client in the remote system, check out the repository from the Subversion server, create some files and directories, and add them to the Subversion repository.
Go to the remote system and install Subversion with the following command:
```
apt-get install subversion -y
```
Once installed, create a directory for the local repository with the following command:
```
mkdir atlantic
```
Next, check out the atlanticrepo repository from the Subversion server to the local repository with the following command:
```
svn checkout http://svn.example.com/svn/atlanticrepo --username atlantic atlantic/
```
You will be asked to provide a password for the user “atlantic” as shown below:
```
Authentication realm: Subversion Repository
Password for 'atlantic': *****
Checked out revision 0.
```
Next, change the directory to the atlantic repository and create some files and directories:
```
cd atlantic
touch file1.txt file2.txt
mkdir dir1 dir2
```
Next, add all the files and directories to the Subversion repository with the following command:
```
svn add file1.txt file2.txt dir1 dir2
```
You should see the following output:
```
A file1.txt
A file2.txt
A dir1
A dir2
```
Next, commit changes to the repository with the following command:
```
svn commit -m 'This is my first commit on Atlantic SVN server'
```
You should see the following output:
```
Adding dir1
Adding dir2
Adding file1.txt
Adding file2.txt
Transmitting file data ..
Committed revision 1.
```
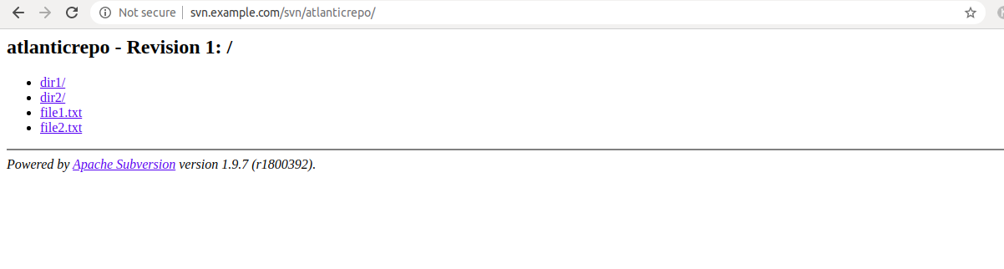
Now, open your web browser and access your repository using the URL **http://svn.example.com/svn/atlanticrepo**. You should see your newly added files and directories in the following screen:
## Conclusion
Congratulations! You have successfully installed and configured an Apache Subversion server on Ubuntu 18.04. You can now keep track of all your files and folders and recover any version of your files whenever you need it. Try Apache Subversion today on an Atlantic.Net [virtual private server](https://www.atlantic.net/vps-hosting/).