# Securing Your Apache Web Server with Mod Security
> URL: https://www.atlantic.net/vps-hosting/securing-your-apache-web-server-with-mod-security/ | Published: 2020-02-24 | Updated: 2023-11-25 | Author: Hitesh Jethva
ModSecurity, also known as Modsec, is a free and open-source web application firewall for Apache webserver. ModSecurity is an Apache module that helps you to protect your web server from different types of attacks including SQL injection, XSS, trojans, bots, session capture/hijacking, and many more. ModSecurity provides powerful rule sets with real-time web monitoring, logging, and access control.
In this tutorial, we will show you how to install and configure Mod Security with Apache on Ubuntu 18.04.
## Step 1 – Install LAMP Stack
First, you will need to install LAMP Stack on your server. You can install it by running the following command:
```
apt-get install apache2 mariadb-server php7.2-mysql php7.2 libapache2-mod-php7.2 unzip git -y
```
After installing LAMP, start the Apache service and enable it to start after system reboot with the following command:
```
systemctl start apache2
systemctl enable apache2
```
At this point, the Apache web server is installed and running on your server.
## Step 2 – Install ModSecurity
By default, ModSecurity is available in the Ubuntu 18.04 default repository. You can install it using the following command:
```
apt-get install libapache2-mod-security2 -y
```
Once the installation has been completed, restart the Apache service to apply the changes.
```
systemctl restart apache2
```
Next, you can also check whether the module has been loaded or not by running the following command:
```
apachectl -M | grep security
```
You should get the following output:
```
security2_module (shared)
```
## Step 3 – Configure ModSecurity
There are no security rules configured by default, so you will need to enable it first. To do so, rename the ModSecurity default configuration file /etc/modsecurity/modsecurity.conf-recommended to /etc/modsecurity/modsecurity.conf.
```
cp /etc/modsecurity/modsecurity.conf-recommended /etc/modsecurity/modsecurity.conf
```
Next, edit the file using your preferred text editor:
```
nano /etc/modsecurity/modsecurity.conf
```
Find the following line:
```
SecRuleEngine DetectionOnly
```
Replace it with the following:
```
SecRuleEngine On
```
Save and close the file when you are finished. Then, restart the Apache service for the changes to take effect.
```
systemctl restart apache2
```
## Step 4 – Download and Configure ModSecurity Core Rule
ModSecurity’s default set of rules is available inside /usr/share/modsecurity-crs directory, but it is recommended to download a new rule set from the GitHub.
First, remove the old rules with the following command:
```
rm -rf /usr/share/modsecurity-crs
```
Next, download the latest rule set with the following command:
```
git clone https://github.com/SpiderLabs/owasp-modsecurity-crs.git /usr/share/modsecurity-crs
```

Next, you will need to enable this rule set in apache configuration. You can enable it by editing the file /etc/apache2/mods-enabled/security2.conf:
```
nano /etc/apache2/mods-enabled/security2.conf
```
Add the following lines above the line “”
```
IncludeOptional "/usr/share/modsecurity-crs/*.conf
IncludeOptional "/usr/share/modsecurity-crs/rules/*.conf
```
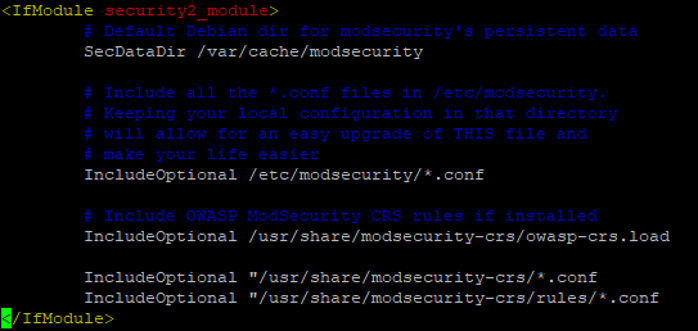
Save and close the file. Then, restart the Apache service and enable the Apache header module to implement the changes.
```
a2enmod headers
systemctl restart apache2
```
At this point, ModSecurity is configured to work with Apache webserver.
## Step 5 – Test ModSecurity
After configuring ModSecurity, you can try to execute malicious scripts on a web browser and check whether ModSecurity rules will be triggered.
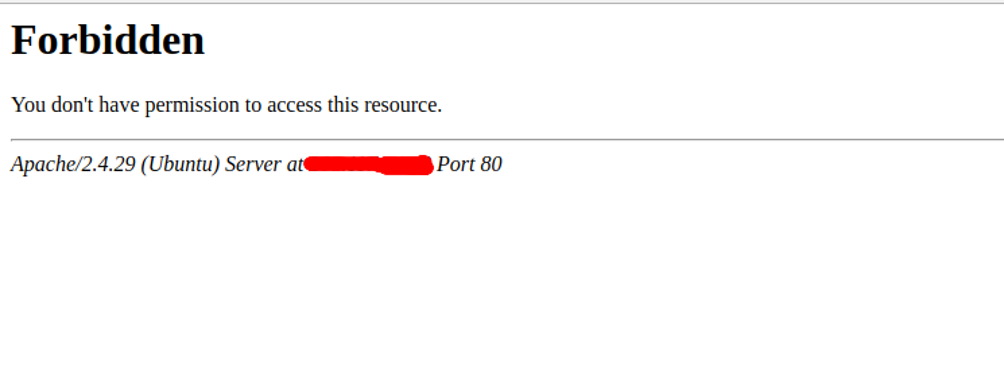
Open your web browser and type the URL **http://your-server-ip/index.html?exec=/bin/bash**. You should get a forbidden error message in the following page:
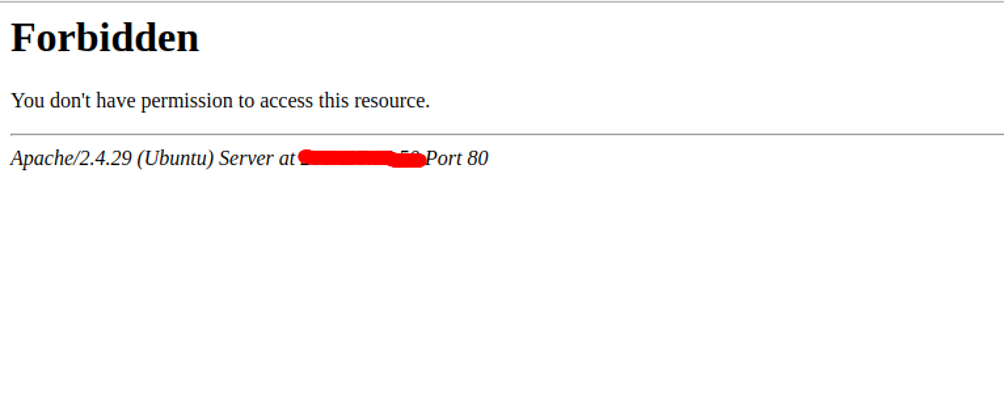
To test ModSecurity’s rules for protecting against a simulated XSS attack, access the URL **http://your-server-ip/?q=”>** from your web browser. You should see the following screen:
To test ModSecurity’s rules against Nessus scans, use a curl command with Nessus scanners to send HTTP requests to the Apache server as shown below:
```
curl -i http://your-server-ip -A Nessus
```
You should get a 403 Forbidden response because ModSecurity has identified the User Agent as a Nessus scan:
```
HTTP/1.1 403 Forbidden
Date: Sat, 21 Dec 2019 04:17:24 GMT
Server: Apache/2.4.29 (Ubuntu)
Content-Length: 278
Content-Type: text/html; charset=iso-8859-1
```
## Step 6 – Exclude a Specific Domain from ModSecurity
In some cases, you need to exclude a specific domain from ModSecurity protection. To disable ModSecurity for a specific domain, open the Apache virtual host configuration file for a specific domain:
```
nano /etc/apache2/site-enabled/your-domain.conf
```
Add the following lines inside the … block:
```
SecRuleEngine Off
```
Save and close the file. Then, restart the Apache service to apply the changes.
```
systemctl restart apache2
```
## Conclusion
We have reviewed how to install and configure ModSecurity to protect your Apache webserver from malicious attacks. For more information, visit the ModSecurity documentation at [ModSecurity](https://www.modsecurity.org/documentation.html).