Nexus is a repository manager that is used for managing all dependencies required in your entire software development lifecycle. It provides a single source for all components and makes it easier to distribute your software. It can be integrated with the existing user and LDAP authentication. Currently, it is used by more than 100,000 organizations globally.
In this post, we will show you how to install the Nexus repository manager on Debian 10.
Step 1 – Install Java
Before starting, Java 8 must be installed on your server. By default, Java 8 is not included in the Debian 10 default repository, so you will need to add the Java 8 repository to the APT.
You can add it with the following command:
nano /etc/apt/sources.list
Add the following lines:
deb http://ftp.debian.org/debian stretch main
deb-src http://ftp.debian.org/debian stretch main
Save and close the file then update the repository with the following command:
apt-get update -y
Next, install Jave 8 with the following command:
apt-get install openjdk-8-jdk -y
Once Java has been installed, verify the Java version using the following command:
java -version
You should see the following output:
openjdk version "1.8.0_252"
OpenJDK Runtime Environment (build 1.8.0_252-8u252-b09-1~deb9u1-b09)
OpenJDK 64-Bit Server VM (build 25.252-b09, mixed mode)
Step 2 – Install Nexus Repository
First, add a user to run Nexus:
useradd -M -d /opt/nexus -s /bin/bash -r nexus
Next, install the Sudo package and allow nexus user to run all commands without providing Sudo password:
apt-get install sudo
echo "nexus   ALL=(ALL)       NOPASSWD: ALL" > /etc/sudoers.d/nexus
Next, download the latest version of Nexus with the following command:
wget https://sonatype-download.global.ssl.fastly.net/repository/downloads-prod-group/3/nexus-3.29.2-02-unix.tar.gz
Next, create a directory for Nexus and extract the downloaded file to /opt/nexus.
mkdir /opt/nexus
tar xzf nexus-3.29.2-02-unix.tar.gz -C /opt/nexus --strip-components=1
Next, set proper ownership to /opt/nexus directory with the following command:
chown -R nexus:nexus /opt/nexus
Step 3 – Configure Nexus Repository
Next, you will need to edit nexus.vmoptions file:
nano /opt/nexus/bin/nexus.vmoptions
Find the following lines:
-Xms2703m
-Xmx2703m
-XX:MaxDirectMemorySize=2703m
Replaced them with the following lines:
-Xms1024m
-Xmx1024m
-XX:MaxDirectMemorySize=1024m
Next, find the following lines:
-Dkaraf.data=../sonatype-work/nexus3
-Dkaraf.log=../sonatype-work/nexus3/log
-Djava.io.tmpdir=../sonatype-work/nexus3/tmp
Replaced them with the following lines:
-Dkaraf.data=./sonatype-work/nexus3
-Dkaraf.log=./sonatype-work/nexus3/log
-Djava.io.tmpdir=./sonatype-work/nexus3/tmp
Save and close the file then edit /opt/nexus/bin/nexus.rc file:
nano /opt/nexus/bin/nexus.rc
Uncomment and change the following line:
run_as_user="nexus"
Save and close the file when you are finished.
Next, start the Nexus with the following command:
sudo -u nexus /opt/nexus/bin/nexus start
Wait for some time to start the Nexus service.
You can check the Nexus log for detailed information:
tail -f /opt/nexus/sonatype-work/nexus3/log/nexus.log
Once the Nexus is started, you should see the following output:
2021-06-20 06:46:44,586+0000 INFO  [jetty-main-1]  *SYSTEM org.eclipse.jetty.server.Server - Started @55167ms
2021-06-20 06:46:44,587+0000 INFO  [jetty-main-1]  *SYSTEM org.sonatype.nexus.bootstrap.jetty.JettyServer -
-------------------------------------------------

Started Sonatype Nexus OSS 3.29.2-02

-------------------------------------------------
At this point, Nexus is started and listen on port 8081. You can check it with the following command:
ss -antpl | grep :8081
You should see the following output:
LISTEN 0 50 0.0.0.0:8081 0.0.0.0:* users:(("java",pid=1547,fd=793))
Next, stop Nexus with the following command:
sudo -u nexus /opt/nexus/bin/nexus stop
We will create a systemd service file to manage Nexus.
Step 4 – Create a Systemd Service File for Nexus
Now, create a systemd service file for Nexus with the following command:
nano /etc/systemd/system/nexus.service
Add the following lines:
[Unit]
Description=nexus service
After=network.target

[Service]
Type=forking
LimitNOFILE=65536
ExecStart=/opt/nexus/bin/nexus start
ExecStop=/opt/nexus/bin/nexus stop
User=nexus
Restart=on-abort

[Install]
WantedBy=multi-user.target
Save and close the file, then reload the systemd daemon:
systemctl daemon-reload
Next, start the Nexus service and enable it to start at system reboot:
systemctl enable --now nexus.service
You can now check the status of Nexus with the following command:
systemctl status nexus
Output:
● nexus.service - nexus service
   Loaded: loaded (/etc/systemd/system/nexus.service; enabled; vendor preset: enabled)
   Active: active (running) since Sun 2021-06-20 06:48:20 UTC; 8s ago
  Process: 1934 ExecStart=/opt/nexus/bin/nexus start (code=exited, status=0/SUCCESS)
 Main PID: 2106 (java)
    Tasks: 41 (limit: 4701)
   Memory: 449.0M
   CGroup: /system.slice/nexus.service
           └─2106 /usr/lib/jvm/java-8-openjdk-amd64/jre/bin/java -server -Dinstall4j.jvmDir=/usr/lib/jvm/java-8-openjdk-amd64/jre -Dexe4j.modul

Jun 20 06:48:19 debian10 systemd[1]: Starting nexus service...
Jun 20 06:48:20 debian10 nexus[1934]: Starting nexus
Jun 20 06:48:20 debian10 systemd[1]: Started nexus service.
Step 5 – Access Nexus Web Interface
Wait for some time to start the Nexus service, then print the Nexus admin password with the following command:
cat /opt/nexus/sonatype-work/nexus3/admin.password
Output:
538fd664-215b-45ac-8cf3-e2a24a256a23
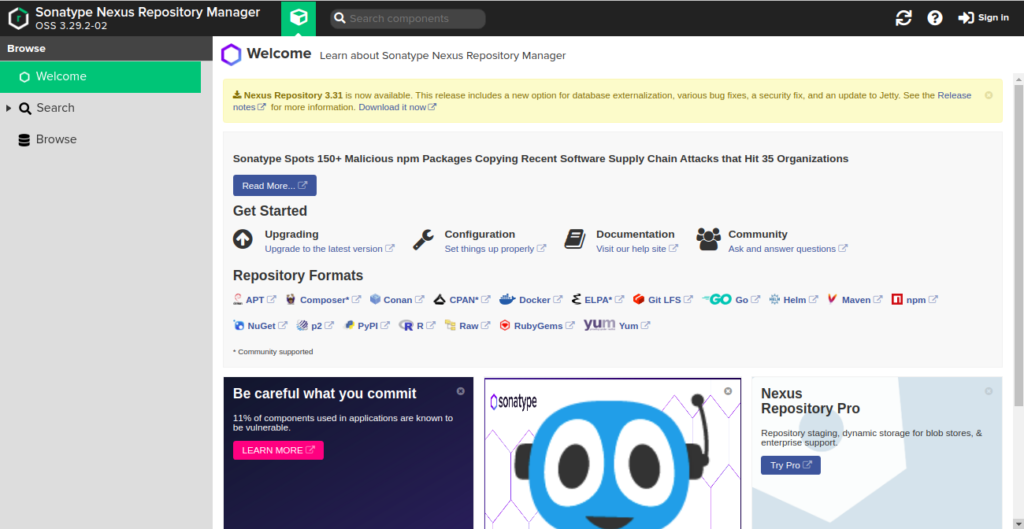
Now, open your web browser and access the Nexus web interface using the URL http://your-server-ip:8081. You should see the following page:
Click on the Sign In button. You should see the Nexus login page:
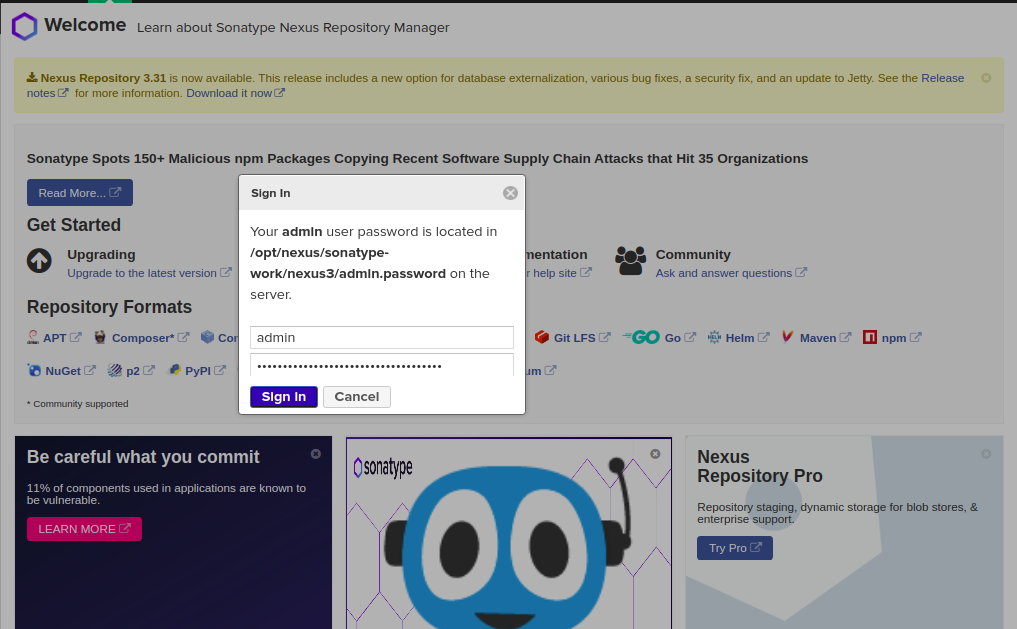
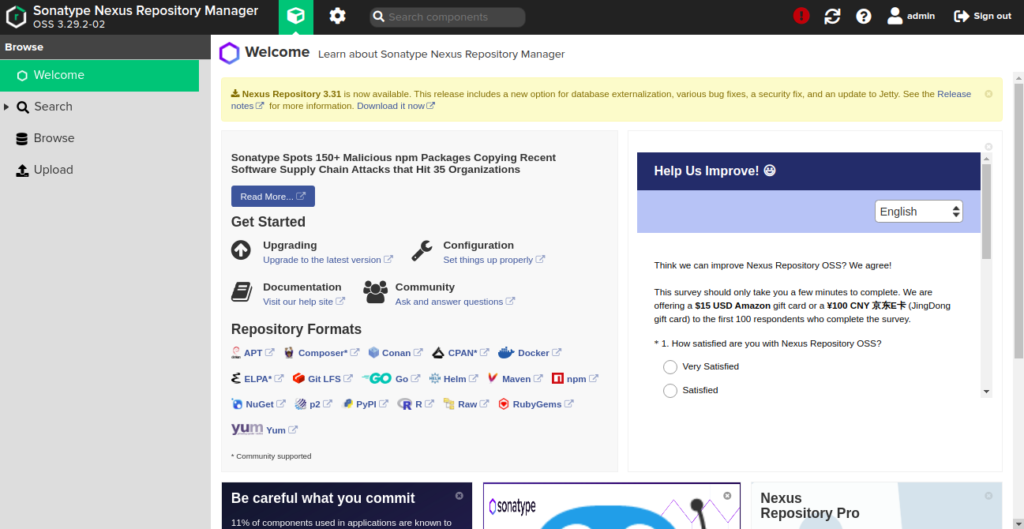
Provide your admin username and password then click on the Sign in button. You should see the Nexus web interface on the following page:
Conclusion
Congratulations! You have successfully installed and configured the Nexus repository manager on Debian 10. You can now implement Nexus in your development environment and start managing your entire software development lifecycle. Try installing it on your dedicated server from Atlantic.Net.