Pleroma is a free, open-source and self-hosted social networking platform. It consists of two components, a backend which is called Pleroma and a frontend which is called Pleroma-FE. It is compatible with Mastodon and other ActivityPub implementations.
In this post, we will show you how to install Pleroma with Nginx and Let’s Encrypt SSL on Ubuntu 20.04.
Step 1 – Install Nginx and PostgreSQL
First, install Nginx and PostgreSQL with the following command:
apt-get install postgresql nginx -y
Once both packages are installed, install other dependencies with the following command:
apt-get install wget curl gnupg2 ca-certificates lsb-release gnupg zip libncurses5 libmagic-dev unzip -y
After installing all the dependencies, you can proceed to the next step.
Step 2 – Download Pleroma
First, create a user for Pleroma with the following command:
adduser --system --shell /bin/bash --home /opt/pleroma pleroma
Next, switch the user to Pleroma and download the latest version of Pleroma with the following command:
su - pleroma
curl "https://git.pleroma.social/api/v4/projects/2/jobs/artifacts/stable/download?job=amd64" -o pleroma_amd64.zip
Next, create a directory for Pleroma and extract the downloaded file to the pleroma directory:
mkdir pleroma
unzip pleroma_amd64.zip -d pleroma
Next, move all the contents from pleroma to /opt/pleroma with the following command:
mv pleroma/release/* /opt/pleroma/
Next, exit from the Pleroma user with the following command:
exit
Next, create other required directories with the following command:
mkdir -p /var/lib/pleroma/{uploads,static}
mkdir -p /etc/pleroma
Next, set proper ownership to all created directories:
chown -R pleroma /var/lib/pleroma /etc/pleroma
Step 3 – Configure Pleroma
Next, switch the user to Pleroma and install the Pleroma using the following command:
su - pleroma
./bin/pleroma_ctl instance gen --output /etc/pleroma/config.exs --output-psql /tmp/setup_db.psql
You will be asked several questions as shown below:
What domain will your instance use? (e.g pleroma.soykaf.com) [] pleroma.linuxbuz.com
What is the name of your instance? (e.g. The Corndog Emporium) [pleroma.linuxbuz.com]
What is your admin email address? [] [email protected]
What email address do you want to use for sending email notifications? [[email protected]]
Do you want search engines to index your site? (y/n) [y] y
Do you want to store the configuration in the database (allows controlling it from admin-fe)? (y/n) [n] n
What is the hostname of your database? [localhost]
What is the name of your database? [pleroma]
What is the user used to connect to your database? [pleroma]
What is the password used to connect to your database? [autogenerated] password
Would you like to use RUM indices? [n] n
What port will the app listen to (leave it if you are using the default setup with nginx)? [4000]
What ip will the app listen to (leave it if you are using the default setup with nginx)? [127.0.0.1]
What directory should media uploads go in (when using the local uploader)? [/var/lib/pleroma/uploads]
What directory should custom public files be read from (custom emojis, frontend bundle overrides, robots.txt, etc.)? [/var/lib/pleroma/static]
Do you want to strip location (GPS) data from uploaded images? This requires exiftool, it was detected as not installed, please install it if you answer yes. (y/n) [n] n
Do you want to anonymize the filenames of uploads? (y/n) [n] y
Do you want to deduplicate uploaded files? (y/n) [n] y
Writing config to /etc/pleroma/config.exs.
Writing the postgres script to /tmp/setup_db.psql.
Writing /var/lib/pleroma/static/robots.txt.

 All files successfully written! Refer to the installation instructions for your platform for next steps.
Once Pleroma is installed, exit from the Pleroma user with the following command:
exit
Step 4 – Migrate the Database
Next, log in to PostgreSQL and import the Pleroma database to PostgreSQL:
su - postgres
psql -f /tmp/setup_db.psql
Output:
CREATE ROLE
CREATE DATABASE
You are now connected to database "pleroma" as user "postgres".
CREATE EXTENSION
CREATE EXTENSION
CREATE EXTENSION
Next, exit from the PostgreSQL with the following command:
exit
Next, log in to Pleroma user and migrate the database with the following command:
su - pleroma
./bin/pleroma_ctl migrate
Next, exit from the Pleroma user with the following command:
exit
Step 5 – Install And Configure Let’s Encrypt
First, install the Certbot client with the following command:
apt-get install python3-certbot-nginx -y
Next, stop the Nginx service and download the Let’s Encrypt SSL for your domain with the following command:
systemctl stop nginx
certbot certonly --standalone --preferred-challenges http -d pleroma.linuxbuz.com
Next, copy the sample Pleroma configuration file to the Nginx configuration location:
cp /opt/pleroma/installation/pleroma.nginx /etc/nginx/conf.d/pleroma.conf
Next, replace the word “example.tld” with your domain name in pleroma.conf file:
sed -i 's/example\.tld/pleroma.linuxbuz.com/g' /etc/nginx/conf.d/pleroma.conf
Next, verify the Nginx for any syntax errors:
nginx -t
Output:
nginx: the configuration file /etc/nginx/nginx.conf syntax is ok
nginx: configuration file /etc/nginx/nginx.conf test is successful
Note: If you get this error message, you need to edit the /etc/nginx/nginx.conf file and change the value server_names_hash_bucket_size to 64:
nginx: [emerg] could not build server_names_hash, you should increase server_names_hash_bucket_size: 32
nginx: configuration file /etc/nginx/nginx.conf test failed
Next, restart the Nginx service to apply the changes:
systemctl restart nginx
Step 6 – Start Pleroma Service
First, copy the Pleroma service file from the Pleroma directory to the system location:
cp /opt/pleroma/installation/pleroma.service /etc/systemd/system/pleroma.service
Next, start the Pleroma service and enable it to start at system reboot:
systemctl start pleroma
systemctl enable pleroma
Next, check the status of the Pleroma service with the following command:
systemctl status pleroma
You should see the following output:
● pleroma.service - Pleroma social network
     Loaded: loaded (/etc/systemd/system/pleroma.service; disabled; vendor preset: enabled)
     Active: active (running) since Sun 2021-06-20 08:15:21 UTC; 4s ago
   Main PID: 12086 (beam.smp)
      Tasks: 20 (limit: 2353)
     Memory: 129.0M
     CGroup: /system.slice/pleroma.service
             ├─12086 /opt/pleroma/erts-10.7.2.1/bin/beam.smp -- -root /opt/pleroma -progname erl -- -home /opt/pleroma -- -noshell -s elixir s>
             ├─12134 /opt/pleroma/erts-10.7.2.1/bin/epmd -daemon
             └─12137 erl_child_setup 1024
Step 7 – Create an Admin User
Next, you will need to create an admin user for the Pleroma web interface.
First, log in to Pleroma user with the following command:
su - pleroma
Next, create an admin user with the following command:
./bin/pleroma_ctl user new admin [email protected] --password mypassword --admin
You should see the following output:
A user will be created with the following information:
  - nickname: admin
  - email: [email protected]
  - password: mypassword
  - name: admin
  - bio:
  - moderator: false
  - admin: true

Continue? [n] y
User admin created
Step 8 – Access Pleroma Web Interface
Now, open your web browser and access the Pleroma web interface using the URL https://pleroma.linuxbuz.com. You should see the following screen:
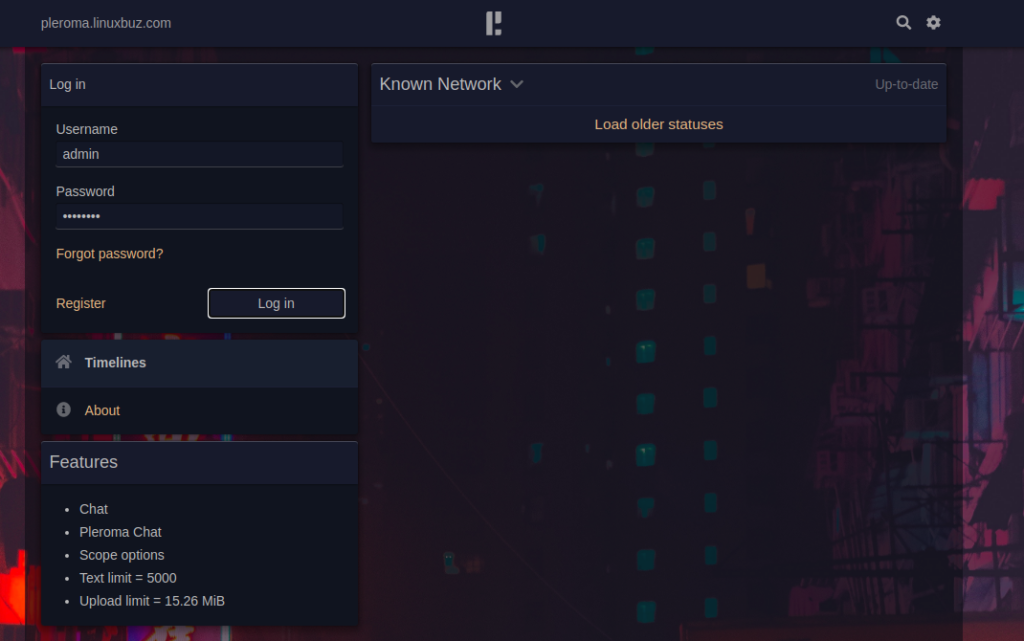
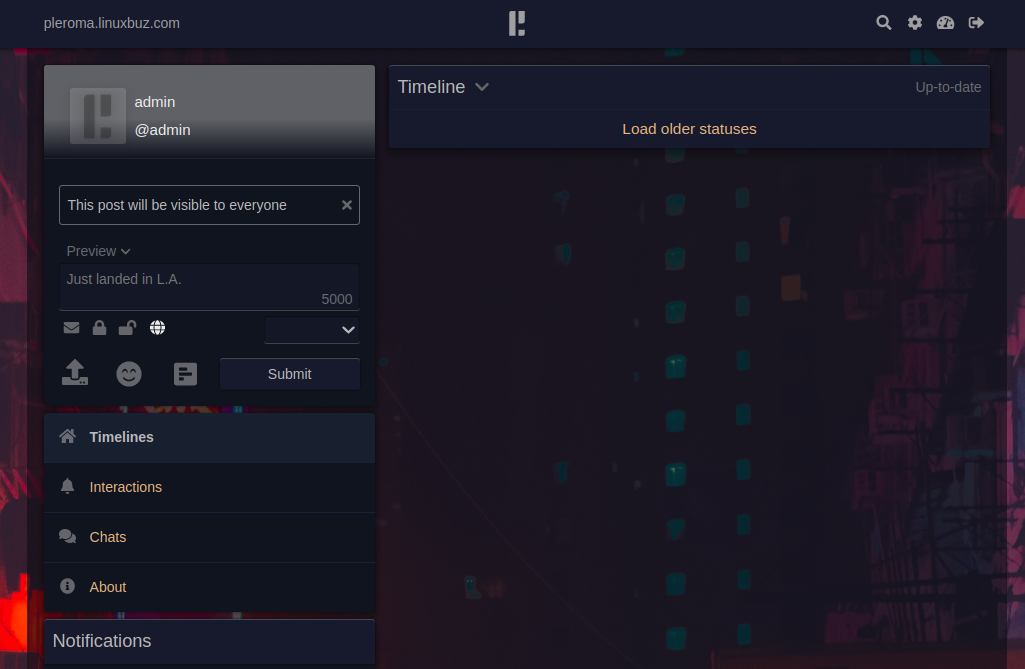
Provide your admin username, password and click on the Log in button. You should see the Pleroma dashboard on the following screen:
Conclusion
Congratulations! You have successfully installed and configured Pleroma with Nginx and Let’s Encrypt SSL on Ubuntu 20.04. You can now host your own social networking platform with Pleroma on dedicated hosting from Atlantic.Net.