Apache Spark is an open-source framework used for analyzing big data in cluster computing environments. Generally, it is used in Hadoop to improve the data processing speeds. It supports a wide array of programming languages including Java, Scala, Python, and R. Apache Spark can easily process and distribute work on large datasets across multiple computers. It is used by data scientists and engineers to perform actions on large amounts of data.
In this post, we will show you how to install Apache Spark on Rocky Linux 10.
Step 1 – Install Java
Apache Spark is a Java-based application, so you will need to install Jave to your server. You can install it by running the following commands:
dnf update -y
dnf install java-21-openjdk-devel -y
Once Java is installed, verify the Java version using the following command:
java --version
You will get the following output:
openjdk 21.0.8 2025-07-15 LTS
OpenJDK Runtime Environment (Red_Hat-21.0.8.0.9-1) (build 21.0.8+9-LTS)
OpenJDK 64-Bit Server VM (Red_Hat-21.0.8.0.9-1) (build 21.0.8+9-LTS, mixed mode, sharing)
Step 2 – Install Spark
First, download the latest version of Apache Spark for Apache’s website using the following command:
wget https://archive.apache.org/dist/spark/spark-3.3.2/spark-3.3.2-bin-hadoop3.tgz
Once the download is completed, extract the downloaded file with the following command:
tar -xvf spark-3.3.2-bin-hadoop3.tgz
Next, move the extracted directory to the /opt with the following command:
mv spark-3.3.2-bin-hadoop3 /opt/spark
Next, create a dedicated user for Apache Spark and set proper ownership to the /opt directory:
useradd spark
chown -R spark:spark /opt/spark
Step 3 – Create a Systemd Service File for Apache Spack
Next, you will need to create a systemd service file for Apache Spark Master and Slave.
First, create a systemd service file for Master using the following command:
nano /etc/systemd/system/spark-master.service
Add the following lines:
[Unit]
Description=Apache Spark Master
After=network.target

[Service]
Type=forking
User=spark
Group=spark
ExecStart=/opt/spark/sbin/start-master.sh
ExecStop=/opt/spark/sbin/stop-master.sh

[Install]
WantedBy=multi-user.target
Save and close the file then create a systemd service file for Slave:
nano /etc/systemd/system/spark-slave.service
Add the following lines:
[Unit]

Description=Apache Spark Slave

After=network.target

[Service]
Type=forking
User=spark
Group=spark
ExecStart=/opt/spark/sbin/start-slave.sh spark://your-server-ip:7077
ExecStop=/opt/spark/sbin/stop-slave.sh

[Install]
WantedBy=multi-user.target
Save and close the file, then reload the systemd daemon to apply the changes.
systemctl daemon-reload
Next, start the Spark Master service and enable it to start at system reboot:
systemctl start spark-master
systemctl enable spark-master
To verify the status of the Master service, run the following command:
systemctl status spark-master
You will get the following output:
● spark-master.service - Apache Spark Master
Loaded: loaded (/etc/systemd/system/spark-master.service; disabled; preset: disabled)
Active: active (running) since Sun 2025-10-19 04:54:54 EDT; 4s ago
Invocation: 7815bfe7e49849ca9a1c90a1d32851fd
Process: 27424 ExecStart=/opt/spark/sbin/start-master.sh (code=exited, status=0/SUCCESS)
Main PID: 27436 (java)
Tasks: 33 (limit: 24809)
Memory: 174.6M (peak: 174.9M)
CPU: 4.757s
CGroup: /system.slice/spark-master.service
└─27436 /usr/lib/jvm/java-21-openjdk/bin/java -cp "/opt/spark/conf/:/opt/spark/jars/*" -Xmx1g org.apache.spark.deploy.master.Master --host roc.
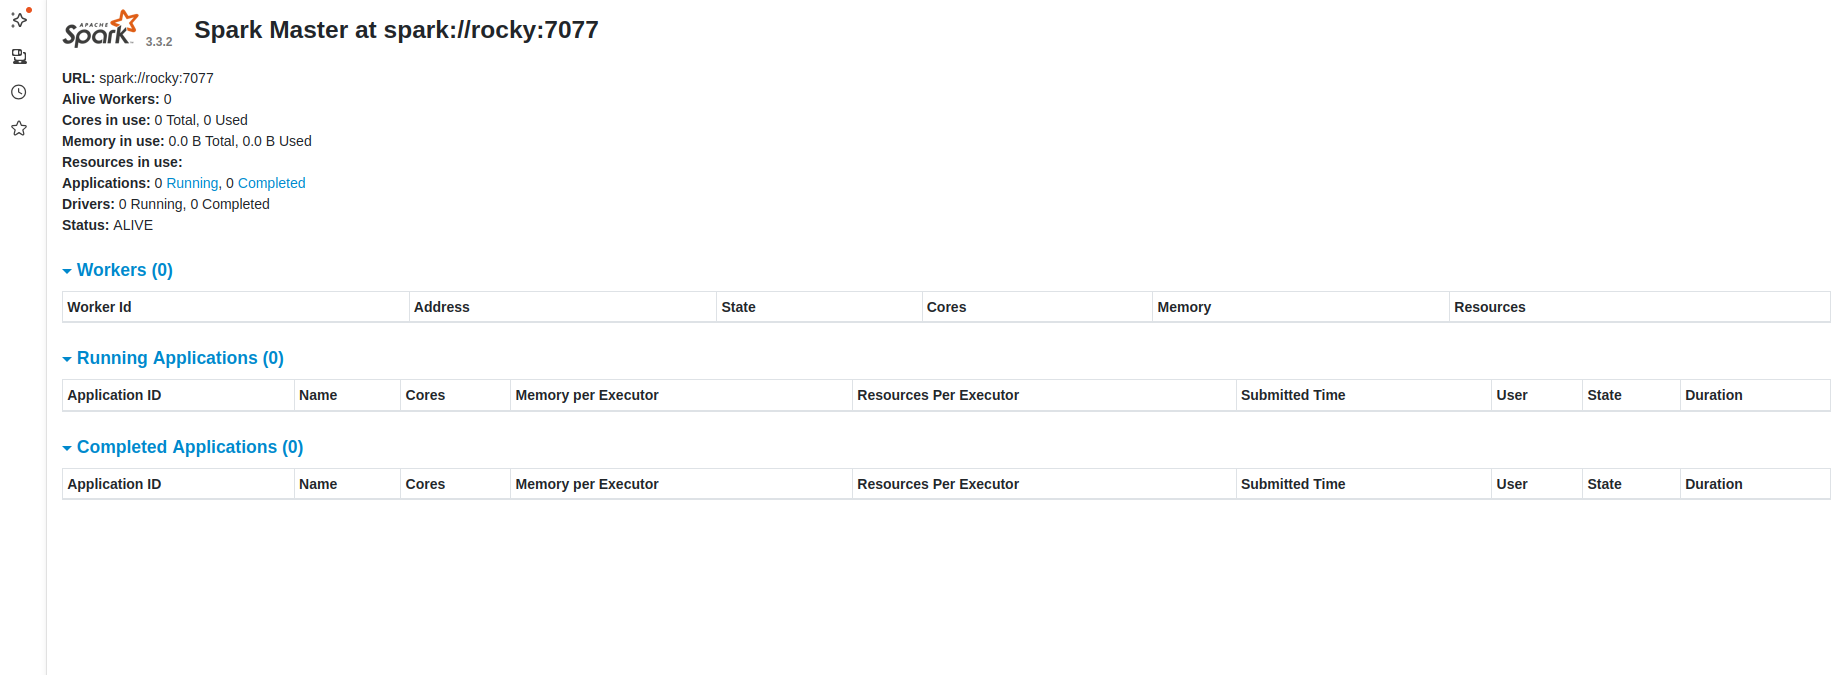
Step 4 – Access Apache Spark
At this point, Apache Spark is started and listening on port 8080. You can access it using the URL http://your-server-ip:8080. You should see the following page:
Now, start the Spark Slave service and enable it to start at system reboot:
systemctl start spark-slave
systemctl enable spark-slave
You can check the status of the Slave service using the following command:
systemctl status spark-slave
Sample output:
● spark-slave.service - Apache Spark Slave
Loaded: loaded (/etc/systemd/system/spark-slave.service; disabled; preset: disabled)
Active: active (running) since Sun 2025-10-19 04:56:13 EDT; 4s ago
Invocation: bf24f0229f4e4677a0f26e1398d641af
Process: 27508 ExecStart=/opt/spark/sbin/start-slave.sh spark://104.245.34.210:7077 (code=exited, status=0/SUCCESS)
Main PID: 27521 (java)
Tasks: 36 (limit: 24809)
Memory: 210.1M (peak: 210.4M)
CPU: 4.942s
CGroup: /system.slice/spark-slave.service
└─27521 /usr/lib/jvm/java-21-openjdk/bin/java -cp "/opt/spark/conf/:/opt/spark/jars/*" -Xmx1g org.apache.spark.deploy.worker.Worker --webui-port 8081 spark://104.245.34.2>
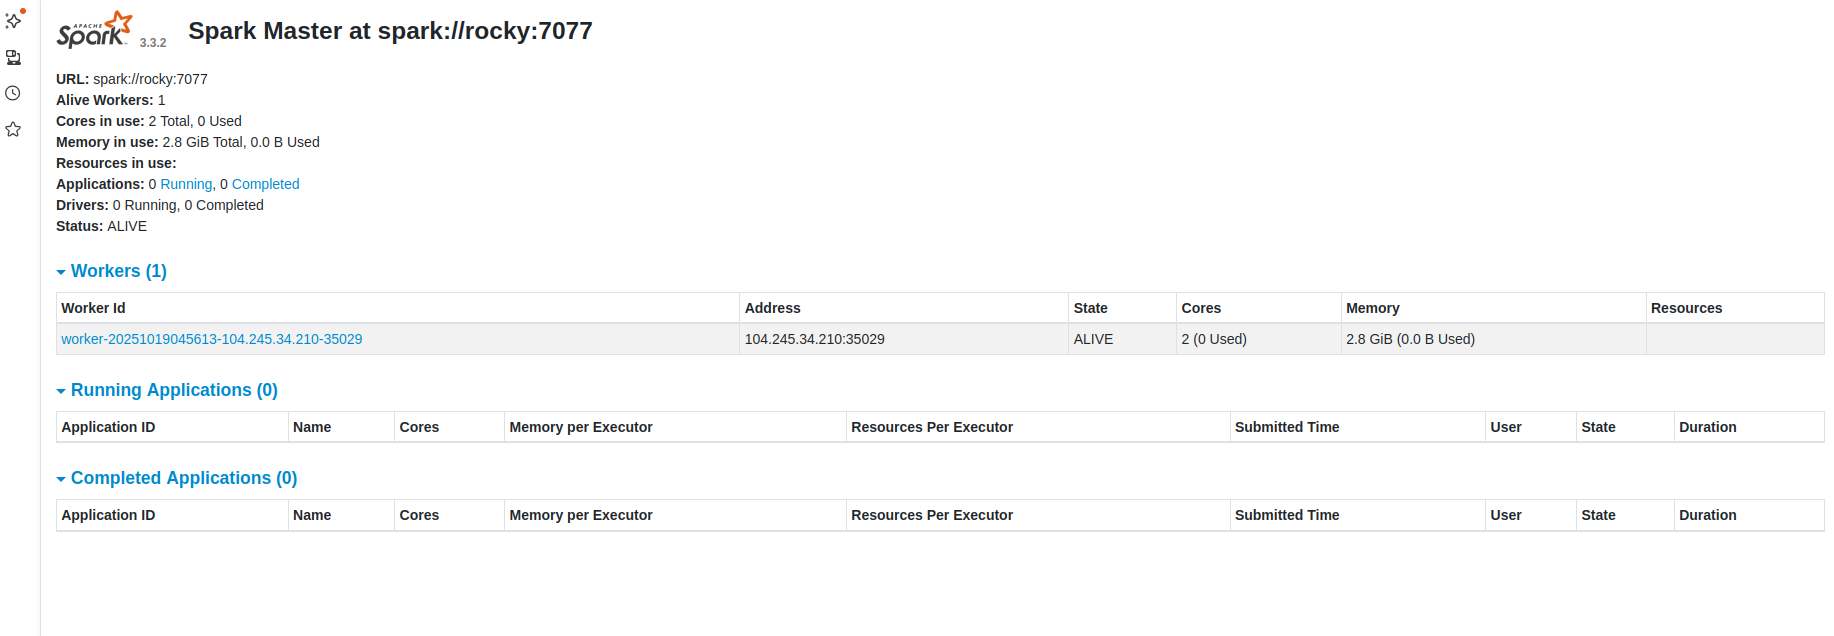
Now, reload your Apache Spark dashboard. You should see your worker on the following page:
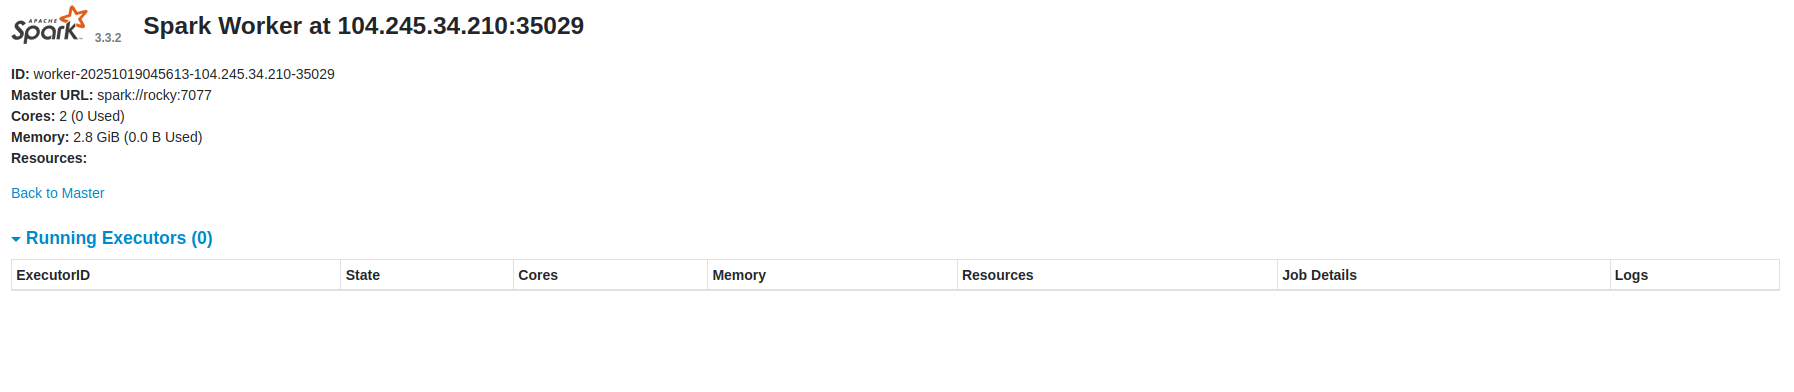
Now, click on the Worker. You should see the detailed information for the Worker on the following screen:
Conclusion
Congratulations! You have successfully installed Apache Spark on RockyLinux 10. You can now use Apache Spark in Hadoop to improve the data processing speeds. Give it a try on your dedicated server from Atlantic.Net!
* This post is for informational purposes only and does not constitute professional, legal, financial, or technical advice. Each situation is unique and may require guidance from a qualified professional.
Readers should conduct their own due diligence before making any decisions.