AI chatbots are no longer just a fun experiment; they’re becoming an important part of modern applications. With powerful open-source models like DeepSeek-R1 and tools like Ollama, you can run advanced language models locally without relying on external APIs.
In this tutorial, you’ll learn how to build a complete chatbot system powered by Ollama + DeepSeek-R1 on the backend and a React/Next.js frontend for a modern, responsive chat interface.
Prerequisites
- An Ubuntu 24.04 server with an NVIDIA GPU.
- A non-root user or a user with sudo privileges.
- NVIDIA drivers are installed on your server.
Step 1 – Install Required Dependencies
Before we build the chatbot, we need to prepare the environment with the required tools for both the backend (FastAPI + Python) and the frontend (React + Next.js).
1. Install Python and other dependencies.
apt install python3 python3-pip python3-venv git curl nodejs npm
2. Ollama is the runtime we’ll use to run the DeepSeek-R1 model locally. Install it with the following command.
curl -fsSL https://ollama.com/install.sh | sh
3. Verify the installation.
ollama --version
Output.
ollama version is 0.11.10
4. Start and enable the Ollama service.
systemctl start ollama
systemctl enable ollama
5. Download the DeepSeek-R1 (7B) model.
ollama pull deepseek-r1:7b
6. Run the model interactively to confirm it works.
ollama run deepseek-r1:7b
You should get an interactive prompt. Type a question like:
>>> What is the capital of France?
If it responds, your model is ready.
The capital of France is Paris.
Step 2 – Backend Setup with FastAPI
The backend will act as a bridge between the frontend (React + Next.js) and Ollama (DeepSeek-R1). We’ll use FastAPI to handle chat requests and return AI-generated responses.
1. First, create the backend directory and set up a Python virtual environment.
mkdir -p chatbot-project/backend
cd chatbot-project/backend
python3 -m venv venv
source venv/bin/activate
2. Now install the required Python dependencies.
pip install fastapi uvicorn pydantic ollama requests
3. Save them into a requirements.txt file.
pip freeze > requirements.txt
4. Create a file for the FastAPI server.
nano app.py
Add the following code.
# chatbot-project/backend/app.py
from fastapi import FastAPI
from pydantic import BaseModel
from ollama import Client

class ChatRequest(BaseModel):
    message: str

app = FastAPI()
ollama = Client(host="http://localhost:11434")  # Ollama default endpoint

@app.post("/chat")
async def chat(req: ChatRequest):
    response = ollama.chat(model="deepseek-r1:7b",
                           messages=[{"role": "user", "content": req.message}])
    return {"reply": response["message"]["content"]}
5. Start the backend server with Uvicorn.
uvicorn app:app --host 0.0.0.0 --port 8000 &
Output.
Backend is now available at:
👉 http://localhost:8000/chat
6. Test it with curl.
curl -X POST http://localhost:8000/chat \
     -H "Content-Type: application/json" \
     -d '{"message": "Hello, how are you?"}'
You should see a JSON response with a reply.
INFO:     127.0.0.1:34508 - "POST /chat HTTP/1.1" 200 OK

{"reply":"\n\n\n\nHello! I'm just a virtual assistant, so I don't have feelings, but I'm here and ready to help you with whatever you need. How are you doing today? 😊"}
Step 3 – Frontend Setup with Next.js + React
The frontend is where users will interact with your chatbot. We’ll use React with Next.js to build a functional but straightforward chat interface.
1. From your project root (chatbot-project/), create the frontend app:
cd ../
npx create-next-app@latest frontend --ts
Answer the questions as shown below.
Need to install the following packages:
  [email protected]
Ok to proceed? (y) y
✔ Which linter would you like to use? › ESLint
✔ Would you like to use Tailwind CSS? … No / Yes
✔ Would you like your code inside a `src/` directory? … No / Yes
✔ Would you like to use App Router? (recommended) … No / Yes
✔ Would you like to use Turbopack? (recommended) … No / Yes
✔ Would you like to customize the import alias (`@/*` by default)? … No / Yes
Creating a new Next.js app in /root/chatbot-project/frontend.
2. After installation, move into the frontend folder and install dependencies.
cd frontend
npm install
3. Edit the index.tsx to build the chat UI.
nano pages/index.tsx
Remove default content and add the code below:
// chatbot-project/frontend/pages/index.tsx
import { useState } from 'react';

export default function Home() {
  const [messages, setMessages] = useState<{ role: string; content: string }[]>([]);
  const [input, setInput] = useState("");

  const send = async () => {
    if (!input.trim()) return;
    const userMsg = { role: "user", content: input };
    setMessages([...messages, userMsg]);
    setInput("");

    const res = await fetch("/api/chat", {
      method: "POST",
      headers: { "Content-Type": "application/json" },
      body: JSON.stringify({ message: userMsg.content }),
    });
    const data = await res.json();
    setMessages([...messages, userMsg, { role: "bot", content: data.reply }]);
  };

  return (
    <div style={{ maxWidth: 600, margin: "40px auto" }}>
      <h1>AI Chatbot</h1>
      <div style={{ minHeight: '300px', border: '1px solid #ddd', padding: 10 }}>
        {messages.map((m, i) => (
          <p key={i}><strong>{m.role}:</strong> {m.content}</p>
        ))}
      </div>
      <input
        value={input}
        onChange={e => setInput(e.target.value)}
        onKeyDown={e => e.key === "Enter" && send()}
        placeholder="Type your message…"
        style={{ width: '80%' }}
      />
      <button onClick={send} style={{ marginLeft: 5 }}>Send</button>
    </div>
  );
}
4. Edit the next.config.js file to configure the API proxy.
nano next.config.js
Add the following code.
// chatbot-project/frontend/next.config.js
module.exports = {
  async rewrites() {
    return [
      {
        source: '/api/:path*',
        destination: 'http://127.0.0.1:8000/:path*',  // use IPv4 instead of ::1
      },
    ];
  },
  experimental: {
    allowedDevOrigins: ["http://localhost:3000", "http://127.0.0.1:3000"],
  },
};
This proxy forwards frontend /api/chat requests to the FastAPI backend.
5. Start the Next.js dev server.
npm run dev -- -H 0.0.0.0 &
6. Open the web browser and access the Next.js web UI using the URL http://your-server-ip:3000.
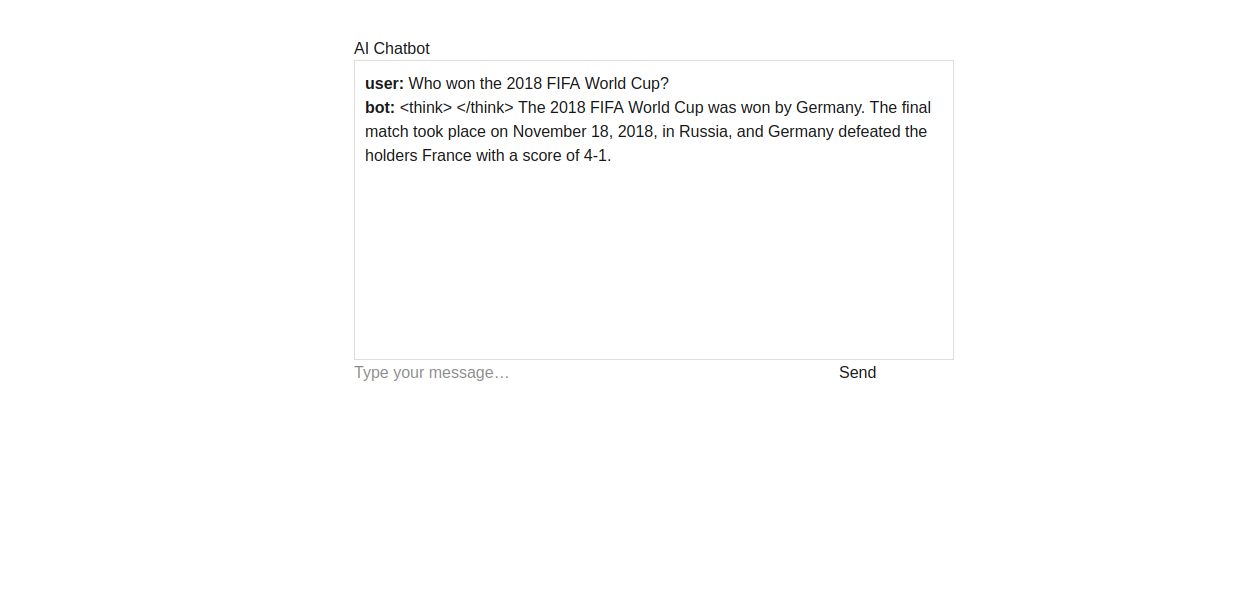
Type a message like:
Who won the 2018 FIFA World Cup?
Then, click on Send. You should see a chat bubble with your question and a bot reply generated by DeepSeek-R1.
Conclusion
You have now built a complete AI chatbot system that combines Ollama with the DeepSeek-R1 model on the backend and a modern Next.js and React interface on the frontend. The FastAPI server acts as the bridge between the two, handling requests and delivering responses seamlessly. By running the model locally through Ollama, you gain both speed and control, while the frontend provides an easy and interactive way for users to chat with the AI.
* This post is for informational purposes only and does not constitute professional, legal, financial, or technical advice. Each situation is unique and may require guidance from a qualified professional.
Readers should conduct their own due diligence before making any decisions.