Predicting cryptocurrency prices has become a popular application of machine learning. Crypto markets, such as Bitcoin (BTC) and Ethereum (ETH), are renowned for their volatility, and many developers and researchers are utilizing machine learning models to analyze historical price data and predict future trends.
In this guide, you’ll learn how to build a cryptocurrency price prediction system using machine learning and deploy it on an Ubuntu 24.04 GPU server. We’ll use Python and popular libraries like TensorFlow, scikit-learn, and Flask to develop and serve our prediction model.
Prerequisites
- An Ubuntu 24.04 server with an NVIDIA GPU.
- A non-root user or a user with sudo privileges.
- NVIDIA drivers are installed on your server.
Step 1: Install Required Packages
Before we can start building and training our cryptocurrency price prediction model, we need to set up the development environment on your Ubuntu 24.04 GPU server.
1. First, make sure your system is up to date and install essential packages.
apt update -y
apt install -y python3 python3-pip python3-venv git build-essential
2. It’s a good practice to isolate your project’s dependencies using a virtual environment.
python3 -m venv crypto-predict-env
source crypto-predict-env/bin/activate
3. Next, upgrade pip and install all the Python libraries required for this project.
pip install --upgrade pip
pip install flask tensorflow pandas numpy yfinance scikit-learn
Here’s what these packages are used for:
- Flask: For building the web application.
- TensorFlow: For training and running our LSTM neural network.
- pandas & numpy: For handling and processing data.
- yfinance: To fetch cryptocurrency price data from Yahoo Finance.
- scikit-learn: For scaling and preparing the data.
Step 2: Train the Machine Learning Model
Now that your environment is set up, it’s time to build and train the machine learning model that will predict cryptocurrency prices.
In this project, we’ll use an LSTM (Long Short-Term Memory) neural network, which is well-suited for time-series prediction tasks like price forecasting.
1. Create a Python script called train_model.py to handle downloading data, preprocessing, building the model, and training it.
nano train_model.pyAdd the below code:
# train_model.py
import yfinance as yf
import numpy as np
from sklearn.preprocessing import MinMaxScaler
from tensorflow.keras.models import Sequential
from tensorflow.keras.layers import LSTM, Dense

# Download BTC-USD historical data
data = yf.download('BTC-USD', start='2020-01-01', end='2025-01-01')
dataset = data['Close'].values.reshape(-1, 1)

# Normalize prices
scaler = MinMaxScaler()
scaled_data = scaler.fit_transform(dataset)

# Prepare training sequences
seq_length = 60
X_train, y_train = [], []
for i in range(seq_length, len(scaled_data)):
    X_train.append(scaled_data[i-seq_length:i, 0])
    y_train.append(scaled_data[i, 0])

X_train, y_train = np.array(X_train), np.array(y_train)
X_train = X_train.reshape((X_train.shape[0], X_train.shape[1], 1))

# Build LSTM model
model = Sequential([
    LSTM(50, return_sequences=True, input_shape=(X_train.shape[1], 1)),
    LSTM(50),
    Dense(25),
    Dense(1)
])

model.compile(optimizer='adam', loss='mean_squared_error')

# Train the model
model.fit(X_train, y_train, epochs=10, batch_size=32)

# Save the model
import os
os.makedirs('model', exist_ok=True)
model.save('model/crypto_model.h5')

print("✅ Model trained and saved at 'model/crypto_model.h5'")
2. After saving the file, run the script to start the training process.
python3 train_model.pyDuring training, you’ll see progress output showing loss values for each epoch. Once training is done, the model will be saved in a folder called model as crypto_model.h5.
Step 3: Build Flask Web Application for Predictions
After training and saving our model, we’ll now create a Flask web application. This app will allow users to enter a cryptocurrency symbol (e.g., BTC-USD or ETH-USD), and it will fetch recent price data, load the trained model, and display a predicted next price.
1. Create the Flask app script.
nano app.pyAdd the following code.
# app.py
from flask import Flask, request, render_template
import numpy as np
import pandas as pd
import yfinance as yf
from sklearn.preprocessing import MinMaxScaler
from tensorflow.keras.models import load_model

app = Flask(__name__)

model = load_model('model/crypto_model.h5')
scaler = MinMaxScaler()

def prepare_data(symbol='BTC-USD', seq_length=60):
    data = yf.download(symbol, period='90d', interval='1h')
    close_prices = data['Close'].values.reshape(-1, 1)
    scaled = scaler.fit_transform(close_prices)

    X_input = scaled[-seq_length:]
    X_input = X_input.reshape((1, seq_length, 1))
    return X_input, close_prices[-1][0]

@app.route('/', methods=['GET', 'POST'])
def index():
    prediction = None
    last_price = None
    symbol = "BTC-USD"

    if request.method == 'POST':
        symbol = request.form.get('symbol', 'BTC-USD')
        try:
            X_input, last_price = prepare_data(symbol)
            pred_scaled = model.predict(X_input)
            pred_price = scaler.inverse_transform(pred_scaled)[0][0]
            prediction = round(pred_price, 2)
        except Exception as e:
            prediction = f"Error: {str(e)}"

    return render_template('index.html', prediction=prediction, symbol=symbol, last_price=last_price)

if __name__ == '__main__':
    app.run(host='0.0.0.0', port=5000)
The above script:
- Loads your trained model (crypto_model.h5).
- Fetches the most recent 90 days of price data.
- Normalizes it so the model can use it for prediction.
- Handles form submissions to let the user enter any cryptocurrency symbol.
- Displays prediction results using an HTML template.
2. Prepare templates directory.
mkdir templates3. Create the index.html template.
nano templates/index.htmlAdd the following code.
<!DOCTYPE html>
<html lang="en">
<head>
    <meta charset="UTF-8">
    <title>Crypto Price Prediction</title>
    <style>
        body { font-family: Arial, sans-serif; background: #f0f0f0; text-align: center; padding: 50px; }
        form { background: white; padding: 20px; border-radius: 8px; display: inline-block; }
        input[type="text"] { padding: 10px; width: 200px; }
        input[type="submit"] { padding: 10px 20px; }
        .result { margin-top: 20px; }
    </style>
</head>
<body>
    <h1>Crypto Price Prediction</h1>
    <form method="post">
        <label for="symbol">Enter Crypto Symbol (e.g., BTC-USD):</label><br><br>
        <input type="text" name="symbol" id="symbol" placeholder="BTC-USD" required><br><br>
        <input type="submit" value="Predict">
    </form>

    {% if prediction %}
    <div class="result">
        <h2>Prediction Result:</h2>
        <p>Symbol: <strong>{{ symbol }}</strong></p>
        <p>Last Close Price: <strong>{{ last_price }}</strong></p>
        <p>Predicted Next Price: <strong>{{ prediction }}</strong></p>
    </div>
    {% endif %}
</body>
</html>
Step 4: Run the Web Application
Now it’s time to run the application and access it from your browser.
1. Run this command in your terminal to launch the Flask server.
python3 app.pyOutput.
 * Running on all addresses (0.0.0.0)
 * Running on http://127.0.0.1:5000
 * Running on http://149.28.70.3:5000
INFO:werkzeug:Press CTRL+C to quit
2. Open your web browser and access the Flask web app using the URL http://your-server-ip:5000.
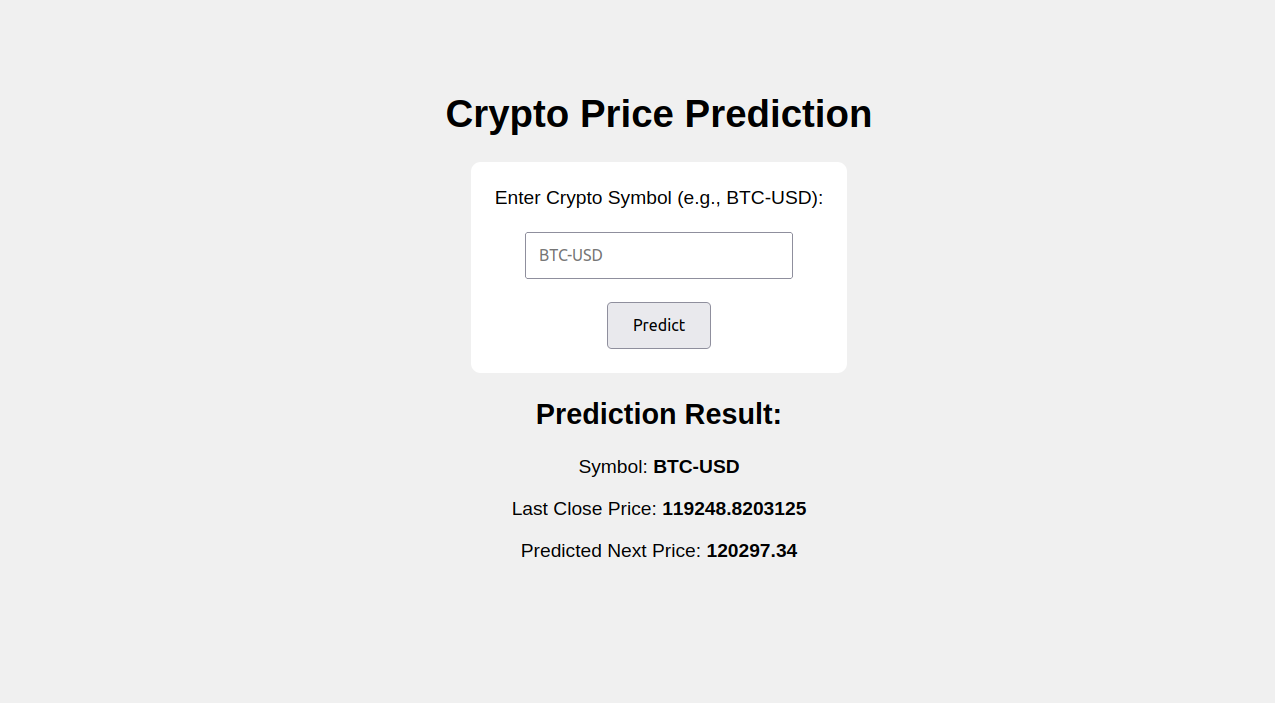
3. Enter a cryptocurrency symbol (like BTC-USD or ETH-USD). Click the Predict button. The app fetches recent price data automatically using yfinance.
Conclusion
In this guide, you built a cryptocurrency price prediction web application from scratch using machine learning on an Ubuntu 24.04 GPU server. You installed all the necessary tools, trained an LSTM neural network on historical Bitcoin data, and deployed a Flask-based web interface to make predictions accessible directly in a web browser.
* This post is for informational purposes only and does not constitute professional, legal, financial, or technical advice. Each situation is unique and may require guidance from a qualified professional.
Readers should conduct their own due diligence before making any decisions.