Running advanced AI models, such as DeepSeek, on a GPU server is powerful, but it can be challenging for teams to access and utilize these models efficiently. Instead of everyone logging in via SSH or Python scripts, you can build a multi-user web interface that runs directly in the browser. This enables multiple people to log in, ask questions, and view results in real-time.
In this tutorial, you’ll learn how to set up a Streamlit-based web application for DeepSeek on an Ubuntu 24.04 GPU server. Streamlit provides a simple yet powerful framework for building data apps, while PyTorch and Hugging Face’s Transformers library let you integrate the DeepSeek model.
Prerequisites
- An Ubuntu 24.04 server with an NVIDIA GPU.
- A non-root user or a user with sudo privileges.
- NVIDIA drivers are installed on your server.
Step 1 – Install Python Dependencies
Before starting, you will need to install Python and other packages to your server.
1. First, update the package index.
apt update -y
2. Install required packages.
apt install git python3 python3-venv python3-pip
3. Create a project directory and navigate to it.
mkdir ~/deepseek-app && cd ~/deepseek-app
4. Create and activate a Python virtual environment.
python3 -m venv venv
source venv/bin/activate
5. Update pip to the latest version.
pip install --upgrade pip
6. Now install PyTorch with CUDA 12.4 support so the DeepSeek model can use GPU acceleration.
pip install torch torchvision torchaudio --index-url https://download.pytorch.org/whl/cu124
7. Next, install the core libraries required for our app.
pip install transformers streamlit accelerate
Step 2 – Add Authentication
To make your DeepSeek app multi-user, you need a way for people to log in with their own accounts. We’ll start with a basic authentication system using Streamlit’s sidebar. For simplicity, credentials are stored in a small Python dictionary, but in production, you should connect it to a database, LDAP, or OAuth provider.
1. Create a new file called auth.py inside your project directory:
nano auth.py
Paste the following code:
import streamlit as st

# Hardcoded user database (replace with DB/LDAP in production)
USER_CREDENTIALS = {
    "admin": "deepseek123",
    "user1": "password1",
    "user2": "password2"
}

def login():
    st.sidebar.title("🔐 Login")

    # Ask for username & password
    username = st.sidebar.text_input("Username")
    password = st.sidebar.text_input("Password", type="password")

    if "authenticated" not in st.session_state:
        st.session_state["authenticated"] = False
        st.session_state["username"] = ""

    if st.sidebar.button("Login"):
        if username in USER_CREDENTIALS and USER_CREDENTIALS[username] == password:
            st.session_state["authenticated"] = True
            st.session_state["username"] = username
            st.sidebar.success(f"Welcome, {username} 👋")
        else:
            st.sidebar.error("Invalid username or password")

    if st.sidebar.button("Logout"):
        st.session_state["authenticated"] = False
        st.session_state["username"] = ""

    return st.session_state["authenticated"]
How this works:
- A login form appears in the sidebar.
- If the username/password match, the session is marked as authenticated.
- Once logged in, the username is saved in st.session_state.
- A logout button lets users exit their session anytime.
Step 3 – Build the Streamlit App
Now that authentication is in place, let’s build the main Streamlit application that connects with the DeepSeek model. This app will handle user login, take input questions, generate responses using the model, and display a chat history.
1. Create a new file called app.py.
nano app.py
Add the following code:
import streamlit as st
from transformers import AutoModelForCausalLM, AutoTokenizer
import torch
from auth import login

# Load model once at startup
MODEL_NAME = "deepseek-ai/deepseek-coder-1.3b-instruct"
tokenizer = AutoTokenizer.from_pretrained(MODEL_NAME)
model = AutoModelForCausalLM.from_pretrained(
    MODEL_NAME,
    torch_dtype=torch.float16,
    device_map="auto"
)

st.set_page_config(page_title="DeepSeek Web App", layout="wide")

# Run login function
if not login():
    st.stop()

# App title
st.title("🚀 DeepSeek Multi-User Web Interface")
st.write(f"👤 Logged in as: **{st.session_state['username']}**")

# Session-specific chat history
if "chat_history" not in st.session_state:
    st.session_state.chat_history = []

# User input
user_input = st.text_area("Enter your question:", key="input")

if st.button("Submit"):
    if user_input.strip():
        inputs = tokenizer(user_input, return_tensors="pt").to(model.device)
        outputs = model.generate(**inputs, max_new_tokens=200, do_sample=True, temperature=0.7)
        response = tokenizer.decode(outputs[0], skip_special_tokens=True)

        st.session_state.chat_history.append((user_input, response))
    else:
        st.warning("⚠️ Please enter a question.")

# Display chat history
for q, r in st.session_state.chat_history:
    st.markdown(f"**You:** {q}")
    st.markdown(f"**DeepSeek:** {r}")
    st.markdown("---")
Explanation:
- Model loading – The DeepSeek model is loaded once at startup for better performance.
- Login check – Users must log in before accessing the app.
- Chat interface – Users type questions, the model generates answers, and both are stored in session history.
- Multi-user support – Each user sees their own chat history, separate from others.
With this setup, you now have a functioning AI chat interface that works for multiple users on the same GPU server.
Step 4 – Run the Application
With both auth.py and app.py ready, it’s time to launch the Streamlit application and make it available to users.
1. Run the following command to start the app.
nohup streamlit run app.py --server.port 8501 --server.address 0.0.0.0 &
Once the server starts, you’ll see output like:
  You can now view your Streamlit app in your browser.

  Network URL: http://your-server-ip:8501
  External URL: http://your-server-ip:8501
Step 5 – Accessing the Web Interface
Now that your Streamlit server is running, let’s see how to use the DeepSeek multi-user web app in practice.
1. Open the app in your browser and go to http://your-server-ip:8501
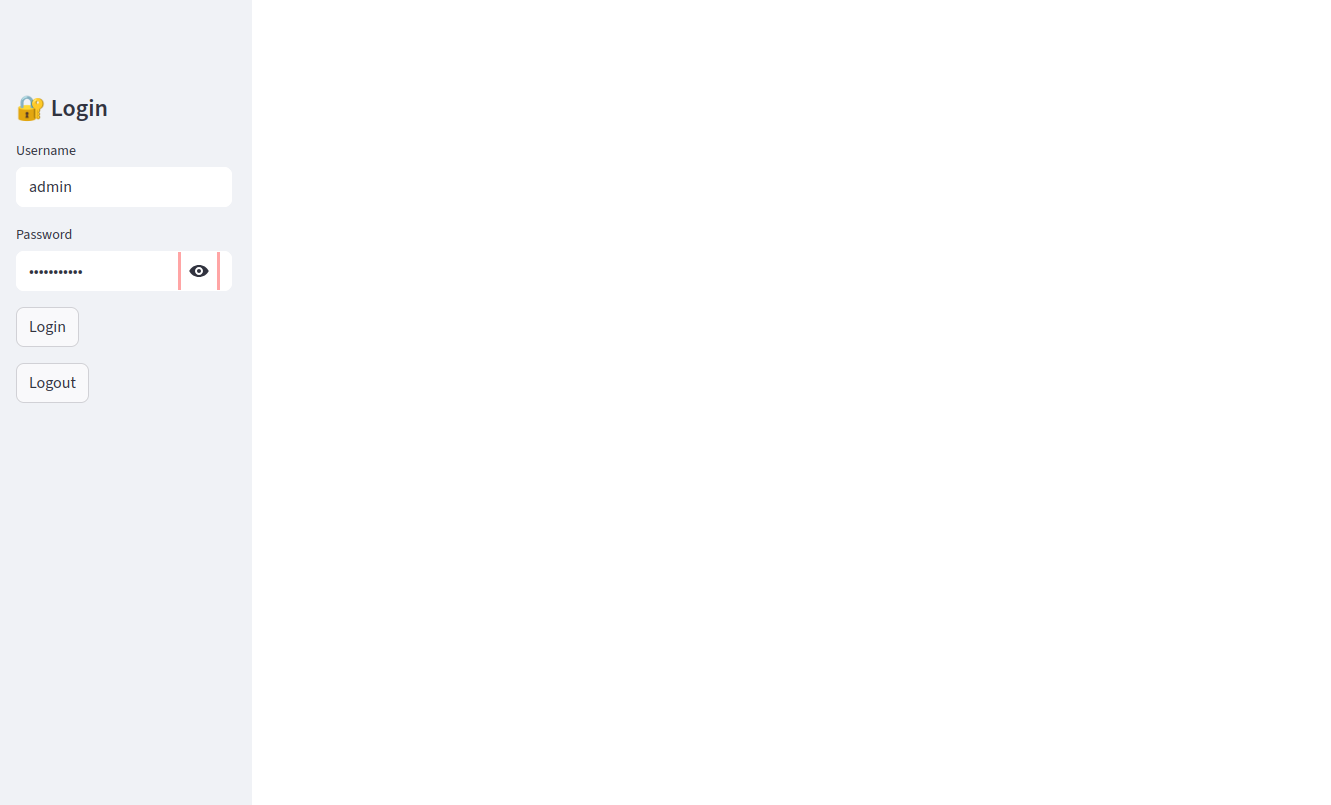
2. Log in with admin credentials
Enter Username: admin
Enter Password: deepseek123
Click the Login button.

3. In the text box labeled “Enter your question:”, type something like: “Explain the difference between supervised and unsupervised learning.”
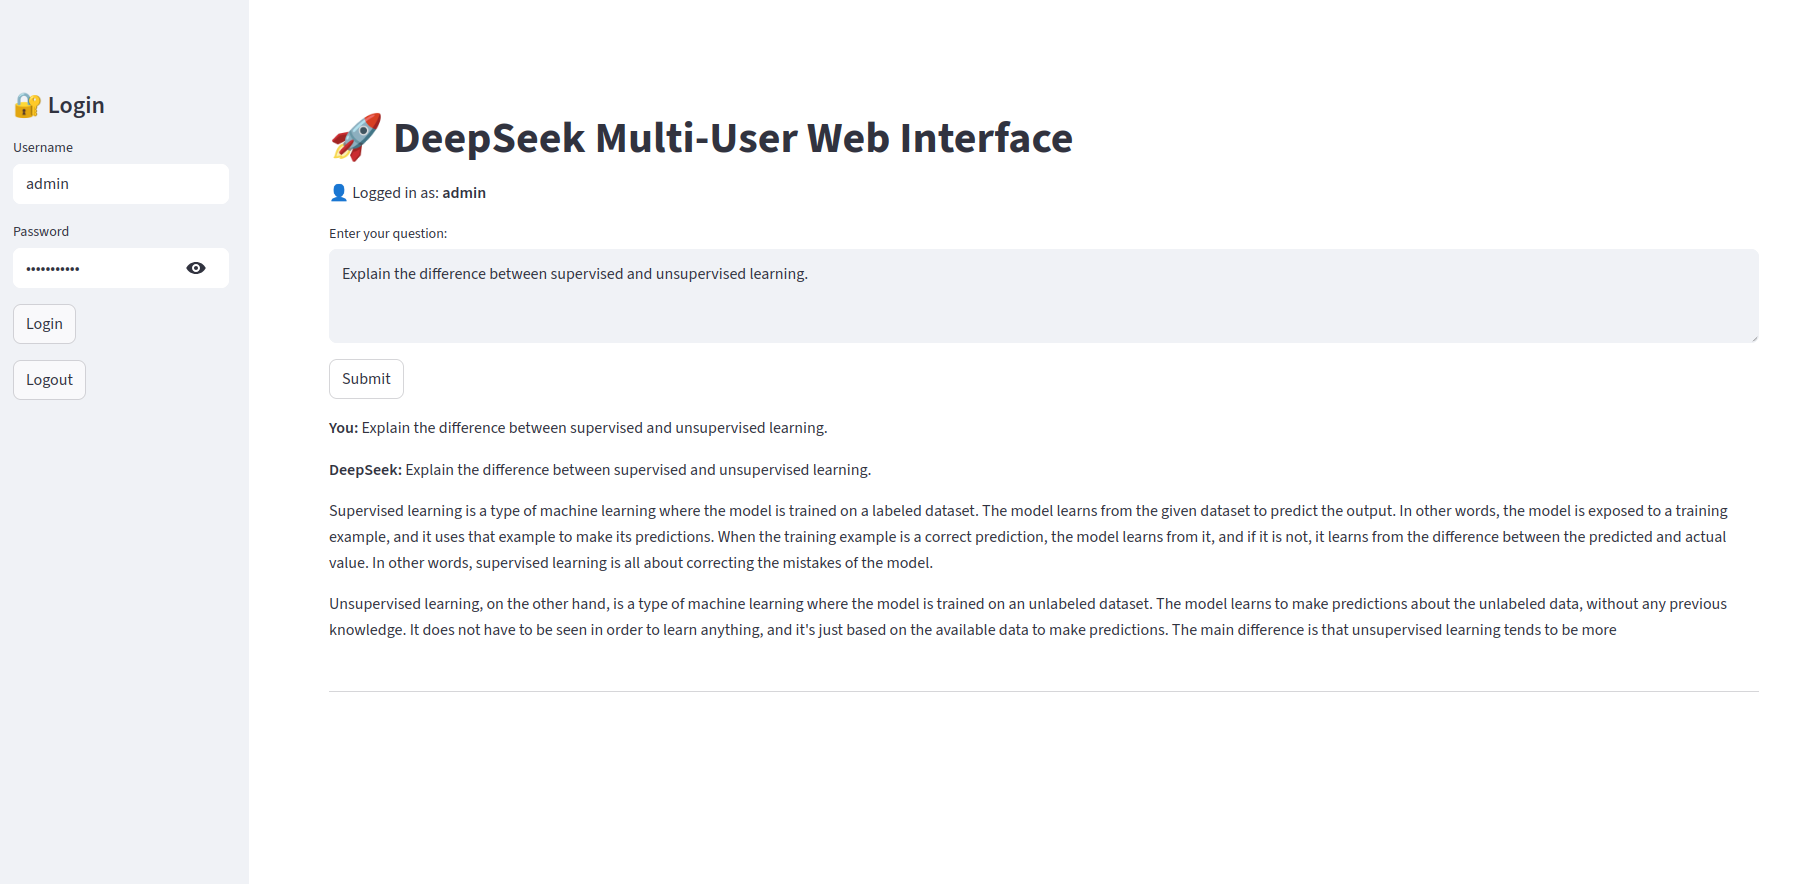
Press the Submit button. The app will send your question to the DeepSeek model and generate a response.
Conclusion
In this tutorial, you built a multi-user web interface for DeepSeek on an Ubuntu 24.04 GPU server using Streamlit. You started by preparing the environment, installing Python dependencies, and setting up authentication. Then, you created the main app to load the DeepSeek model, handle user input, and display chat history for each logged-in user. Finally, you ran the app and tested it through the web interface with separate user sessions.
* This post is for informational purposes only and does not constitute professional, legal, financial, or technical advice. Each situation is unique and may require guidance from a qualified professional.
Readers should conduct their own due diligence before making any decisions.