Stable Diffusion has become one of the most popular models for generating high-quality AI images from text prompts. However, running the full model often requires significant GPU memory and can be slow on smaller servers. This is where distilled Stable Diffusion comes into play. A distilled model is a lightweight, optimized version of the original model. It produces high-quality images while reducing computation time and resource usage, making it ideal for deployment on cloud GPU servers.
In this guide, you’ll learn how to set up and run a distilled Stable Diffusion pipeline with Gradio on an Ubuntu 24.04 GPU server.
Prerequisites
- An Ubuntu 24.04 server with an NVIDIA GPU.
- A non-root user or a user with sudo privileges.
- NVIDIA drivers are installed on your server.
Step 1 – Install System Dependencies
Before setting up Stable Diffusion and Gradio, you need to install a few essential system packages.
1. Next, you’ll install Python 3.10, since it’s recommended for working with modern AI frameworks. Ubuntu 24.04 may not ship with it by default, so you’ll add the deadsnakes PPA.
add-apt-repository ppa:deadsnakes/ppa
2. Update the repository index.
apt update -y
3. Install Python3.10 with additional dependencies.
apt install python3.10 python3.10 python3.10-venv libgl1 libglib2.0-0 git wget curl -y
4. Create a virtual environment and activate it.
python3.10 -m venv venv
source venv/bin/activate
5. Upgrade pip and install required libraries.
pip install --upgrade pip
pip install torch torchvision diffusers transformers gradio
Step 2 – Build the Gradio Application
Now that your environment is ready, let’s set up a dedicated workspace for the project. This will help you keep all files organized in one place.
1. Create a new directory and move into it.
mkdir ~/distil-sd-gradio && cd ~/distil-sd-gradio
2. Next, create a Python file named app.py. This will be the main script for running the distilled Stable Diffusion model with Gradio.
nano app.py
Add the following code.
from diffusers import StableDiffusionPipeline
import torch
import gradio as gr

model_id = "nota-ai/bk-sdm-small"  # distilled model
pipe = StableDiffusionPipeline.from_pretrained(
    model_id, torch_dtype=torch.float16, use_safetensors=True
).to("cuda")

def generate(prompt):
    image = pipe(prompt, guidance_scale=7.5, num_inference_steps=50).images[0]
    return image

demo = gr.Interface(
    fn=generate,
    inputs=gr.Textbox(label="Prompt"),
    outputs=gr.Image(type="pil"),
    title="Distilled Stable Diffusion (Gradio)",
    description="Generate images using the distilled Stable Diffusion model."
)

if __name__ == "__main__":
    demo.launch(server_name="0.0.0.0", server_port=7860)
3. Now that your app.py file is ready, it’s time to launch the Gradio server and test your distilled Stable Diffusion model.
python3.10 app.py
Output.
Running on local URL:  http://127.0.0.1:7860
Running on public URL: http://your_server_ip:7860
Step 3 – Testing the Web UI
With the Gradio server running, you can now test the distilled Stable Diffusion interface directly from your browser.
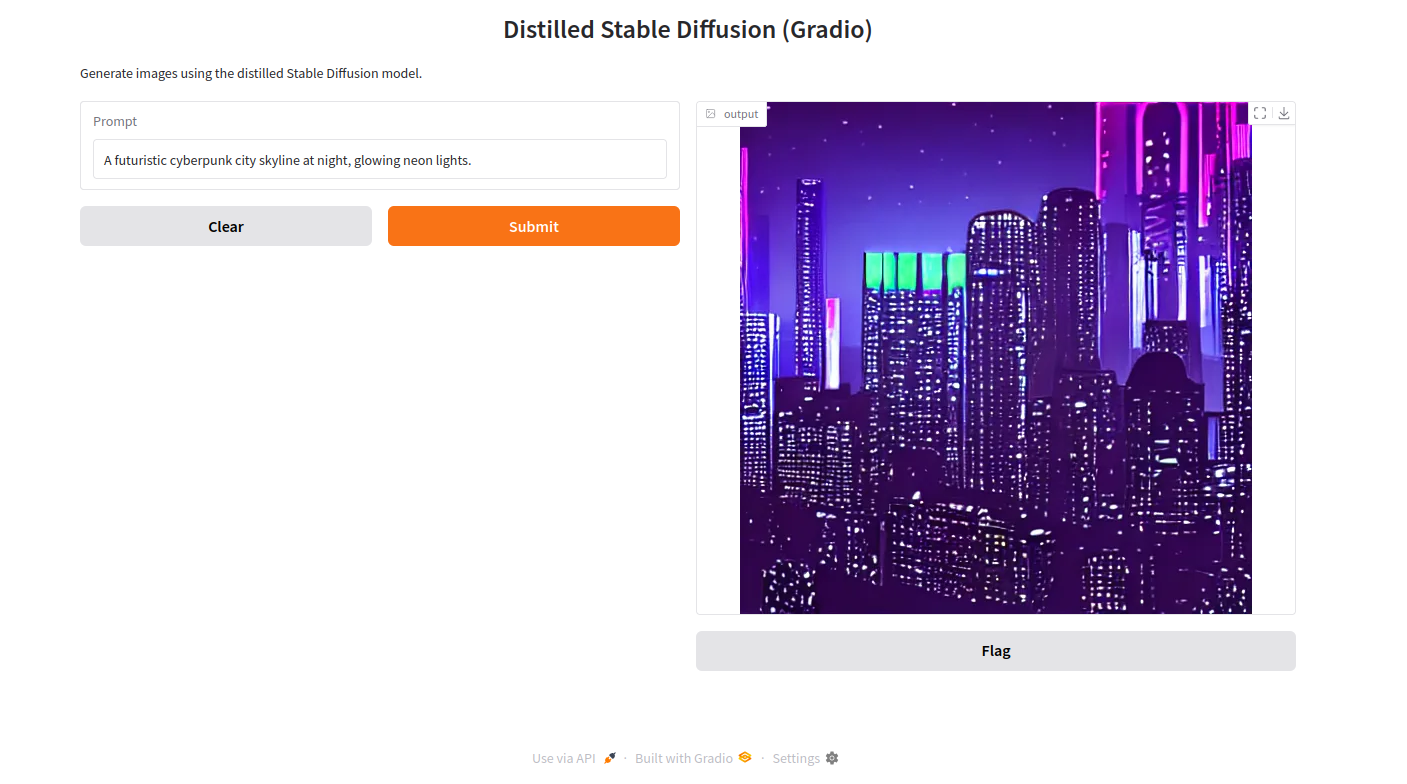
1. Open the Gradio interface using the URL http://your_server_ip:7860 in your browser. You’ll see a clean interface with a Prompt textbox and a Generate button.
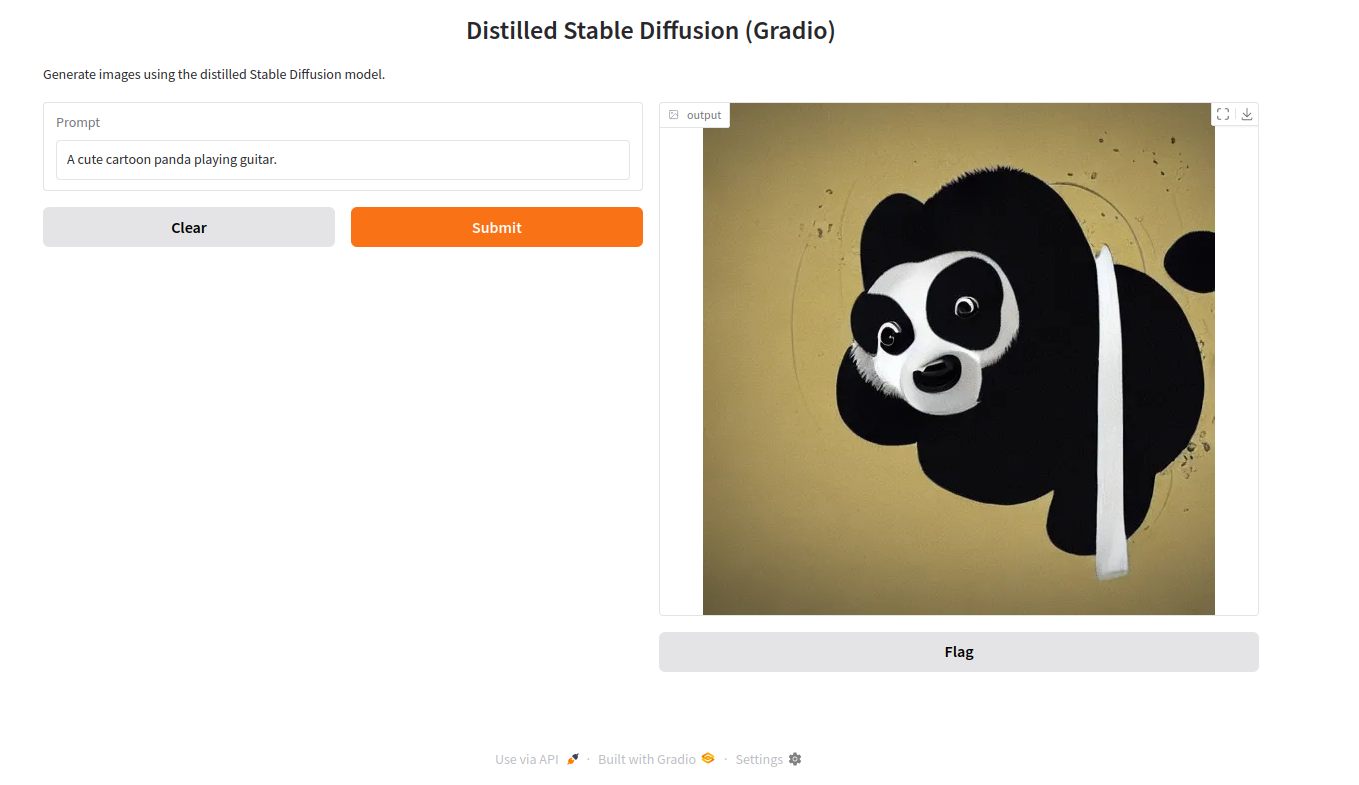
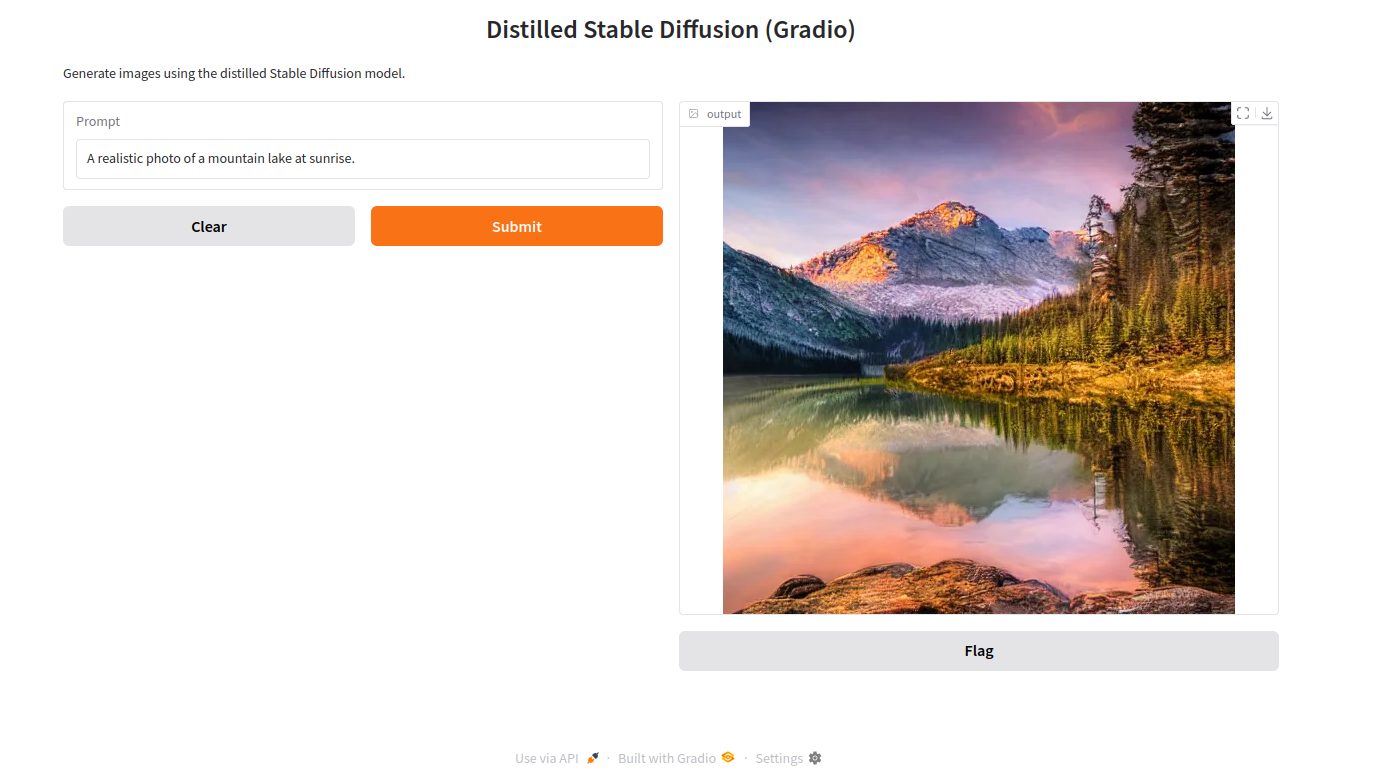
2. In the Prompt field, type the following description of the image you’d like to create and click Submit. The server will return the generated image to the Gradio interface.
“A futuristic cyberpunk city skyline at night, glowing neon lights.”
“A cute cartoon panda playing guitar.”
“A realistic photo of a mountain lake at sunrise.”
Conclusion
In this guide, you successfully deployed a distilled Stable Diffusion model on an Ubuntu 24.04 GPU server and built a simple Gradio web interface to generate images from text prompts. By using a distilled model, you achieved faster inference and reduced GPU resource usage compared to running the full Stable Diffusion pipeline, while still producing high-quality results.
* This post is for informational purposes only and does not constitute professional, legal, financial, or technical advice. Each situation is unique and may require guidance from a qualified professional.
Readers should conduct their own due diligence before making any decisions.