Live face detection is becoming a core part of many modern web and mobile applications. From security and authentication to creative effects and user analytics, the ability to recognize faces instantly in the browser opens up a world of possibilities.
face-api.js is a popular JavaScript library that brings powerful, real-time face detection and recognition to any website—no specialized hardware or backend required. It leverages TensorFlow.js to run deep learning models right in your browser, using your device’s webcam for instant results.
In this tutorial, you’ll learn how to build a live face detection web app using face-api.js and vanilla JavaScript.
Prerequisites
- An Ubuntu 24.04 server with an NVIDIA GPU.
- A non-root user or a user with sudo privileges.
- NVIDIA drivers are installed on your server.
Step 1: Installing Node.js and npm
Node.js and npm (Node Package Manager) are essential tools for running and managing JavaScript projects outside the browser.
1. Start by making sure your package list is up to date.
apt update -y2. Now install Node.js and npm with a single command.
apt install nodejs npm -y3. After installation, check the versions to confirm everything is set up correctly.
nodejs --version
npm --version
Step 2: Setting Up Your Project and Local Web Server
Let’s get your workspace organized, install a simple web server, and grab everything you need to run face detection in the browser.
1. Create a project directory.
mkdir ~/faceapi-ml5js-demo
cd ~/faceapi-ml5js-demo
2. Install http-server to load your HTML and JavaScript in the browser.
npm install -g http-server3. Now, download the face-api.js library and the required model files (weights).
git clone https://github.com/justadudewhohacks/face-api.js.git4. Copy the weights folder from the cloned repo to your project root.
mv face-api.js/weights .Step 3: Creating the HTML Face Detection App
Now you’ll create the main web page that handles live face detection using face-api.js and JavaScript. This will include video, canvas for drawing, and all the scripts needed to make it work in your browser.
1. Create an index.html file inside your project directory.
nano index.htmlAdd the following code.
<!DOCTYPE html>
<html>
<head>
  <meta charset="UTF-8">
  <title>Face Detection with face-api.js</title>
  <style>
    body { font-family: sans-serif; text-align: center; background: #222; color: #fff; }
    video, canvas { border: 2px solid #fff; border-radius: 12px; margin: 10px; }
    #status { font-size: 1.25em; margin-top: 20px; }
  </style>
</head>
<body>
  <h2>Face Detection with face-api.js</h2>
  <video id="video" width="480" height="360" autoplay muted playsinline></video>
  <canvas id="canvas" width="480" height="360"></canvas>
  <p id="status">Loading model...</p>

  <!-- Make sure you have the ./weights folder with correct model files! -->
  <script src="https://unpkg.com/[email protected]/dist/face-api.min.js"></script>
  <script>
    const video = document.getElementById('video');
    const canvas = document.getElementById('canvas');
    const context = canvas.getContext('2d');
    const statusEl = document.getElementById('status');

    let modelLoaded = false;
    let videoPlaying = false;

    async function startVideo() {
      try {
        const stream = await navigator.mediaDevices.getUserMedia({ video: true });
        video.srcObject = stream;
      } catch (err) {
        statusEl.innerText = "Cannot access webcam: " + err;
        console.error(err);
      }
    }

    async function loadModels() {
      const MODEL_URL = './weights'; // local weights folder
      statusEl.innerText = "Loading model files...";
      await faceapi.nets.tinyFaceDetector.loadFromUri(MODEL_URL);
      statusEl.innerText = "Model loaded.";
      modelLoaded = true;
      startDetectionIfReady();
    }

    function startDetectionIfReady() {
      if (modelLoaded && videoPlaying) {
        statusEl.innerText = "Looking for faces...";
        detectFaces();
      }
    }

    async function detectFaces() {
      const options = new faceapi.TinyFaceDetectorOptions();
      const result = await faceapi.detectAllFaces(video, options);

      context.drawImage(video, 0, 0, canvas.width, canvas.height);

      if (result.length > 0) {
        statusEl.innerText = "Face detected!";
        result.forEach(detection => {
          const { x, y, width, height } = detection.box;
          context.strokeStyle = '#00FF00';
          context.lineWidth = 2;
          context.strokeRect(x, y, width, height);
        });
      } else {
        statusEl.innerText = "No face detected";
      }

      requestAnimationFrame(detectFaces);
    }

    video.addEventListener('playing', () => {
      videoPlaying = true;
      startDetectionIfReady();
    });

    window.onload = async () => {
      await startVideo();
      await loadModels();
    };
  </script>
</body>
</html>
2. Start the HTTP web server.
http-server -p 8080 &This command starts the server in the background, serving your files at port 8080.
Step 4: Exposing Your App Securely with NGINX and HTTPS
At this point, your app is accessible only from the local machine. To make your app accessible from the internet, you will need to expose it using Nginx and HTTPS.
1. First, install NGINX on your server.
apt install nginx -y2. Create a new configuration file for your app.
nano /etc/nginx/conf.d/app.confAdd the following code (replace app.example.com with your real domain):
server {
    listen 80;
    server_name app.example.com;

    location / {
        proxy_pass http://localhost:8080;
        proxy_set_header Host $host;
        proxy_set_header X-Real-IP $remote_addr;
        proxy_set_header X-Forwarded-For $proxy_add_x_forwarded_for;
        proxy_set_header X-Forwarded-Proto $scheme;
    }
}
3. Test the Nginx configuration.
nginx -t4. If you see “syntax is ok,” reload Nginx.
systemctl reload nginx5. Install Certbot and the Nginx plugin to secure your app with HTTPS.
apt install certbot python3-certbot-nginx -y6. Run Certbot to get and apply a free SSL certificate.
certbot --nginx -d app.example.comStep 5: Access Your App Securely
Now that your NGINX proxy and HTTPS certificate are set up, your app is accessible on the public internet with encrypted, private traffic.
1. Open your web browser and visit the URL below:
https://app.example.com2. The app will prompt you to allow camera access.
3. Click “Allow” to enable face detection in real time.
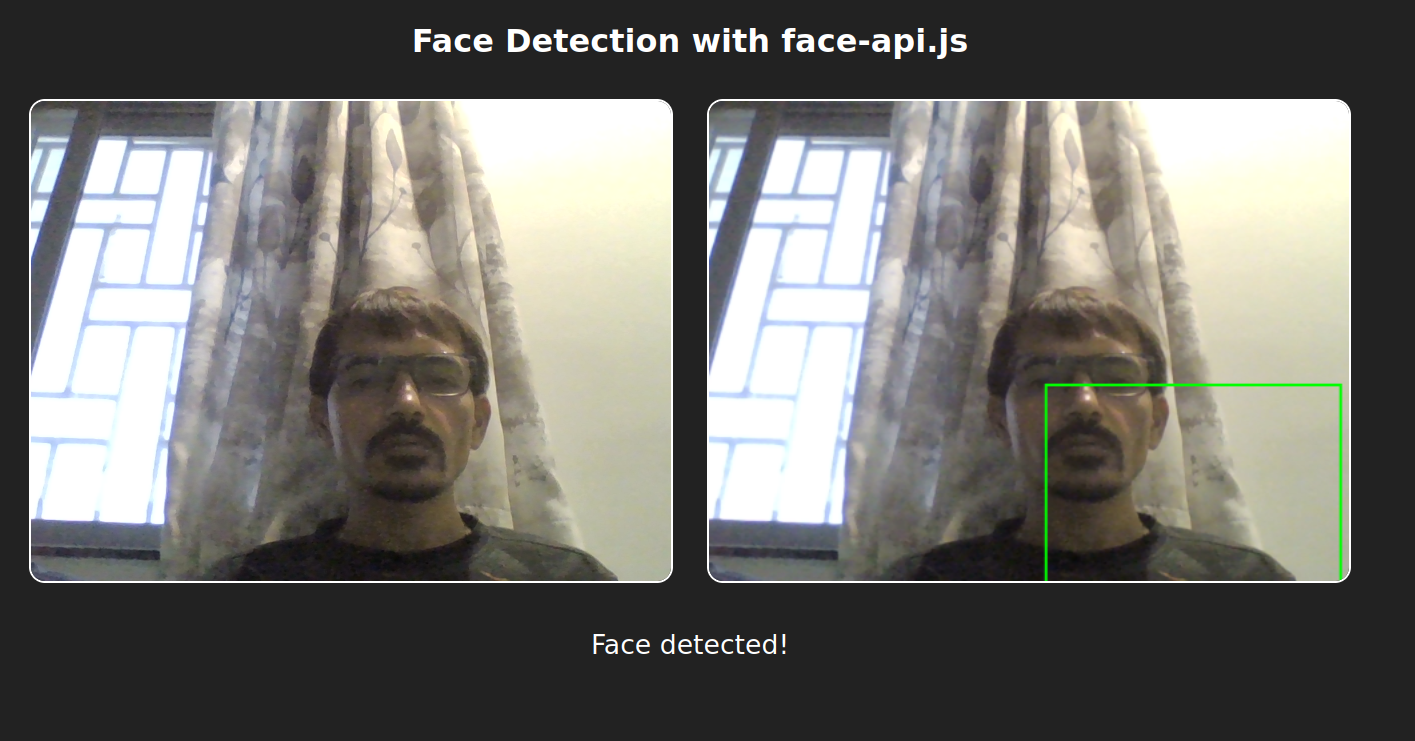
4. If your webcam is working and the model weights are in place, you’ll see a green bounding box around your face on the video. The status message updates live: “Face detected!” or “No face detected.”
Conclusion
You’ve just built a full-featured, real-time face detection web app using face-api.js and JavaScript, hosted on your own Ubuntu 24.04 server. With your app running securely over HTTPS, you can now access live face detection from anywhere, share it with others, and demonstrate browser-based AI in action—all with just a few lines of code and open-source tools.
* This post is for informational purposes only and does not constitute professional, legal, financial, or technical advice. Each situation is unique and may require guidance from a qualified professional.
Readers should conduct their own due diligence before making any decisions.