Introduction
Apache HTTP Server is the most widely used open-source web server on the internet. It is known for its stability, flexibility, and ability to serve both static and dynamic web content. Apache supports a wide range of modules, making it highly customizable for different web hosting needs.
In this tutorial, you will learn how to install and configure the Apache webserver on Debian 12.
Step 1 – Install Apache
Apache is available in the default Debian 12 repositories, so you can install it quickly using the APT package manager.
1. First, update your local package index to ensure you are installing the latest version available.
apt update -y
2. Install the Apache web server.
apt install apache2 -y
This will download and install the Apache webserver along with its required dependencies.
3. After installation, confirm that Apache is installed correctly by checking its version.
apachectl -v
Output.
Server version: Apache/2.4.57 (Debian)
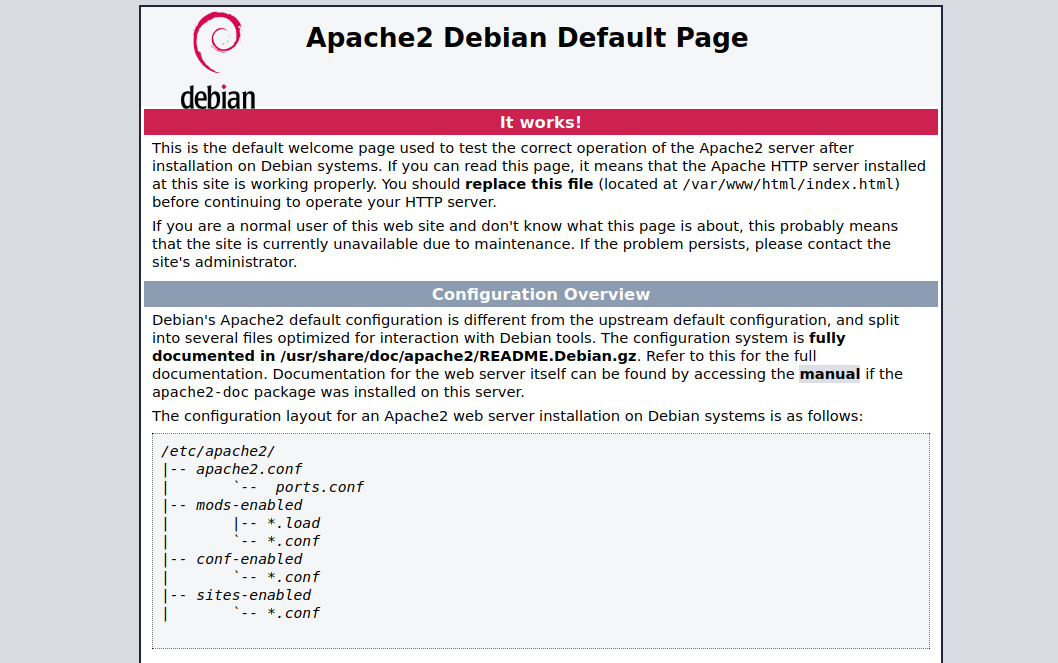
4. By default, Apache starts automatically after installation. To verify, open your web browser and visit your server’s public IP address.
http://YOUR-SERVER-IP
If Apache is running, you should see the Apache2 Debian Default Page, which confirms that the web server is working properly.
Step 2 – Manage the Apache System Service
On Debian 12, Apache runs as a systemd service, which means you can control it using the systemctl command. This gives you full control to start, stop, restart, or reload Apache whenever needed.
1. Enable the Apache service to start at boot.
systemctl enable apache2
2. If Apache is not already running, start the service manually.
systemctl start apache2
3. Verify that Apache is running correctly.
systemctl status apache2
Output.
● apache2.service - The Apache HTTP Server
     Loaded: loaded (/lib/systemd/system/apache2.service; enabled; preset: enabled)
     Active: active (running) since Sat 2025-09-06 08:53:59 UTC; 5s ago
       Docs: https://httpd.apache.org/docs/2.4/
    Process: 16367 ExecStart=/usr/sbin/apachectl start (code=exited, status=0/SUCCESS)
   Main PID: 16371 (apache2)
      Tasks: 6 (limit: 4642)
     Memory: 12.7M
        CPU: 83ms
     CGroup: /system.slice/apache2.service
             ├─16371 /usr/sbin/apache2 -k start
             ├─16372 /usr/sbin/apache2 -k start
             ├─16373 /usr/sbin/apache2 -k start
             ├─16374 /usr/sbin/apache2 -k start
             ├─16375 /usr/sbin/apache2 -k start
             └─16376 /usr/sbin/apache2 -k start
If you see active (running), Apache is working properly.
4. To stop the Apache service, run.
systemctl stop apache2
5. Restart Apache when you make configuration changes.
systemctl restart apache2
6. If you’ve made changes that don’t require a full restart, reload Apache to apply them without interrupting connections.
systemctl reload apache2
Step 3 – Create a new Apache Virtual Host
Apache uses virtual hosts to serve multiple websites from a single server. Each virtual host configuration specifies a domain name, document root, and log files for a website. By default, Apache serves a test page from /var/www/html, but you can create your own custom configuration.
1. First, disable the default configuration to avoid conflicts.
a2dissite 000-default.conf
2. Create a new configuration file for your domain (replace apache.example.com with your actual domain).
nano /etc/apache2/sites-available/apache.example.com.conf
Add the following configuration:
<VirtualHost *:80>

ServerAdmin [email protected]
ServerName apache.example.com
ServerAlias apache.example.com

DocumentRoot /var/www/apache.example.com
DirectoryIndex index.php index.html

ErrorLog ${APACHE_LOG_DIR}/apache.example.com-error.log
CustomLog ${APACHE_LOG_DIR}/apache.example.com-access.log combined

</VirtualHost>
Explanation:
- ServerName – The domain name for your site.
- DocumentRoot – The directory containing your website files.
- ErrorLog & CustomLog – Separate logs for easier troubleshooting.
3. Before enabling the new site, test for syntax errors.
apache2ctl configtest
If everything is fine, you’ll see:
Syntax OK
4. Activate the new Apache virtual host.
a2ensite apache.example.com
5. Now, create the directory to store your website files.
mkdir /var/www/apache.example.com
6. Set proper ownership and permissions.
chown -R www:www /var/www/apache.example.com
chmod -R 755 /var/www/apache.example.com
7. Create a sample index.html file inside your web root.
nano /var/www/apache.example.com/index.html
Insert the following HTML:
<!DOCTYPE html>
<html lang="en">
<head>
    <title>Greetings from Atlantic.Net</title>
</head>
<body>
    <h1>Greetings from Atlantic.Net</h1>
</body>
</html>
8. Restart Apache to apply the changes.
systemctl restart apache2
9. Access your domain in a web browser window and verify that Apache serves your index.html page. You should see the “Greetings from Atlantic.Net” message, which confirms your virtual host is working.
Step 4 – Secure the Apache Web Server
By default, Apache serves websites over HTTP (port 80), which is not encrypted. To protect user data and secure communication, you can enable HTTPS (port 443) using a free SSL certificate from Let’s Encrypt. We’ll use Certbot to automatically request, install, and configure the certificate for Apache.
1. Certbot is easiest to install using Snap. First, install Snapd.
apt install snapd -y
2. Now install Certbot with Snap.
snap install certbot --classic
3. Verify installation.
certbot --version
4. Request and install an SSL certificate for your domain (replace with your domain and email).
certbot --apache -d apache.example.com -m [email protected] --agree-tos
If successful, you will see the output below.
Account registered.
Requesting a certificate for apache.example.com

Successfully received certificate.
Certificate is saved at: /etc/letsencrypt/live/apache.example.com/fullchain.pem
Key is saved at:         /etc/letsencrypt/live/apache.example.com/privkey.pem
This certificate expires on 2025-012-06.
These files will be updated when the certificate renews.
Certbot has set up a scheduled task to automatically renew this certificate in the background.

Deploying certificate
Successfully deployed certificate for apache.example.com to /etc/httpd/conf.d/apache.example.com-le-ssl.conf
Congratulations! You have successfully enabled HTTPS on https://apache.example.com
5. Let’s Encrypt certificates expire every 90 days. Certbot handles renewals automatically, but you can test it with:
certbot renew --dry-run
If the test passes, your SSL renewal is working correctly.
6. Visit your domain in a new web browser using HTTPS URL https://apache.example.com. You should see your website load with a padlock icon, confirming that SSL is active.
Conclusion
In this tutorial, you installed and configured the Apache web server on Debian 12. With this setup, your Debian 12 server is now ready to host websites securely. You can expand this configuration to host multiple domains, add PHP or other application support, and fine-tune Apache for production workloads.
* This post is for informational purposes only and does not constitute professional, legal, financial, or technical advice. Each situation is unique and may require guidance from a qualified professional.
Readers should conduct their own due diligence before making any decisions.