Introduction
WordPress is the most popular content management system (CMS) used to build blogs, business websites, e-commerce stores, and more. It’s free, open source, and supported by a large community of developers who contribute plugins and themes to extend its functionality. Running WordPress on Debian 12 (Bookworm) gives you a stable, secure, and long-term environment for your website.
In this tutorial, you’ll learn how to install WordPress on a fresh Debian 12 server
Step 1 – Install LEMP Server
To run WordPress on Debian 12, you need a LEMP stack – Linux, Nginx (web server), MariaDB (database), and PHP-FPM (scripting language processor). Each component plays a critical role in serving dynamic WordPress pages quickly and securely.
1. Update your system.
apt update -y
2. Install Nginx.
apt install -y nginx
3. Install the MariaDB database server.
apt install -y mariadb-server
4. WordPress requires PHP to process dynamic content. Install it with additional extensions.
apt install php php-fpm php-mysql php-xml php-curl php-gd php-mbstring php-zip -y
Step 2 – Create a Database for WordPress
WordPress stores all of its content, posts, pages, users, settings, and plugin data in a database. Before you can run the installer, you’ll need to set up a database and grant access to a dedicated user account. This ensures WordPress has the proper permissions to manage its own data while keeping your system secure.
1. Log in to MariaDB as the root user.
mysql
You’ll enter the MariaDB shell, where you can run SQL commands directly.
2. Create a new database named wordpressdb.
CREATE DATABASE wordpressdb;
3. Now, create a user named wpadmin and assign it a secure password.
CREATE USER 'wpadmin'@'localhost' IDENTIFIED BY 'securepassword';
4. Give the new user full control over the wordpressdb database:
GRANT ALL ON wordpressdb.* TO 'wpadmin'@'localhost';
5. Then, apply the changes.
FLUSH PRIVILEGES;
6. Type the following to leave the MariaDB shell.
EXIT;
Step 3 – Download WordPress
With your database ready, the next step is to get the latest WordPress package, extract it, and move it into the proper web directory so Nginx can serve it. Let’s go through this step-by-step.
1. Use wget to fetch the compressed archive of WordPress.
wget https://wordpress.org/latest.tar.gz
2. Unpack the tar.gz file into a directory.
tar -xvf latest.tar.gz
3. Now, create a custom directory where your WordPress files will live.
mkdir -p /var/www/wp.example.com
Replace wp.example.com with your actual domain.
4. Transfer the extracted files into your webroot.
mv wordpress/* /var/www/wp.example.com
5. Assign correct ownership to the Nginx user (www-data) so WordPress can manage its files.
chown -R www-data:www-data /var/www/wp.example.com
6. Set secure permissions for directories and files.
find /var/www/wp.example.com -type d -exec chmod 755 {} \;
find /var/www/wp.example.com -type f -exec chmod 644 {} \;
Step 4 – Create a Virtual Host Configuration for WordPress
Now that the WordPress files are in place, the next step is to configure Nginx so it knows how to serve your domain, where the site files live, and how to handle PHP requests through PHP-FPM. This is done by creating a server block (sometimes called a virtual host).
1. Create a server block file for your domain under Nginx’s sites-available directory.
nano /etc/nginx/sites-available/wp.example.com.conf
Add the following configuration.
server {
    listen 80;
    server_name wp.example.com;

    root /var/www/wp.example.com;
    index index.php index.html index.htm;

    access_log /var/log/nginx/example.com.access.log;
    error_log /var/log/nginx/example.com.error.log;

    location / {
        try_files $uri $uri/ /index.php?$args;
    }

    location ~ \.php$ {
        include snippets/fastcgi-php.conf;
        fastcgi_pass unix:/run/php/php8.2-fpm.sock;
        fastcgi_param SCRIPT_FILENAME $document_root$fastcgi_script_name;
        include fastcgi_params;
    }

    location ~ /\. {
        deny all;
    }

    location ~* \.(jpg|jpeg|png|gif|ico|css|js|svg|woff|woff2|ttf|eot)$ {
        expires 30d;
        access_log off;
        add_header Cache-Control "public, no-transform";
    }
}
2. Link the configuration file from sites-available to sites-enabled.
ln -s /etc/nginx/sites-available/wp.example.com.conf /etc/nginx/sites-enabled/
3. Remove the default configuration to avoid conflicts.
rm /etc/nginx/sites-enabled/default
4. Check for syntax errors.
nginx -t
Output.
nginx: the configuration file /etc/nginx/nginx.conf syntax is ok
nginx: configuration file /etc/nginx/nginx.conf test is successful
5. If all is good, restart Nginx.
systemctl restart nginx
Step 5 – Configure WordPress
With Nginx serving your domain and the WordPress files in place, the final step is to complete the setup through the web-based installer. This will connect WordPress to the database you created earlier and create your admin account.
1. Open your domain in a browser.
http://wp.example.com
If Nginx and PHP are configured correctly, you’ll see the WordPress Setup Wizard screen.
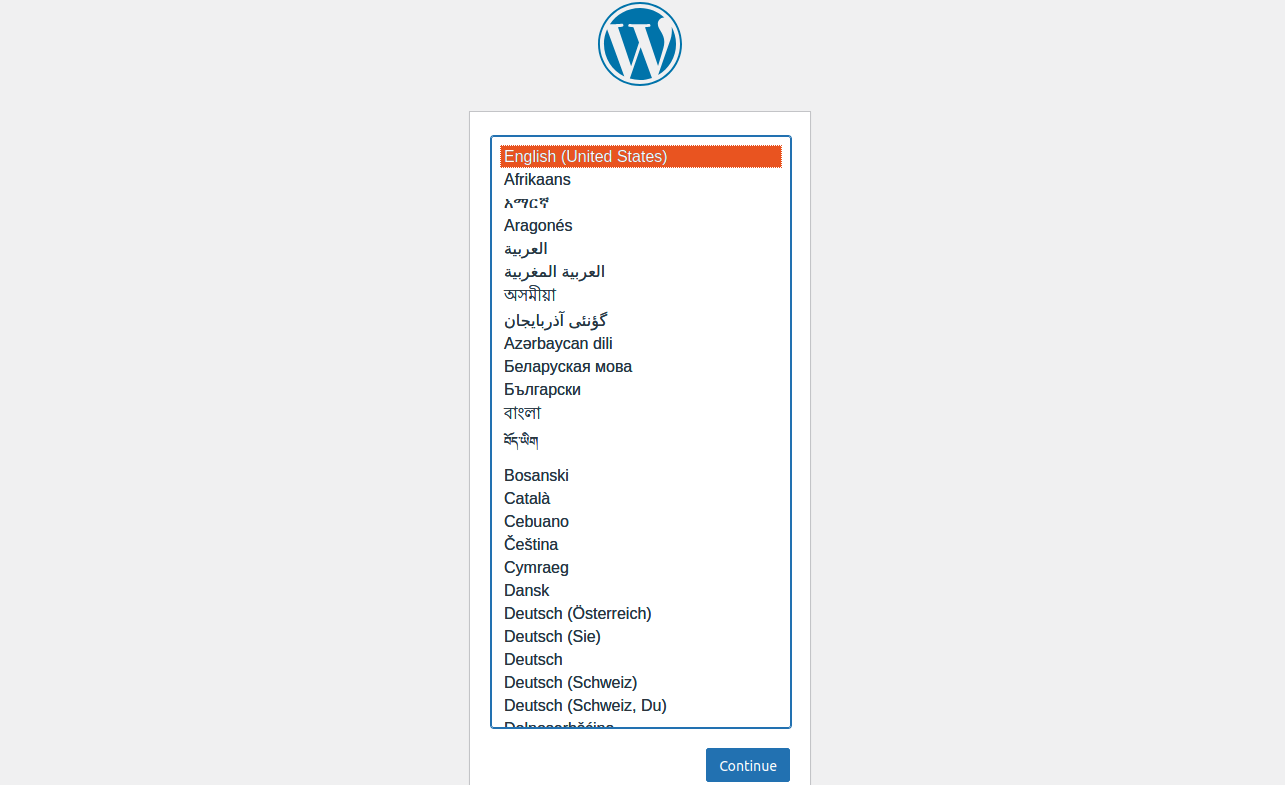
2. The installer will first ask you to select the language you want WordPress to use. Pick your preferred language and click Continue.
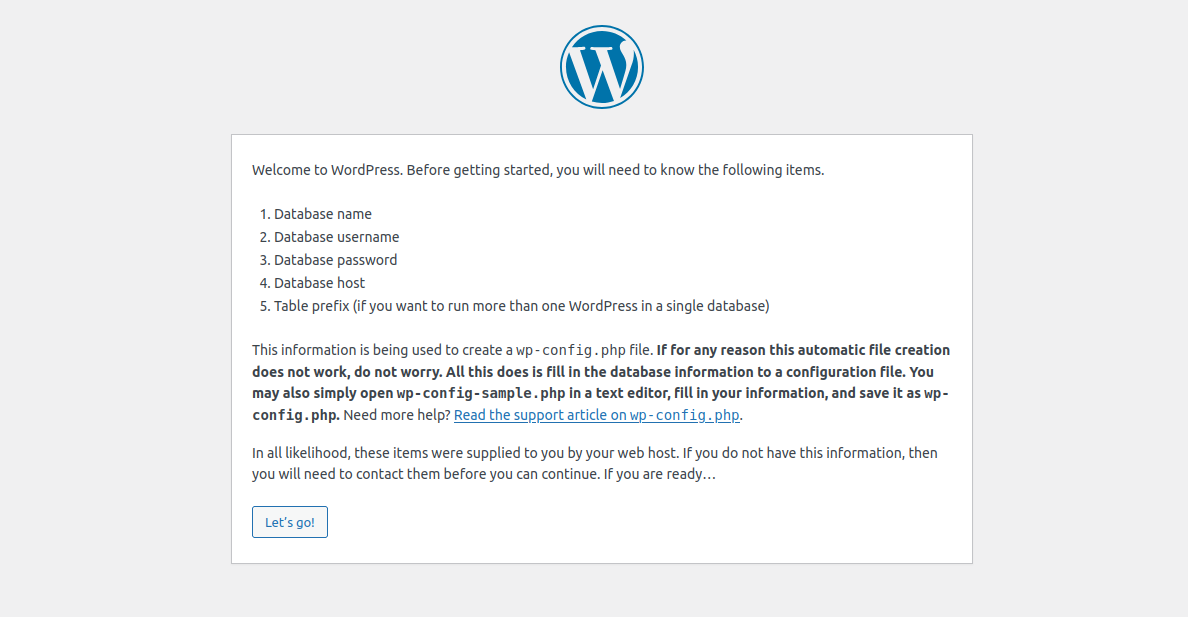
3. Click Let’s Go to begin entering your database information.
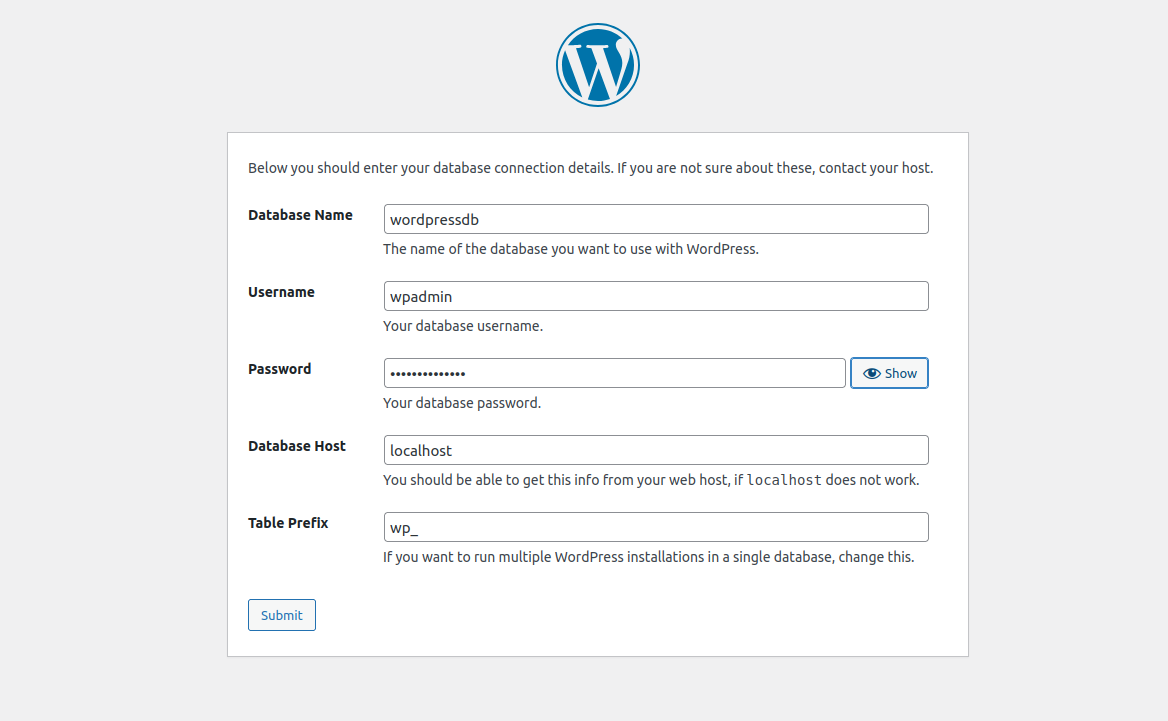
4. Fill in the form with the credentials you created earlier. Click Submit.
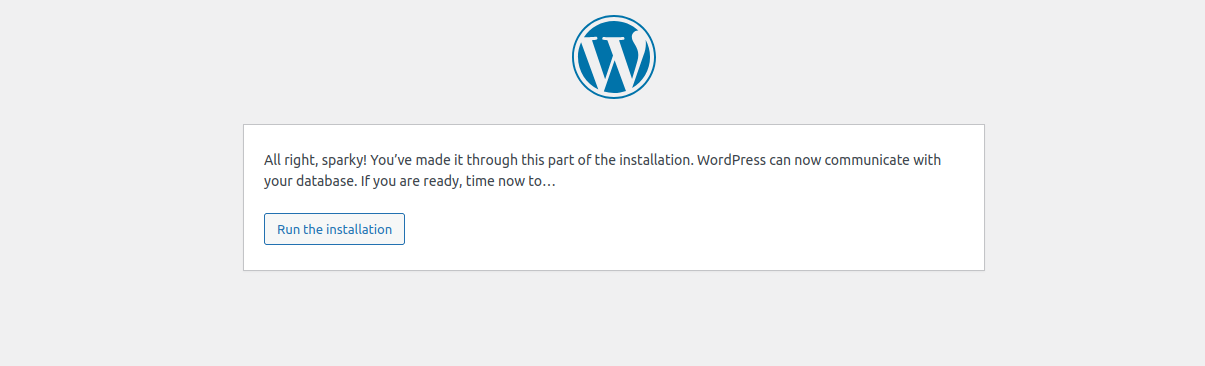
5. Click Run the Installation to initialize the WordPress database.
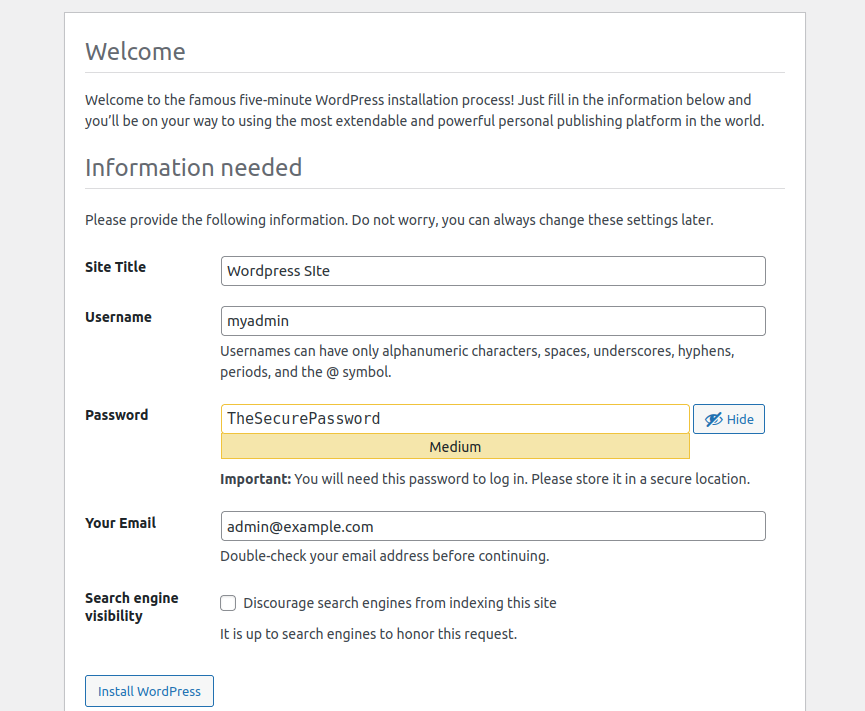
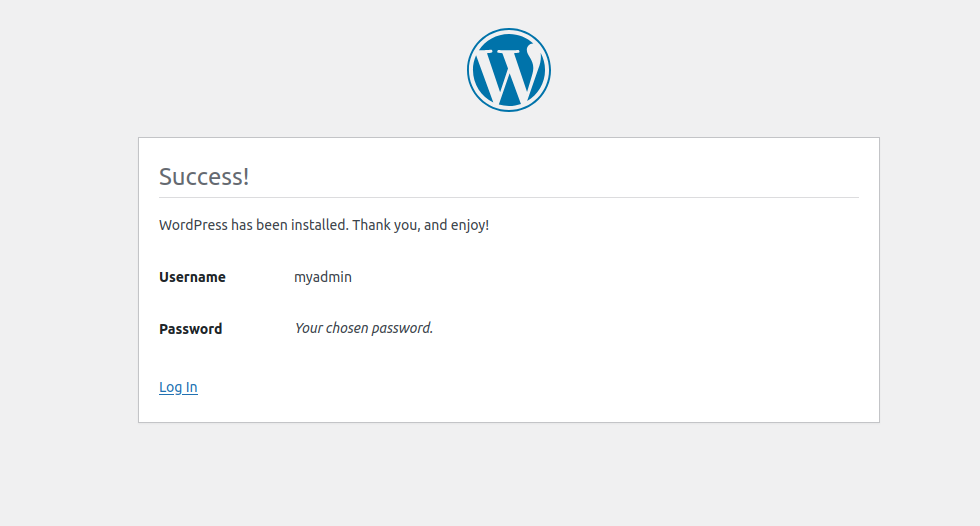
6. Now, provide details for your WordPress site. Click Install WordPress. Once the installation completes, you’ll see a success message.
7. Click Login to log in to the WordPress admin dashboard.
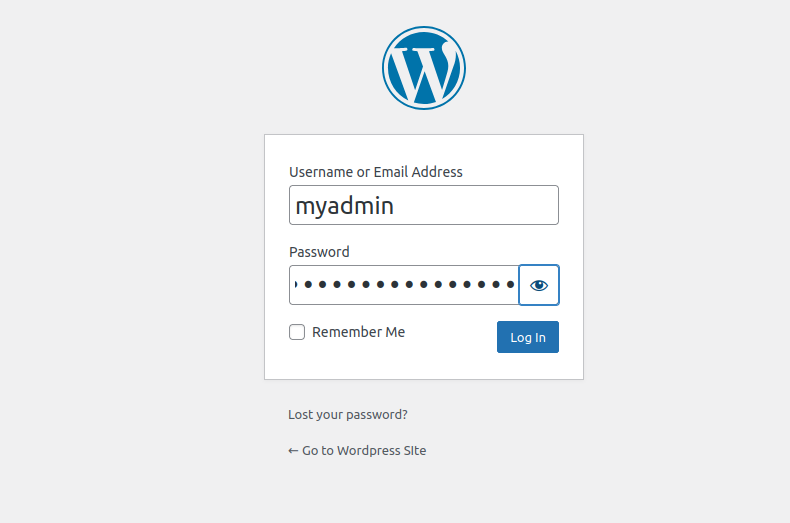
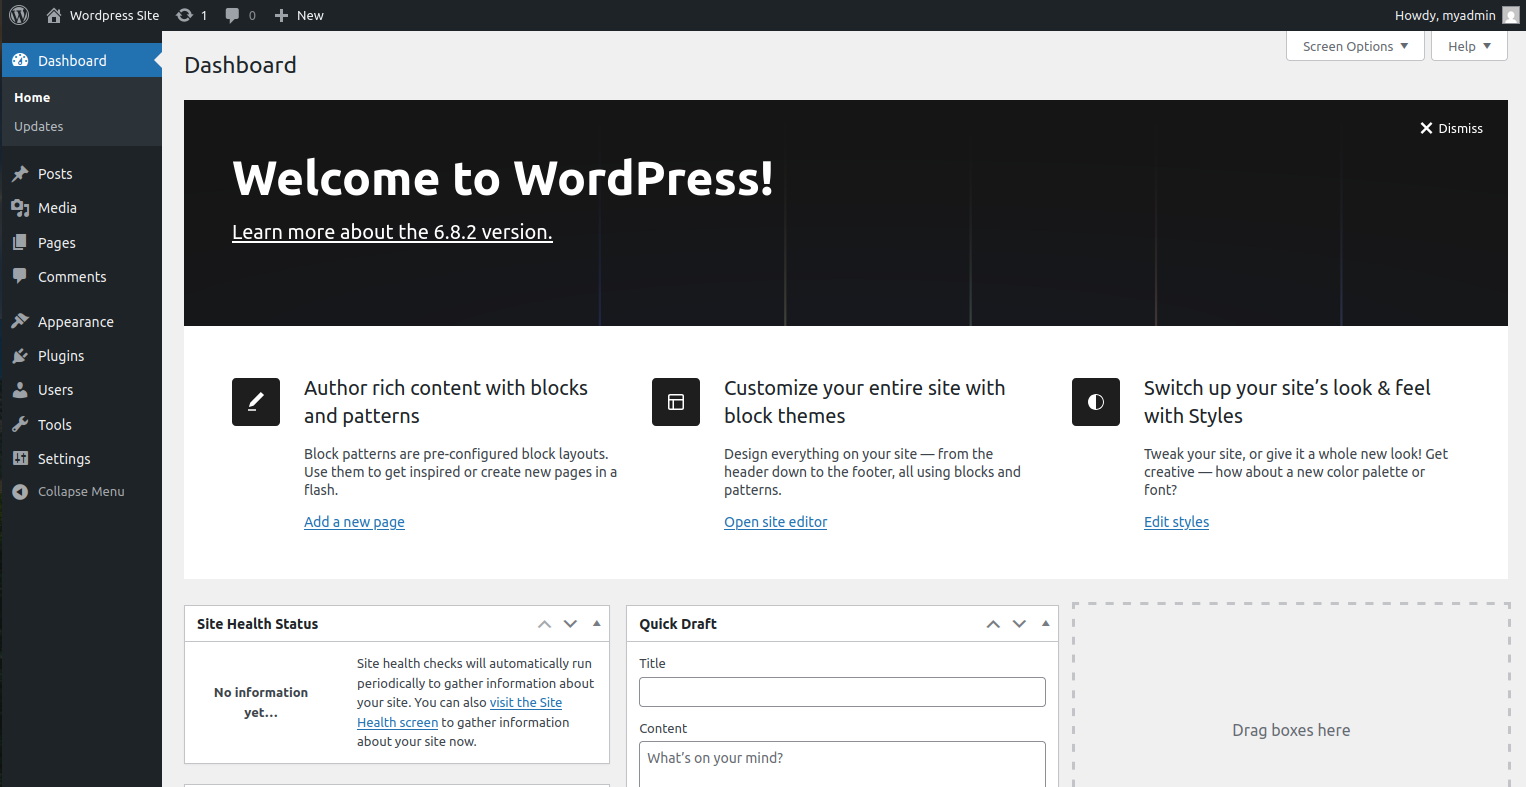
8. Enter your admin username and password, then click Log In. You’ll land on the WordPress Dashboard.
Conclusion
In this tutorial, you successfully installed WordPress on Debian 12 using the LEMP stack. At this stage, your WordPress site is live and ready for customization. You can now log in to the WordPress Dashboard to install themes, add plugins, and publish your first post.
* This post is for informational purposes only and does not constitute professional, legal, financial, or technical advice. Each situation is unique and may require guidance from a qualified professional.
Readers should conduct their own due diligence before making any decisions.