Apache webserver is free, open-source, and one of the most widely used web servers in the world. It allows you to serve the content on the web.
Any user can access your application over the Internet when it is hosted on an Apache web server. In some cases, you may need to secure your application so that only authenticated users can access the application. You can protect your application at the server level using Apache htpasswd. This utility allows you to limit access to a specific website to the limited person who has the login details only.
In this tutorial, we will show you how to setup password authentication with Apache on Ubuntu 18.04.
Step 1 – Install Apache Webserver
By default, the Apache webserver package is available in the Ubuntu 18.04 default repository. You can install it with the following command:
apt-get install apache2 apache2-utils -y
Once installed, start the Apache service and enable it to start after system reboot with the following command:
systemctl start apache2
systemctl enable apache2
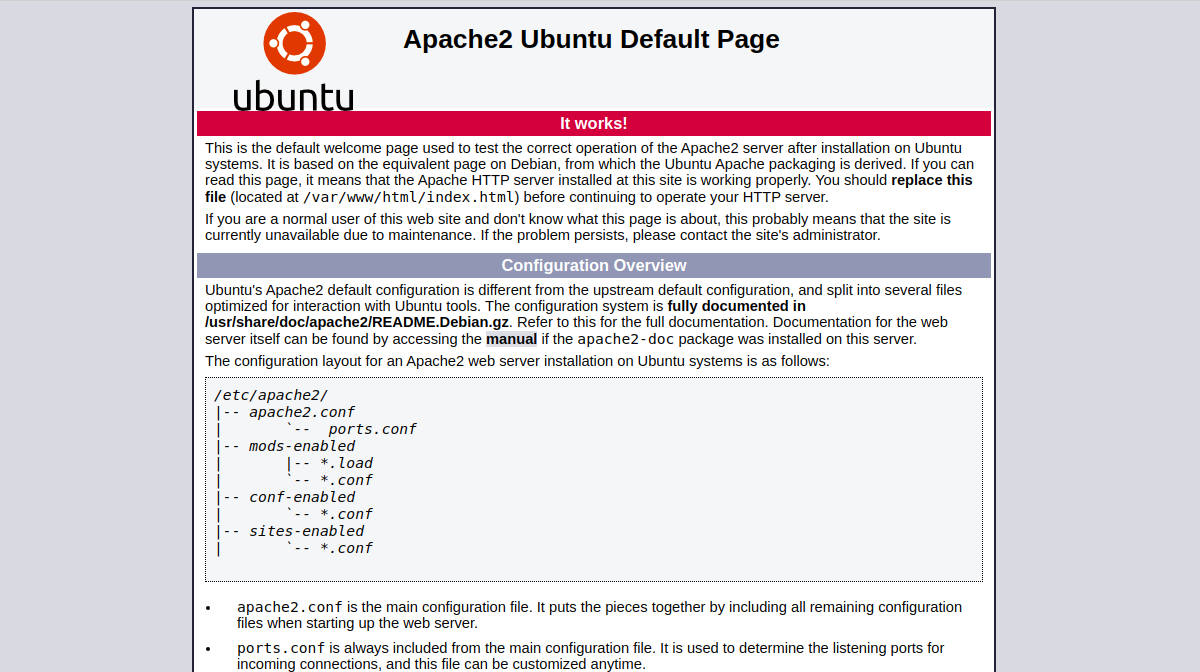
Now, open your web browser and navigate to the URL http://your-server-ip. You should see your default Apache web page in the following screen:
Step 2 – Create Apache Password File
First, you will need to create a password file that Apache can use to authenticate users. You can create a hidden .htpasswd file withing /etc/apache2 directory for a user named user1 using the htpasswd utility:
htpasswd -c /etc/apache2/.htpasswd user1
Provide your desired password, as shown below:
New password:
Re-type new password:
Adding password for user user1
The above command will create a .htpasswd file with user credentials. You will need to use these credentials to access your website.
Step 3 – Create a Sample Website
In this section, we will create a sample directory structure and index.html file for testing purposes.
First, create a directory for your website with the following command:
mkdir /var/www/html/example.com
Next, create an index.html file inside your web directory with the following command:
nano /var/www/html/example.com/index.html
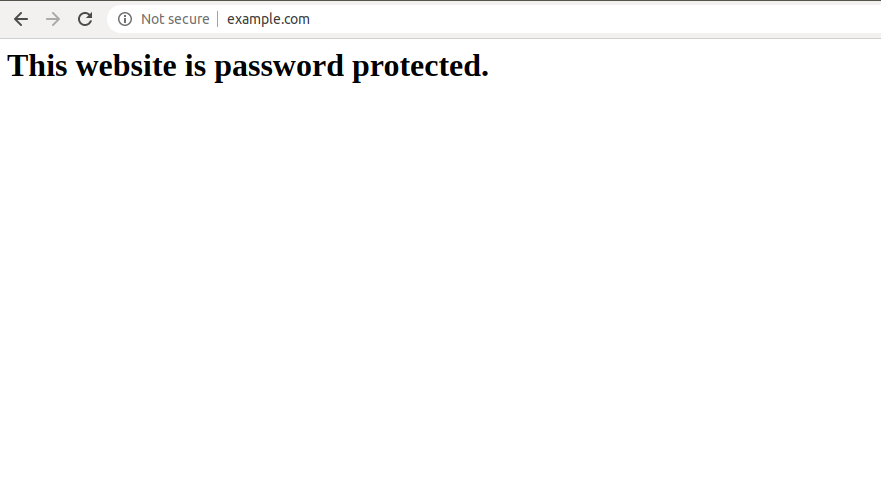
Add the following contents:
<html>
<title>Password Protected Apache Website.</title>
<h1>This website is password protected.</h1>
</html>
Save and close the file when you are finished. Then, change the ownership of your web directory to www-data:
chown -R www-data:www-data /var/www/html/example.com
Step 4 – Configure Apache Basic Authentication
Next, you will need to create an Apache virtual host configuration file for your website and define basic authentication.
nano /etc/apache2/sites-available/example.conf
Add the following lines:
<VirtualHost *:80>
  ServerAdmin webmaster@example.com
  ServerName  example.com
  DocumentRoot /var/www/html/example.com
  DirectoryIndex index.html
  ErrorLog ${APACHE_LOG_DIR}/error.log
  CustomLog ${APACHE_LOG_DIR}/access.log combined
  <Directory "/var/www/html/example.com">
      AuthType Basic
      AuthName "Restricted Content"
      AuthUserFile /etc/apache2/.htpasswd
      Require valid-user
  </Directory>
</VirtualHost>
Save and close the file when you are finished.
A brief explanation of each directive is specified below:
- ServerAdmin: Email address of the server admin.
- ServerName: Domain name that the server uses to identify itself.
- DocumentRoot: Specify the path of your application.
- DirectoryIndex: Specify a default page to display when a directory is accessed.
- AuthType: Type of authentication.
- AuthName: Specify the message to appear on the password page.
- AuthUserFile: Specify the location of the user credential file.
- Require: Specify the users that can access this region of the server.
Next, check the Apache for any syntax errors with the following command:
apachectl -t
You should get the following output:
Syntax OK
Next, enable the Apache virtual host file for your website with the following command:
a2ensite example.conf
Next, restart the Apache service to implement the changes:
systemctl restart apache2
Step 5 – Verify Apache Password Authentication
At this point, your website is secured with Apache basic authentication.
To check it, open your web browser and type the URL http://example.com. You will be asked to provide a username and password to access your website, as shown below:
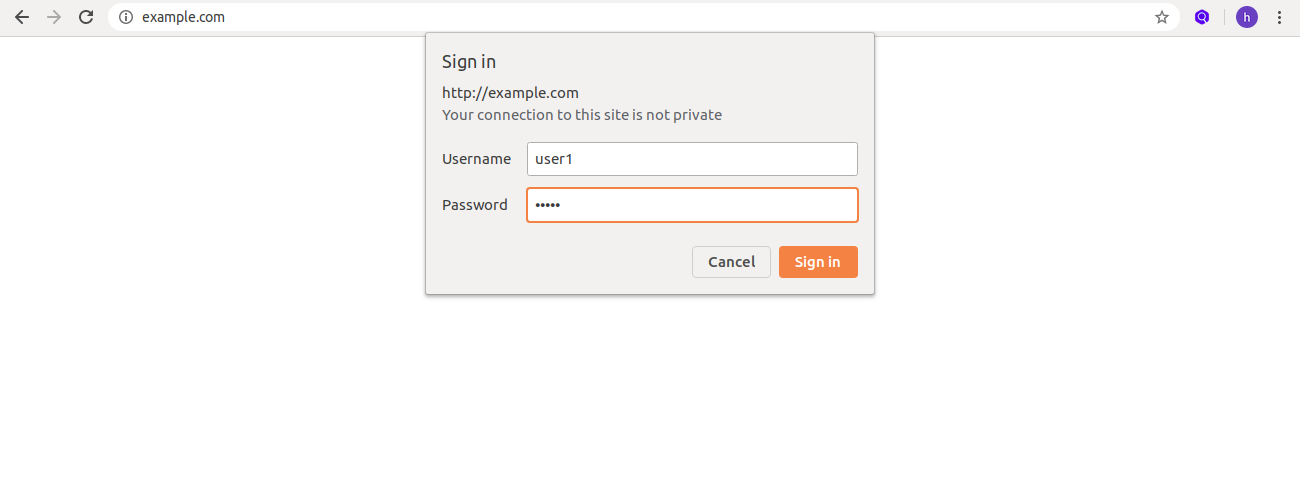
Provide your username and password and click on the Sign in button. You should see your website default page in the following screen:
Conclusion
In the above guide, we learned how to create a password protected website with Apache on Ubuntu 18.04. You can now easily password protect your website with Apache – test it out today with a VPS Hosting Plan from Atlantic.Net! For more information, you can visit the Apache official documentation at Apache Auth.
* This post is for informational purposes only and does not constitute professional, legal, financial, or technical advice. Each situation is unique and may require guidance from a qualified professional.
Readers should conduct their own due diligence before making any decisions.