Varnish Cache is a free, open-source, and powerful web application accelerator designed for high-load dynamic websites. The Varnish Cache sits behind the web server and can speed up your website by a factor between about 300 and 1000 times. It can also be used as a load balancer if you are running multiple servers. Varnish Cache works by caching requested web pages in memory and serving a requested page without the delay of building content from scratch when the same information is asked for several times.
In this tutorial, we will show you how to set up Varnish Cache as a proxy server for Nginx on Ubuntu 18.04 VPS.
Step 1 – Install Varnish Cache
By default, the Varnish package is available in the Ubuntu 18.04 default repository. You can install it by running the following command:
apt-get update -y
apt-get install varnish -y
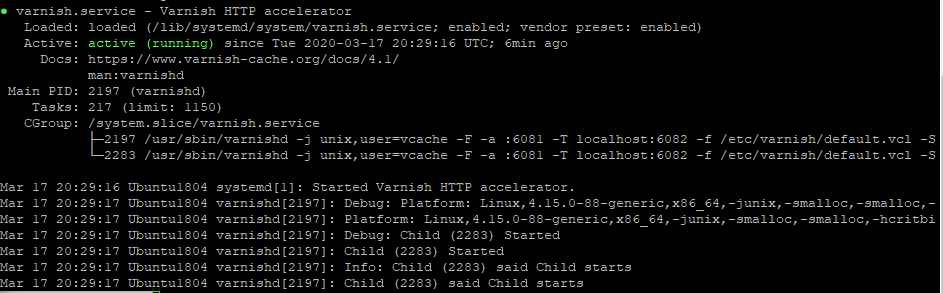
After successful installation, the Varnish cache service has been started automatically. You can check the status of Varnish service with the following command:
systemctl status varnish
You should get the following output:
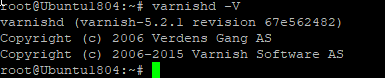
You can also verify the installed version of Varnish with the following command:
varnishd -V
You should see the following output:
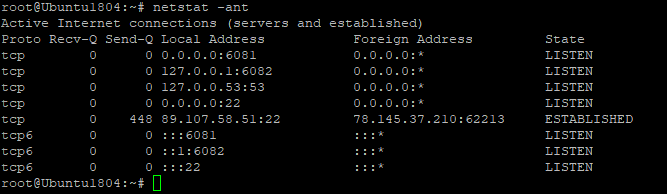
By default, Varnish cache is listening on port 6081 and 6082. You can verify it with the following command:
netstat -ant
You should see the following output:
Step 2 – Install and Configure Nginx
In this section, we will install and configure Nginx to sit behind the Varnish cache server. By default, Nginx runs on port 80, so you will need to configure the Nginx to listen on port 8088.
First, install the Nginx web server with the following command:
apt-get install nginx -y
After installing the Nginx web server, edit the Nginx default virtual host configuration file:
nano /etc/nginx/sites-available/default
Change the default port from 80 to 8088, as shown below:
server {
        listen 8088 default_server;
        listen [::]:8088 default_server;
        root /var/www/html;
        index index.html index.htm index.nginx-debian.html;
        server_name _;
        location / {
                try_files $uri $uri/ =404;
        }

}
Note : Ensure you have deleted or commented out all of the default entries in the files, make sure only the above content is saved. Failure to do this will result in the nginx service refusing to start
Save and close the file when you are finished. Then, restart the Nginx service to apply the configuration:
systemctl restart nginx
Step 3 – Configure Varnish Cache
Next, you will need to configure Varnish to use port 80 so it can route traffic to the Nginx web server via the Varnish cache server.
You can do it by editing the file /lib/systemd/system/varnish.service:
nano /lib/systemd/system/varnish.service
Change the Varnish default port from 6081 to 80 as shown below:
[Unit]
Description=Varnish HTTP accelerator
Documentation=https://www.varnish-cache.org/docs/4.1/ man:varnishd

[Service]
Type=simple
LimitNOFILE=131072
LimitMEMLOCK=82000
ExecStart=/usr/sbin/varnishd -j unix,user=vcache -F -a :80 -T localhost:6082 -f /etc/varnish/default.vcl -S /etc/varnish/secret -s malloc,256m
ExecReload=/usr/share/varnish/varnishreload
ProtectSystem=full
ProtectHome=true
PrivateTmp=true
PrivateDevices=true

[Install]
WantedBy=multi-user.target
Save and close the file when you are finished. Then, reload systemd daemon with the following command:
systemctl daemon-reload
Next, you will need to configure Nginx as a backend server for Varnish. You can do it by editing the file /etc/varnish/default.vcl:
nano /etc/varnish/default.vcl
Change the port from 8080 to 8088, as shown below:
backend default {
    .host = "127.0.0.1";
    .port = "8088";
}
Save and close the file when you are finished.
Note: Replace 127.0.0.1 with your Nginx server IP address if your Nginx web server is installed on the other host.
Finally, restart the Varnish cache server with the following command:
systemctl restart varnish
Step 4 – Verify Varnish Cache Server
At this point, the Varnish cache is configured to work with the Nginx web server. It’s time to test it.
You can check the Varnish cache with the curl command as shown below:
curl -I your-server-ip
You should get the following output:
HTTP/1.1 200 OK
Server: nginx/1.14.0 (Ubuntu)
Date: Sun, 01 Dec 2019 06:46:18 GMT
Content-Type: text/html
Last-Modified: Sun, 01 Dec 2019 06:41:28 GMT
ETag: W/"5de36098-264"
Vary: Accept-Encoding
X-Varnish: 32770 3
Age: 17
Via: 1.1 varnish (Varnish/5.2)
Accept-Ranges: bytes
Connection: keep-alive
The above output clearly indicates that you are using Nginx server with Varnish Cache.
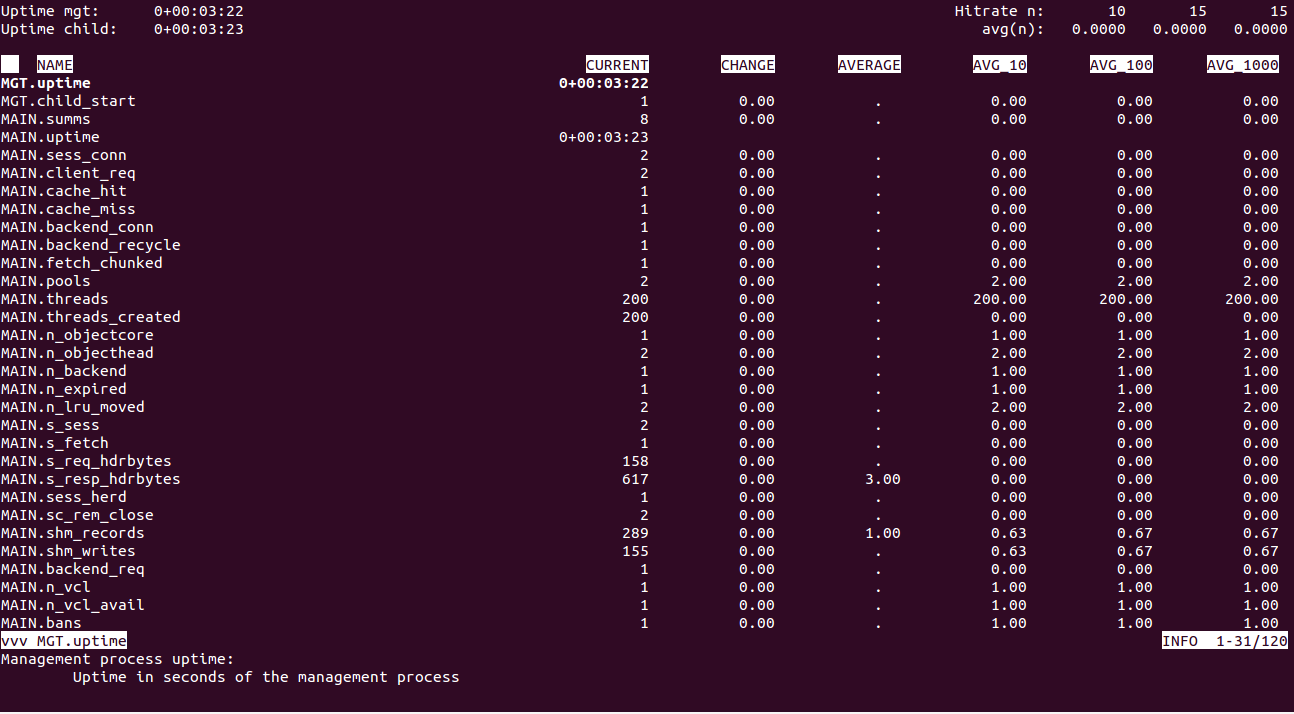
You can also verify Varnish caching statistics with the following command:
varnishstat
You should see the following screen:
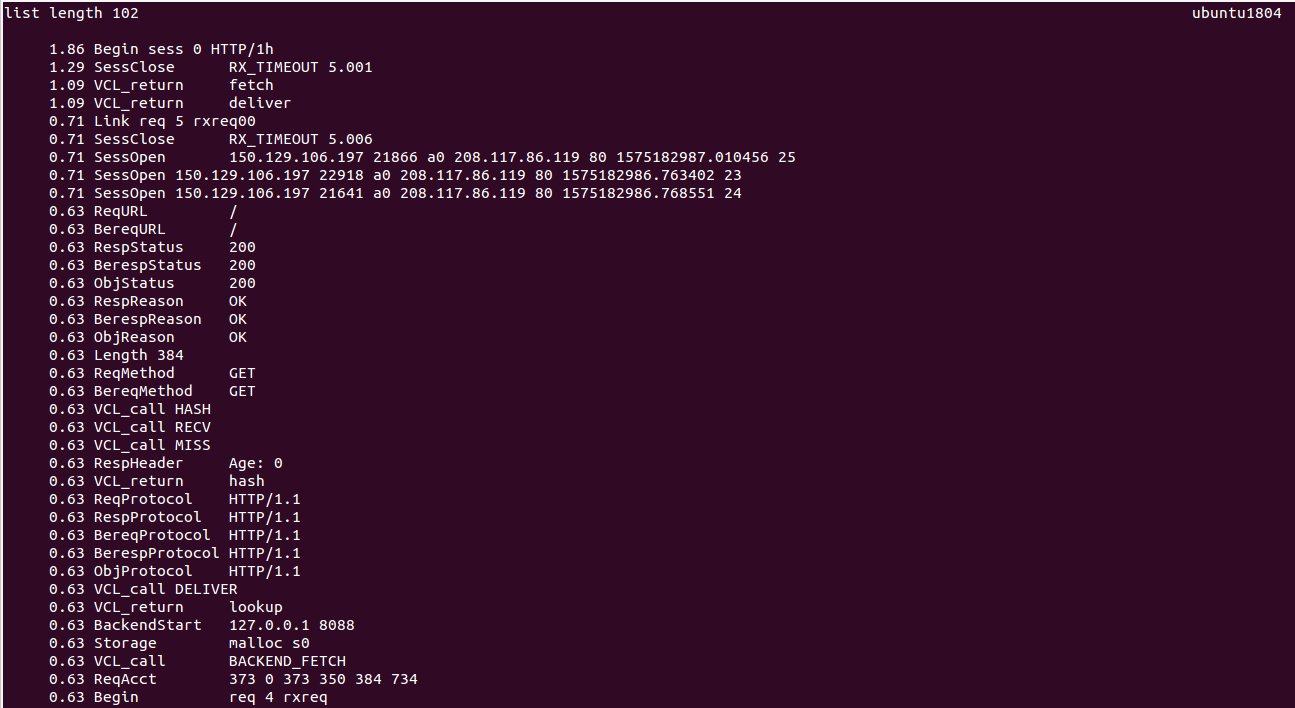
You can also see Varnish log entry ranking with the following command:
varnishtop
Output:
If you have any issues with the Varnish cache, you can check the Varnish log with the following commands:
tail -f varnishncsa.log
Conclusion
Congratulations! You have successfully installed and configured the Varnish Cache server with Nginx on Ubuntu 18.04 VPS. You can refer to the Varnish documentation to optimize your configuration per your needs.