VestaCP is a powerful, free, open-source control panel that helps you to create and manage a website, email, database, and DNS from its web-based interface. You can manage a website, domain, FTP, SSL, and backups with the help of VestaCP. It has a built-in Softaculous auto-installer that allows you to install more than 439 apps with one click. If you are looking for a cost-effective alternative to cPanel, then VestaCP is the best solution for you.
In this tutorial, we will show you how to install VestaCP on Debian 9.
Step 1 – Install Required Dependencies
Before starting, you will need to install some dependencies on your server. You can install all of them with the following command:
apt-get update -y
apt-get install nano wget curl unzip gnupg -y
Once all the packages are installed, you can proceed to the next step.
Step 2 – Install VestaCP
VestaCP provides an auto-installer script to install the VestaCP in your server. You can download it with the following command:
curl -O http://vestacp.com/pub/vst-install.sh
Once the download is completed, give proper permissions with the following command:
chmod +x vst-install.sh
Next, start the VestaCP installation by running the script as shown below:
bash vst-install.sh --force
You will be asked to provide a valid email address and domain name as shown below:
_| _| _|_|_|_| _|_|_| _|_|_|_|_| _|_|

_| _| _| _| _| _| _|

_| _| _|_|_| _|_| _| _|_|_|_|

_| _| _| _| _| _| _|

_| _|_|_|_| _|_|_| _| _| _|

Vesta Control Panel

The following software will be installed on your system:
- Nginx Web Server
- Apache Web Server (as backend)
- Bind DNS Server
- Exim Mail Server
- Dovecot POP3/IMAP Server
- MariaDB Database Server
- Vsftpd FTP Server
- Softaculous Plugin
- Iptables Firewall + Fail2Ban

Would you like to continue [y/n]: y
Please enter admin email address: [email protected]
Please enter FQDN hostname [centos]: vesta.example.com
Provide your email, domain name and hit Enter to start the installation. Once the installation has been completed, you should see the following output:
Installation backup directory: /root/vst_install_backups/1602913863

=======================================================

_| _| _|_|_|_| _|_|_| _|_|_|_|_| _|_|
_| _| _| _| _| _| _|
_| _| _|_|_| _|_| _| _|_|_|_|
_| _| _| _| _| _| _|
_| _|_|_|_| _|_|_| _| _| _|

Congratulations, you have just successfully installed Vesta Control Panel
https://vesta.example.com:8083
username: admin
password: OkF1MklD0p

We hope that you enjoy your installation of Vesta. Please feel free to contact us anytime if you have
any questions.
Thank you.

--
Sincerely yours
vestacp.com team
At this point, VestaCP is installed and listening on port 8083. Please remember the admin username and password as shown above.
Step 3 – Access VestaCP Web Interface
Now, open your web browser and type the URL https://vesta.example.com:8083. You should see the VestaCP login page:
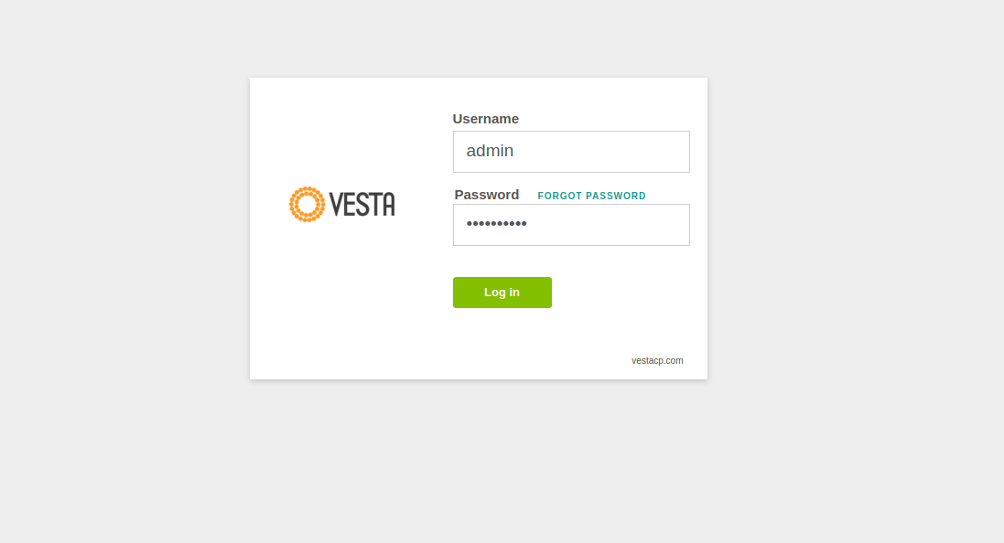
Provide your admin username, password and click on the Log in button. You should see the VestaCP dashboard in the following page:
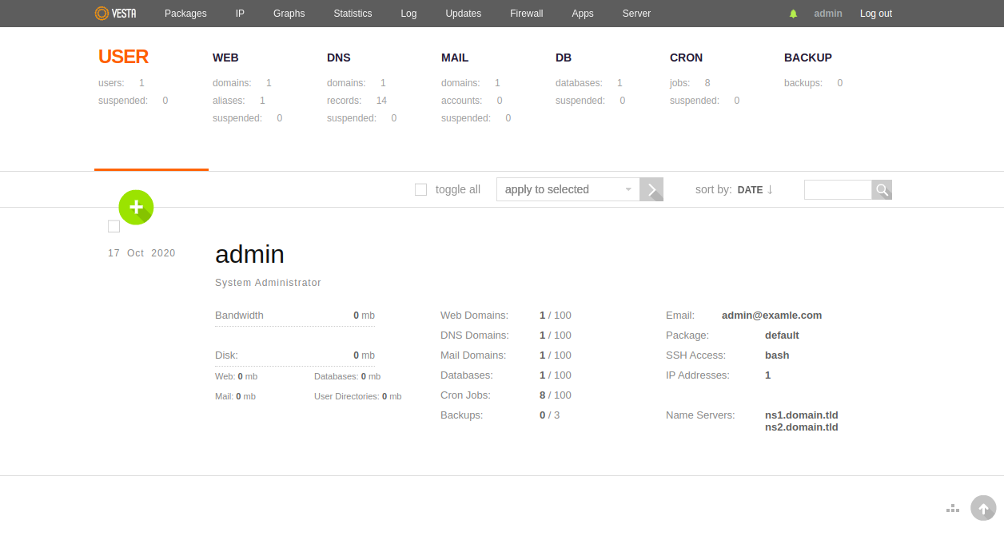
Step 4 – Add a New Website
To create a new website, click on WEB. You should see the following page:
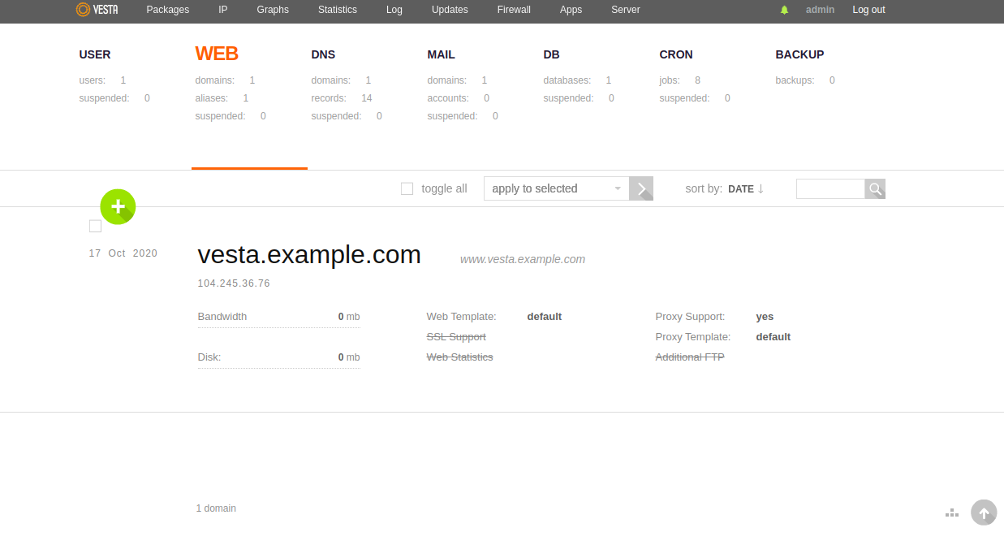
Click on the + button. You should see the following page:

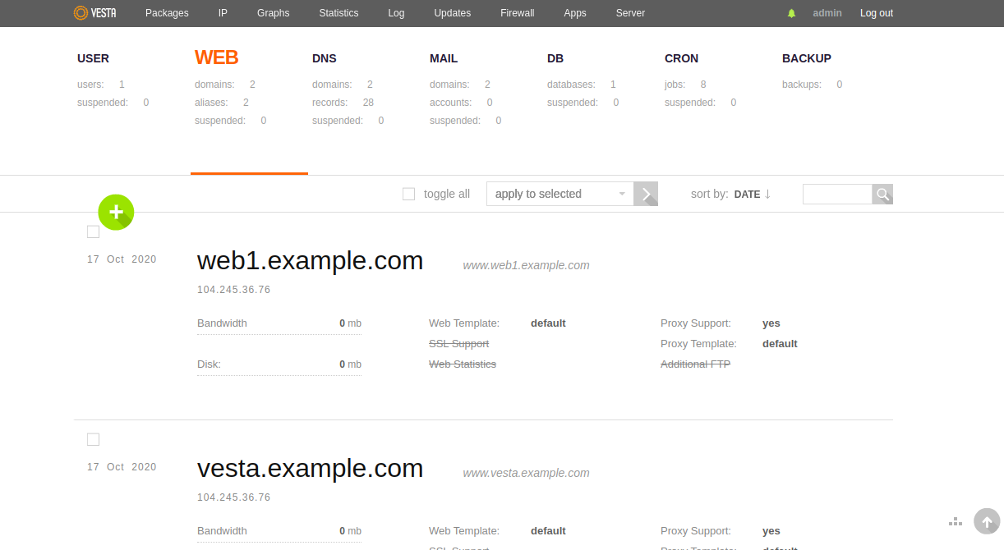
Provide your website domain name and IP address and click on the Add button. Once the website is created, you should see the following page:
Now, open your web browser and access your new website using the URL http://web1.example.com. You should see your website default page in the following screen:

Conclusion
Congratulations! You have successfully installed VestaCP on a Debian 9 server. You can now explore and VestaCP dashboard for more functionality and start managing your database, domain, email and DNS from a central location. Get started with VestaCP on VPS hosting from Atlantic.Net today!