Nextcloud is an enterprise-ready suite of client-server software built to help users create, host, and share files. Nextcloud is a free and open-source file hosting service, making it an excellent choice for home users, with scalability to enterprise-level deployments.
In this post, we will show you how to install Nextcloud on Rocky Linux 8.
Step 1 – Install LAMP Stack
Before starting, a LAMP stack must be installed on your server. You can install it using the following command:
dnf update -y
dnf install httpd mariadb-server php php-curl php-gd php-intl php-json php-ldap php-mbstring php-mysqlnd php-xml php-zip php-opcache unzip curl -y
After the successful installation, start the Apache and MariaDB services and enable them to start after system reboot:
systemctl start httpd
systemctl enable httpd
systemctl start mariadb
systemctl enable mariadb
Step 2 – Create a Database and User for NextCloud
First, secure the MariaDB installation and set the MariaDB root password using the following command:
mysql_secure_installation
Answer all the questions as shown below:
Enter current password for root (enter for none):
Set root password? [Y/n] Y
New password:
Re-enter new password:
Remove anonymous users? [Y/n] Y
Disallow root login remotely? [Y/n] Y
Remove test database and access to it? [Y/n] Y
Reload privilege tables now? [Y/n] Y
Next, log in to MariaDB using the following command:
Nextcloud uses MariaDB or MySQL as a database backend. First, log in to MariaDB with the following command:
mysql -u root -p
Once you are logged in, create a database and user with the following command:
CREATE DATABASE nextcloud;
CREATE USER 'nextcloud'@'%' IDENTIFIED BY 'password';
Next, grant all the privileges to the Nextcloud database using the following command:
GRANT ALL PRIVILEGES ON nextcloud.* TO 'nextcloud'@'%';
Next, flush the privileges and exit from the MariaDB shell using the command below:
FLUSH PRIVILEGES;
EXIT;
Step 3 – Install NextCloud
At the time of writing this tutorial, the latest version of Nextcloud is 21. You can download it using the following command:
wget https://download.nextcloud.com/server/releases/latest-21.zip
Once the download is completed, extract it to the Apache web root directory with the following command:
unzip latest-21.zip -d /var/www/html/
Next, create a data directory for Nextcloud with the following command:
mkdir -p /var/www/html/nextcloud/data
Next, change the ownership of the Nextcloud directory to Apache:
chown -R apache:apache /var/www/html/nextcloud/
Step 4 – Create an Apache Virtual Host Configuration File
Next, you will need to create an Apache virtual host configuration file to host Nextcloud using the Apache webserver.
nano /etc/httpd/conf.d/nextcloud.conf
Add the following code:
<VirtualHost *:80>
    ServerName nextcloud.yourdomain.com
    DocumentRoot /var/www/html/nextcloud
    ErrorLog /var/log/httpd/nextcloud_error.log
    CustomLog /var/log/httpd/nextcloud_requests.log combined
</VirtualHost>
Save the file when you are finished, then restart the Apache service to apply the changes:
systemctl restart httpd
You can check the status of Apache using the following command;
systemctl status httpd
You should get the following output:
● httpd.service - The Apache HTTP Server
   Loaded: loaded (/usr/lib/systemd/system/httpd.service; disabled; vendor preset: disabled)
  Drop-In: /usr/lib/systemd/system/httpd.service.d
           └─php-fpm.conf
   Active: active (running) since Tue 2021-09-14 09:56:13 UTC; 5s ago
     Docs: man:httpd.service(8)
 Main PID: 38015 (httpd)
   Status: "Started, listening on: port 80"
    Tasks: 213 (limit: 23695)
   Memory: 30.8M
   CGroup: /system.slice/httpd.service
           ├─38015 /usr/sbin/httpd -DFOREGROUND
           ├─38016 /usr/sbin/httpd -DFOREGROUND
           ├─38017 /usr/sbin/httpd -DFOREGROUND
           ├─38018 /usr/sbin/httpd -DFOREGROUND
           └─38019 /usr/sbin/httpd -DFOREGROUND

Sep 14 09:56:13 RockyLinux8 systemd[1]: Starting The Apache HTTP Server...
Step 5 – Configure Firewall
If firewalld is installed and running in your server, then you will need to allow port 80 through the firewall. You can allow it using the following command:
firewall-cmd --add-port=80/tcp --zone=public --permanent
Next, reload the firewall to apply the changes:
firewall-cmd --reload
Step 6 – Access NextCloud
Note: If you get the following error about PHP, follow these steps.
This version of Nextcloud requires at least PHP 7.3
You are currently running 7.2.24. Please update your PHP version.

yum module list php
yum module reset php
yum module enable php:7.3 -y
yum install -y php php-cli php-common
To access Nextcloud, open your web browser and visit the URL http://nextcloud.yourdomain.com. You should see the following screen:
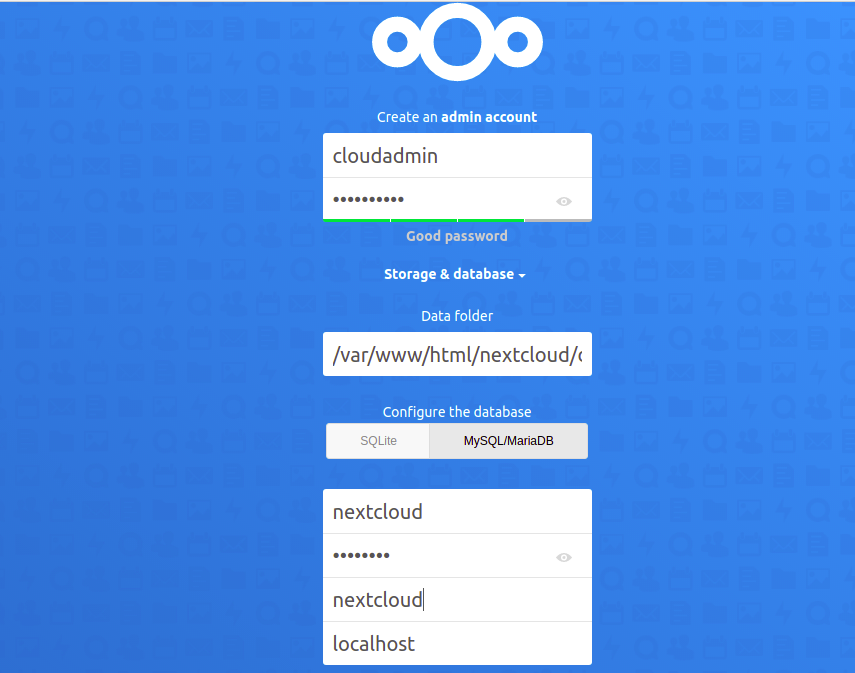
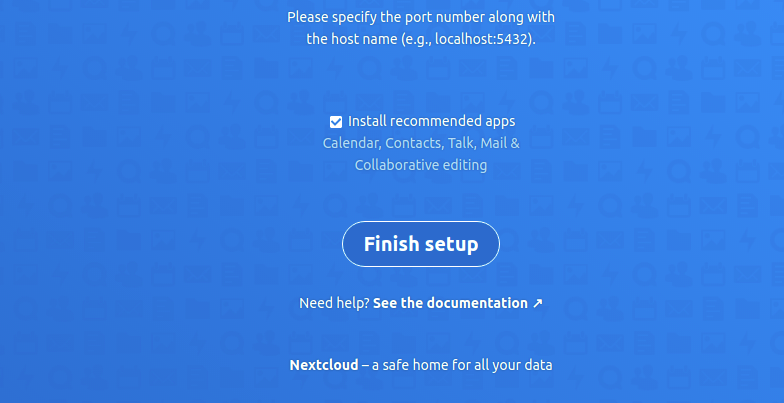
Provide your administrator account name, password, define your data directory, database credentials and click on the Finish setup button. You will be redirected to the Nextcloud login page:
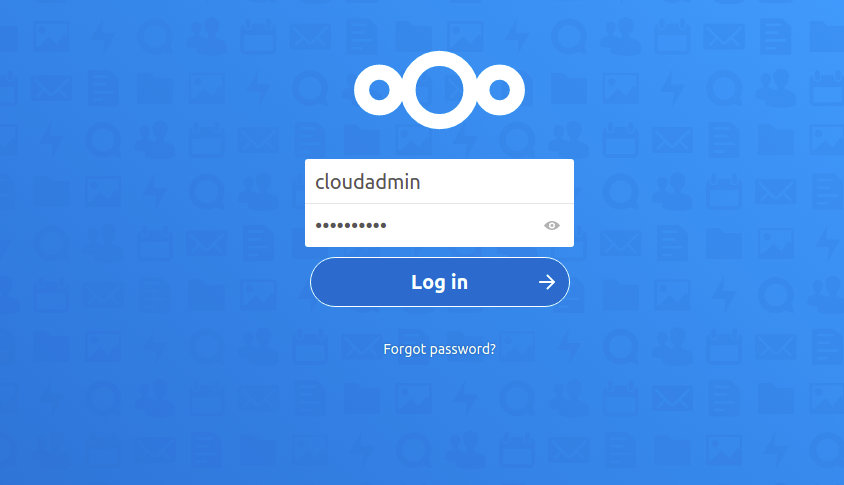
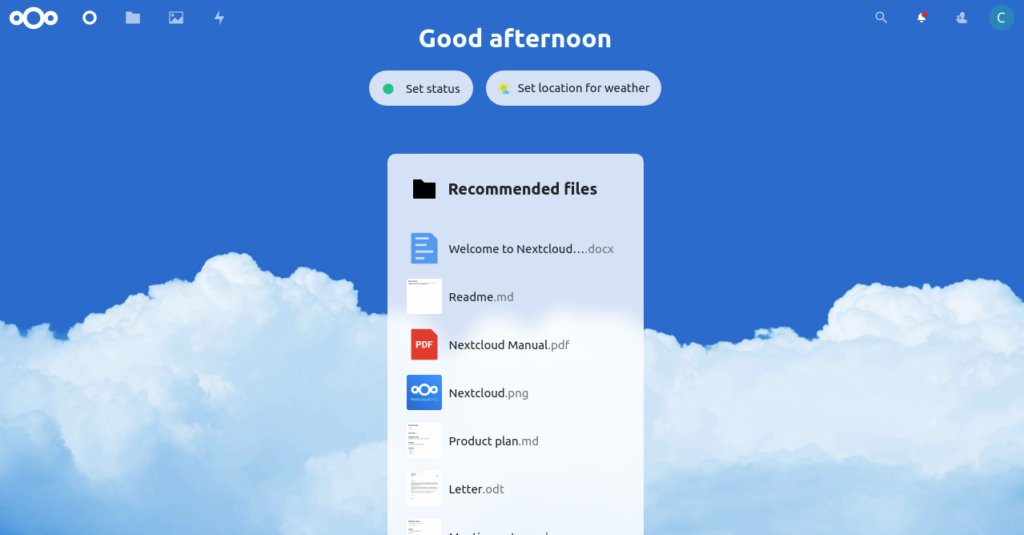
Provide your admin account username, password and click on the Log in button. You should see the Nextcloud dashboard:
Conclusion
Now that you have installed Nextcloud on Rocky Linux 8, you can easily create and share documents, calendars, and more with your friends and family. Get started on dedicated hosting from Atlantic.Net.