Craft CMS is a free and open-source content management system written in PHP and built on the Yii framework. It is designed for website owners who want more control and more powerful performance from their CMS. It is secure, scalable, and provides a lot of plugins that allow you to add more functionality to your website. Craft CMS offers an intuitive, user-friendly control panel for content creation and administrative tasks.
In this step-by-step guide, we will show you how to install Craft CMS with Nginx on Rocky Linux 8.
Step 1 – Install Nginx, PHP and MariaDB
First, you will need to install the Nginx web server, MariaDB database, PHP, and other required extensions to your server. You can install all of them using the following command:
dnf install nginx mariadb-server php php-cli php-fpm php-common php-curl php-gd php-json php-mbstring php-mysqli php-pgsql php-zip php-intl php-xml php-pdo -y
After installing all the packages, edit the php.ini file and change some recommended settings:
nano /etc/php.ini
Change the following settings:
memory_limit = 256M
date.timezone = Asia/Kolkata
Save and close the file, then edit the php-fpm configuration file and change user and group from apache to nginx:
nano /etc/php-fpm.d/www.conf
Change the following lines:
user = nginx
group = nginx
Save and close the file, then start the Nginx, MariaDB and PHP-FPM services and enable them to start at system reboot:
systemctl start nginx mariadb php-fpm
systemctl enable nginx mariadb php-fpm
Step 2 – Create a Database and User
Next, you will need to create a database and user for Craft CMS. First, log in to MySQL with the following command:
mysql
Once you are logged in, create a database and user with the following command:
create database craftdb;
grant all on craftdb.* to craftuser@localhost identified by 'securepassword';
Next, flush the privileges and exit from MariaDB with the following command:
flush privileges;
quit;
Step 3 – Install Composer
Composer is a dependency manager for PHP used for resolving PHP dependencies for your project.
First, download the Composer setup PHP file with the following command:
php -r "copy('https://getcomposer.org/installer', 'composer-setup.php');"
Next, fetch the Composer Hash value and match it with the downloaded file:
HASH="$(wget -q -O - https://composer.github.io/installer.sig)"
php -r "if (hash_file('SHA384', 'composer-setup.php') === '$HASH') { echo 'Installer verified'; } else { echo 'Installer corrupt'; unlink('composer-setup.php'); } echo PHP_EOL;"
If everything is fine, you should get the following output:
Installer verified
Next, run the following command to install Composer to your system:
php composer-setup.php --install-dir=/usr/local/bin --filename=composer
Once Composer is installed, verify the Composer version using the following command:
composer -V
You should get the following output:
Composer version 2.1.8 2021-09-15 13:55:14
Step 4 – Install Craft CMS
First, navigate to the Nginx web root directory and download the latest version of Craft CMS using Composer:
cd /var/www/html/
composer create-project craftcms/craft craft
During the installation, you will be asked to provide database credentials, admin username, password, and Craft URL as shown below:
> @php craft setup/welcome

   ______ .______          ___       _______ .___________.
  /      ||   _  \        /   \     |   ____||           |
 |  ,----'|  |_)  |      /  ^  \    |  |__   `---|  |----`
 |  |     |      /      /  /_\  \   |   __|      |  |
 |  `----.|  |\  \----./  _____  \  |  |         |  |
  \______|| _| `._____/__/     \__\ |__|         |__|

     A       N   E   W       I   N   S   T   A   L   L
               ______ .___  ___.      _______.
              /      ||   \/   |     /       |
             |  ,----'|  \  /  |    |   (----`
             |  |     |  |\/|  |     \   \
             |  `----.|  |  |  | .----)   |
              \______||__|  |__| |_______/


Generating an application ID ... done (CraftCMS--be1f09c9-cd35-4bfe-a01b-d611282eea19)
Generating a security key ... done (HaBt-G01s1pwVPNXmb1iAQZDI0M1lpuh)

Welcome to Craft CMS!

Are you ready to begin the setup? (yes|no) [no]:yes
Generating an application ID ... done (CraftCMS--f06f8153-f389-4603-97b7-c683b8cd422d)

Which database driver are you using? [mysql,pgsql,?]: mysql
Database server name or IP address: [127.0.0.1]
Database port: [3306]
Database username: [root] craftuser
Database password:
Database name: craftdb
Database table prefix:
Testing database credentials ... success!
Saving database credentials to your .env file ... done

Install Craft now? (yes|no) [yes]:yes
Username: [admin]
Email: [email protected]
Password:
Confirm:
Site name: mysite
Site URL: http://craft.example.com
Site language: [en-US]
installed Craft successfully (time: 6.230s)

Generating project config files from the loaded project config ... done
Next, change the ownership of Craft CMS directory and PHP session directory to Nginx:
chown -R nginx:nginx /var/www/html/craft
chown -R nginx:nginx /var/lib/php/session
Step 5 – Configure Nginx for Craft CMS
Next, you will need to create an Nginx virtual host configuration file for Craft CMS. You can create it with the following command:
nano /etc/nginx/conf.d/craft.conf
Add the following configuration:
server {

  listen 80;
  server_name craft.example.com;
  root /var/www/html/craft/web;
  index index.php;


  location / {
    try_files $uri/index.html $uri $uri/ /index.php?$query_string;
  }

  location ~ [^/]\.php(/|$) {
    try_files $uri $uri/ /index.php?$query_string;
    fastcgi_split_path_info ^(.+\.php)(/.+)$;
    fastcgi_pass unix:/run/php-fpm/www.sock;
    fastcgi_index index.php;
    include fastcgi_params;
    fastcgi_param SCRIPT_FILENAME $document_root$fastcgi_script_name;
    fastcgi_param PATH_INFO $fastcgi_path_info;
    fastcgi_param HTTP_PROXY "";
  }

}
Save the file, then verify the Nginx configuration using the following command:
nginx -t
You should get the following output:
nginx: the configuration file /etc/nginx/nginx.conf syntax is ok
nginx: configuration file /etc/nginx/nginx.conf test is successful
Please note if you get this warning message :
nginx: [emerg] could not build server_names_hash, you should increase server_names_hash_bucket_size: 32
nginx: configuration file /etc/nginx/nginx.conf test failed
You must edit the /etc/nginx.nginx.conf file and add this line before the server block:
server_names_hash_bucket_size 64;
Finally, restart the Nginx service to apply the changes:
systemctl restart nginx
Step 6 – Access Craft CMS
Now, open your web browser and access the Craft CMS website using the URL http://craft.example.com. You should see the following screen:

Click on Go to your control panel. You will be redirected to the Craft CMS login page:
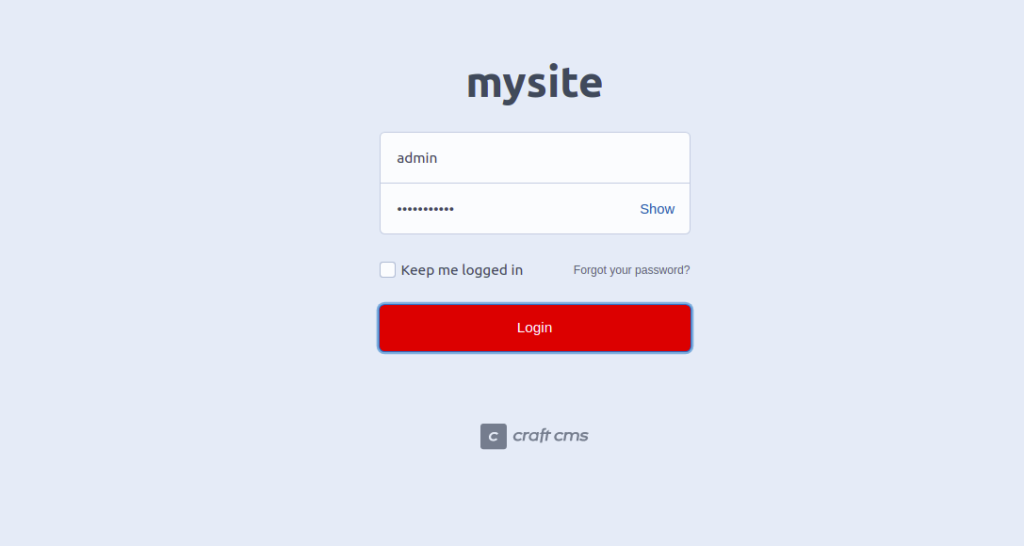
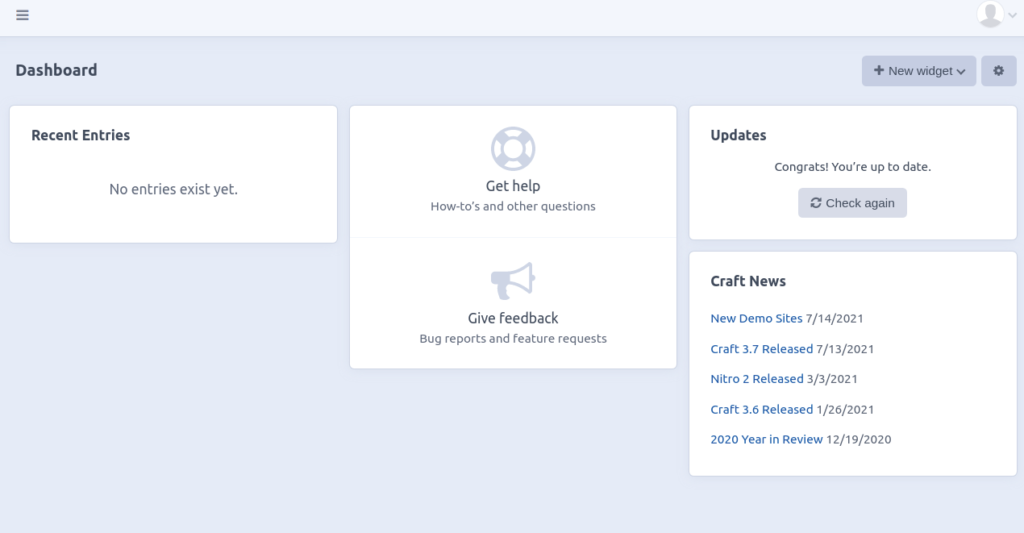
Provide your admin username and password and click on the Login button. You should see the Craft CMS dashboard on the following screen:
Conclusion
That’s it for now. You have successfully installed Craft CMS with Nginx on RockyLinux 8. You can start developing your website easily from the Craft CMS dashboard. Try it out on dedicated server hosting from Atlantic.Net.