Jenkins is an open-source, widely used automation software tool. It is used in the software development life cycle to build, test, and deploy code automatically. Jenkins is written in Java and allows you to automate a series of tasks in order to complete the continuous integration process. It provides a simple and user-friendly web interface that allows you to manage complicated tasks through a web-based dashboard.
In this post, we will show you how to install Jenkins on Rocky Linux 10.
Step 1 – Install Java
Jenkins is a Java-based tool, so Java must be installed on your server. If not installed, you can install it using the following command:
dnf update -y
dnf install java-21-openjdk -y
Once Java is installed, verify the Java version using the following command:
java --version
Sample output:
openjdk 21.0.8 2025-07-15 LTS
OpenJDK Runtime Environment (Red_Hat-21.0.8.0.9-1) (build 21.0.8+9-LTS)
OpenJDK 64-Bit Server VM (Red_Hat-21.0.8.0.9-1) (build 21.0.8+9-LTS, mixed mode, sharing)
Step 2 – Add Jenkins Repository
By default, Jenkins is not included in the RockyLinux 8 default repository, so you will need to create a Jenkins repo to your system. You can create it using the following command:
wget -O /etc/yum.repos.d/jenkins.repo https://pkg.jenkins.io/redhat-stable/jenkins.repo
Next, download and import the Jenkins GPG key with the following command:
rpm --import https://pkg.jenkins.io/redhat-stable/jenkins.io-2023.key
Next, verify the Jenkins repo using the following command:
dnf repolist
Sample output:
repo id                                                         repo name
appstream                                                       Rocky Linux 8 - AppStream
baseos                                                          Rocky Linux 8 - BaseOS
extras                                                          Rocky Linux 8 - Extras
jenkins                                                         Jenkins-stable
Step 3 – Install Jenkins
Now, you can install Jenkins using the following command:
dnf install jenkins --nobest
Once Jenkins is installed, start Jenkins and enable it to start at system reboot:
systemctl start jenkins
systemctl enable jenkins
You can now check the status of Jenkins using the following command:
systemctl status jenkins
Sample output:
● jenkins.service - Jenkins Continuous Integration Server
     Loaded: loaded (/usr/lib/systemd/system/jenkins.service; disabled; preset: disabled)
     Active: active (running) since Tue 2025-10-21 04:29:07 EDT; 1s ago
 Invocation: 0ba640a170924d408d8a1b55cf3483b1
   Main PID: 8151 (java)
      Tasks: 45 (limit: 24809)
     Memory: 543.9M (peak: 547.8M)
        CPU: 14.293s
     CGroup: /system.slice/jenkins.service
             └─8151 /usr/bin/java -Djava.awt.headless=true -jar /usr/share/java/jenkins.war --webroot=/var/cache/jenkins/war --httpPort=8080

Oct 21 04:29:03 rocky jenkins[8151]: [LF]> 1ddc7300ded0478ebe5bb045b587fe12
Oct 21 04:29:03 rocky jenkins[8151]: [LF]>
Oct 21 04:29:03 rocky jenkins[8151]: [LF]> This may also be found at: /var/lib/jenkins/secrets/initialAdminPassword
Oct 21 04:29:03 rocky jenkins[8151]: [LF]>
Oct 21 04:29:03 rocky jenkins[8151]: [LF]> *************************************************************
Oct 21 04:29:03 rocky jenkins[8151]: [LF]> *************************************************************
Oct 21 04:29:03 rocky jenkins[8151]: [LF]> *************************************************************
Oct 21 04:29:07 rocky jenkins[8151]: 2025-10-21 08:29:07.677+0000 [id=38]        INFO        jenkins.InitReactorRunner$1#onAttained: Completed initialization
Oct 21 04:29:07 rocky jenkins[8151]: 2025-10-21 08:29:07.695+0000 [id=30]        INFO        hudson.lifecycle.Lifecycle#onReady: Jenkins is fully up and running
Oct 21 04:29:07 rocky systemd[1]: Started jenkins.service - Jenkins Continuous Integration Server.
By default, Jenkins listens on port 8080. You can verify it with the following command:
ss -antpl | grep 8080
Sample output:
LISTEN 0 50 *:8080 *:* users:(("java",pid=5129,fd=135))
Step 4 – Configure Nginx as a Reverse Proxy for Jenkins
It is recommended to install and configure Nginx as a reverse proxy for Jenkins. First, install the Nginx web server with the following command:
dnf install nginx -y
After installing Nginx, create an Nginx configuration file for Jenkins:
nano /etc/nginx/conf.d/jenkins.conf
Add the following lines:
upstream jenkins {
  server 127.0.0.1:8080 fail_timeout=0;
}

server {
  listen 80;
  server_name jenkins.example.com;

  location / {
    proxy_set_header        Host $host:$server_port;
    proxy_set_header        X-Real-IP $remote_addr;
    proxy_set_header        X-Forwarded-For $proxy_add_x_forwarded_for;
    proxy_set_header        X-Forwarded-Proto $scheme;
    proxy_pass              http://jenkins;
    # Required for new HTTP-based CLI
    proxy_http_version 1.1;
    proxy_request_buffering off;
    proxy_buffering off; # Required for HTTP-based CLI to work over SSL
  }
}
Save and close the file when you are finished.
Next, verify Nginx for any syntax error:
nginx -t
Sample output:
nginx: the configuration file /etc/nginx/nginx.conf syntax is ok
nginx: configuration file /etc/nginx/nginx.conf test is successful
Please note if you get this warning message :
nginx: [emerg] could not build server_names_hash, you should increase server_names_hash_bucket_size: 32
nginx: configuration file /etc/nginx/nginx.conf test failed
You must edit the /etc/nginx.nginx.conf file and add this line before the server block:
server_names_hash_bucket_size 64;
Finally, start the Nginx service and enable it to start at system reboot:
systemctl start nginx
systemctl enable nginx
Step 5 – Access Jenkins Dashboard
Now, you can access the Jenkins web interface using the URL http://jenkins.example.com from the web browser. You should see the following screen:
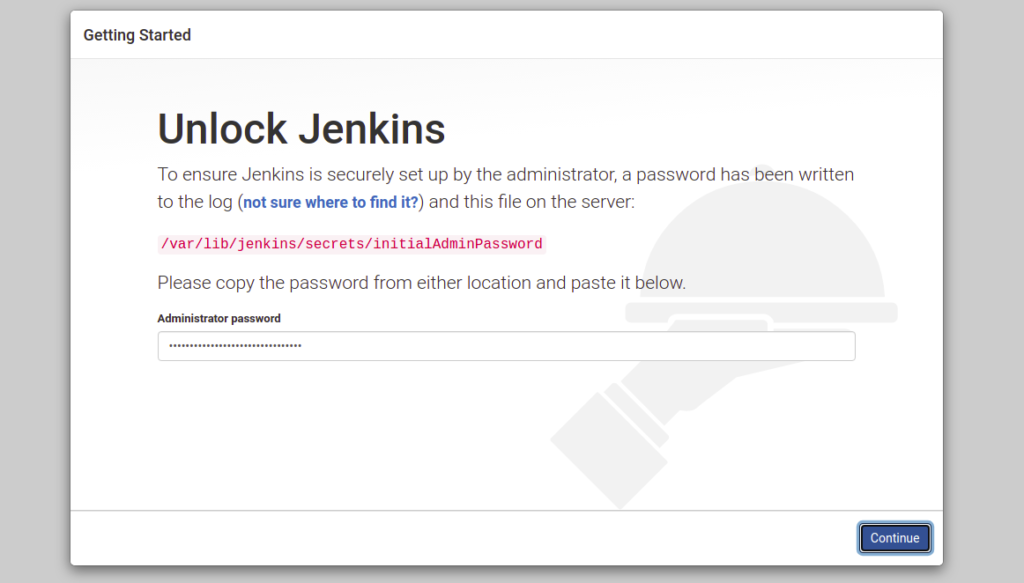
Now, open your terminal and retrieve the Jenkins setup password using the following command:
cat /var/lib/jenkins/secrets/initialAdminPassword
Sample output:
24934e3f8d7e453a92f99c3439f21f8a
Now, paste the above password and click on the Continue button. You should see the following screen:
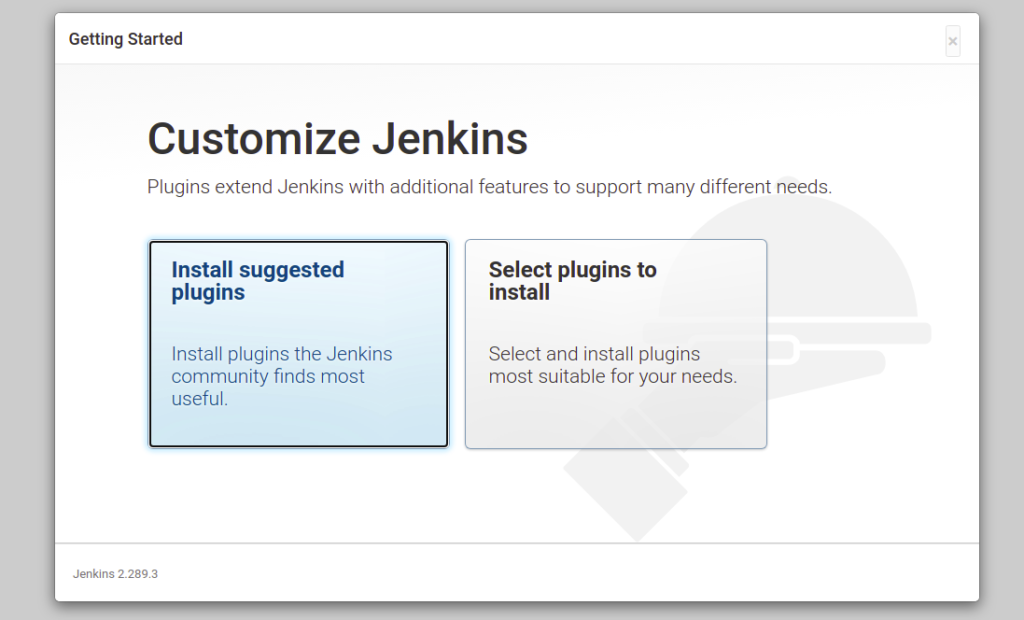
Now, select ‘Install using suggested plugins‘ or ‘Select plugins to install‘. You should see the following screen:
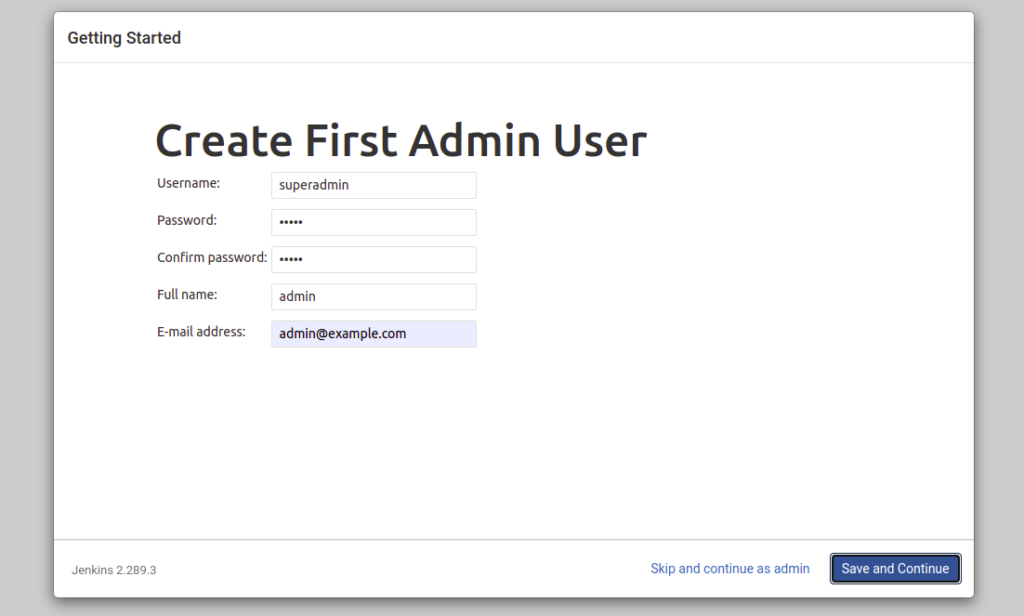
Now, provide your admin user information and click on the Save and Continue button. You should see the following screen:
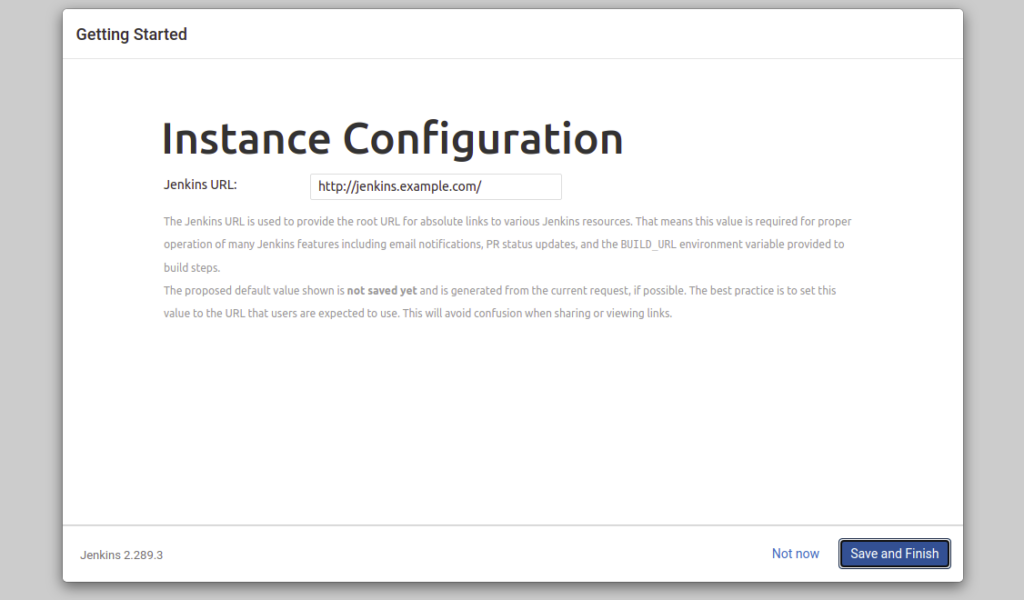
Now, provide your Jenkins URL and click on the Save and Finish button. You should see the following screen:
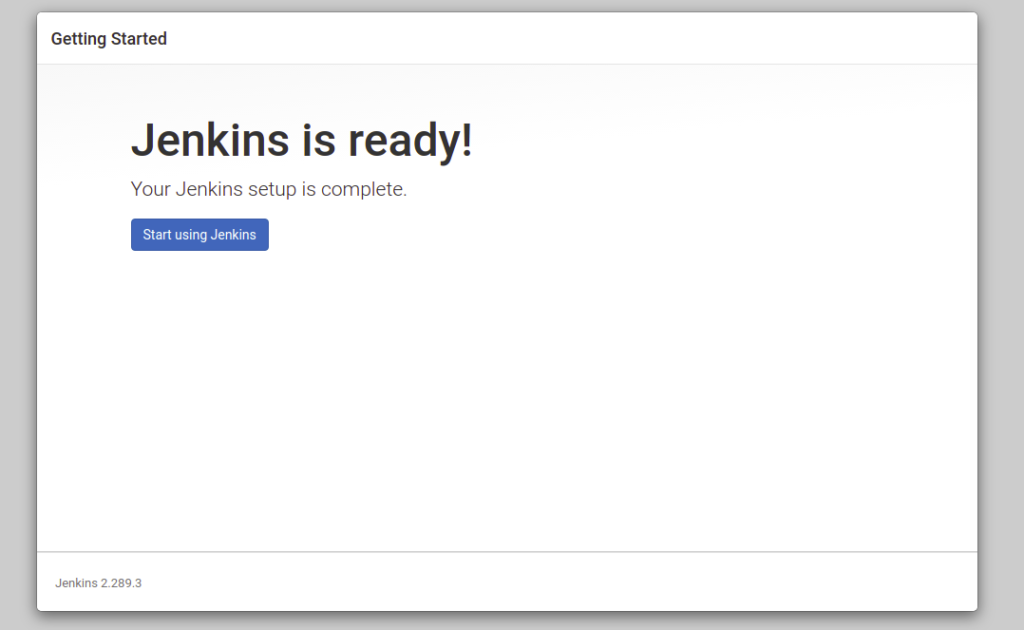
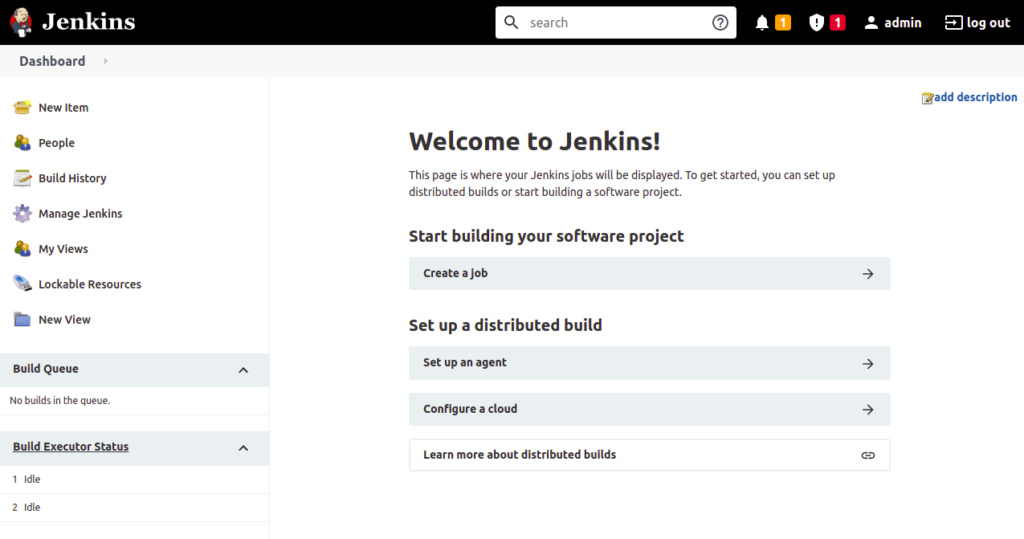
Click on the Start Using Jenkins. You should see the Jenkins Dashboard on the following screen:
Conclusion
Congratulations! You have successfully installed Jenkins with Nginx as a reverse proxy on RockyLinux 10. You can now implement Jenkins in your development environment and automate the development process. Get started with Jenkins today on a dedicated server from Atlantic.Net!
* This post is for informational purposes only and does not constitute professional, legal, financial, or technical advice. Each situation is unique and may require guidance from a qualified professional.
Readers should conduct their own due diligence before making any decisions.