TaskBoard is an open-source application for managing and tracking tasks from a web-based interface. It allows you to create unlimited projects and boards to keep track of tasks to be done. TaskBoard is customizable and can be installed on any Linux distribution. It is a PHP-based and self-hosted application used by many organizations and teams around the world.
Features
- Free, open-source, and self-hosted
- Simple and easy to install
- Supports unlimited board and projects
- Customizable
- Provides a full history of all boards
In this post, we will show you how to install TaskBoard on Rocky Linux 8.
Step 1 – Install Apache and PHP
First, install the Apache webserver package using the command below:
dnf update -y
dnf install httpd -y
Once installed, start and enable the Apache service using the following command:
systemctl start httpd
systemctl enable httpd
Next, install the PHP Remi repo package using the command below:
dnf install http://rpms.remirepo.net/enterprise/remi-release-8.rpm -y
Next, disable the default PHP repo and install the PHP Remi repo:
dnf module reset php
dnf module install php:remi-7.4 -y
Finally, install PHP with all required extensions using the following command:
dnf install php php-cli php-common php-fpm php-curl php-gd php-mbstring php-process php-snmp php-xml php-zip php-memcached php-mysqlnd php-json php-mbstring php-pdo php-pdo-dblib php-xml curl unzip git -y
TaskBoard uses SQLite as a database backend, so you can install it using the following command:
dnf install sqlite -y
Step 2 – Install TaskBoard
First, download the latest version of TaskBoard using the following command:
curl -s https://api.github.com/repos/kiswa/TaskBoard/releases/latest |grep browser_download_url | cut -d '"' -f 4 | wget -i -
Once the download is completed, unzip the downloaded file with the following command:
unzip TaskBoard_v*.zip -d /var/www/html/taskboard
Next, change the ownership and permissions of TaskBoard with the following command:
chown -R apache:apache /var/www/html/taskboard
chmod -R 775 /var/www/html/taskboard
Next, edit the .htaccess file:
nano /var/www/html/taskboard/api/.htaccess
Comment out the following lines:
#php_value upload_max_filesize 80M
#php_value post_max_size 100M
#php_value file_uploads On
#php_value memory_limit 256M
Save and close the file when you are finished.
Step 3 – Create An Apache Virtual Host Configuration File
Next, you will need to create a virtual host configuration file for TaskBoard. You can create it with the following command:
nano /etc/httpd/conf.d/taskboard.conf
Add the following lines:
<VirtualHost *:80>
    ServerAdmin [email protected]
    DocumentRoot "/var/www/html/taskboard"
    ServerName taskboard.example.com
    <Directory "/var/www/html/taskboard">
        Options Indexes FollowSymLinks
        AllowOverride All
        Require all granted
    </Directory>
    ErrorLog "/var/log/httpd/taskboard-error_log"
    CustomLog "/var/log/httpd/taskboard-access_log" combined
</VirtualHost>
Save and close the file, then restart the Apache service to apply the changes:
systemctl restart httpd
Step 4 – Access TaskBoard
Now, open your web browser and access the TaskBoard using the URL http://taskboard.example.com. You should see the TaskBoard login page:
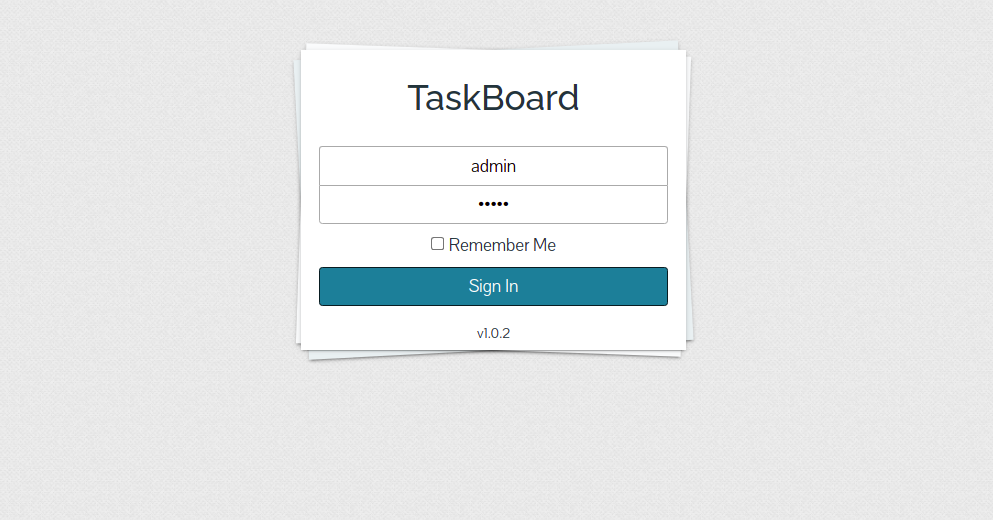
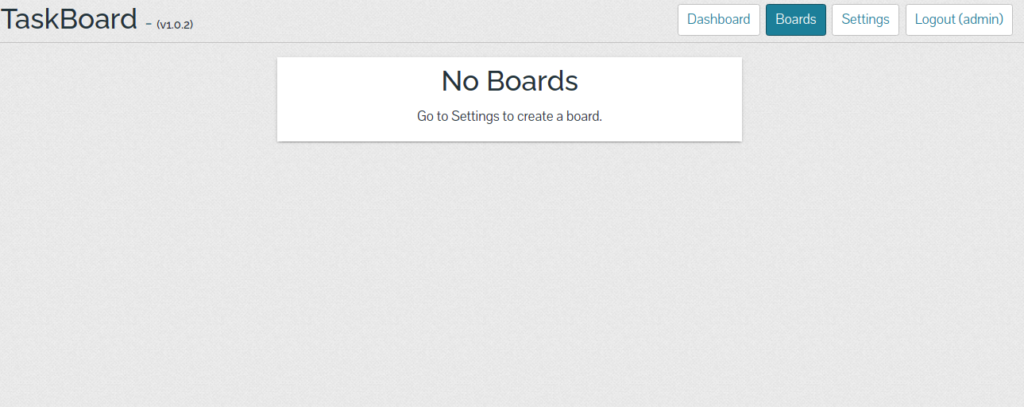
Provide the admin username and password as admin/admin and click on the Login button. You should see the TaskBoard dashboard on the following screen:
Conclusion
Congratulations! You have successfully installed TaskBoard on Rocky Linux 8. You can now start creating your Tasks and manage them from the web-based interface. Try it on dedicated hosting from Atlantic.Net!