Nextcloud is an open-source file hosting software with comprehensive support options. It allows users to create their own cloud storage to store and share files online. It is an alternate solution to Dropbox and Google Drive and offers a modern, on-premises content collaboration platform with real-time document editing, video chat & groupware on mobile, desktop, and web. There are clients for Linux, macOS, and Microsoft Windows to synchronize files from Nextcloud Server.
In this post, we will show you how to install Nextcloud on Arch Linux.
Step 1 – Configure Repository
By default, the default repository is outdated in Arch Linux, so you will need to modify the default mirror list. You can do it by editing the mirrorlist configuration file:
nano /etc/pacman.d/mirrorlist
Remove all lines and add the following lines:
## Score: 0.7, United States
Server = http://mirror.us.leaseweb.net/archlinux/$repo/os/$arch
## Score: 0.8, United States
Server = http://lug.mtu.edu/archlinux/$repo/os/$arch
Server = http://mirror.nl.leaseweb.net/archlinux/$repo/os/$arch
## Score: 0.9, United Kingdom
Server = http://mirror.bytemark.co.uk/archlinux/$repo/os/$arch
## Score: 1.5, United Kingdom
Server = http://mirrors.manchester.m247.com/arch-linux/$repo/os/$arch
Server = http://archlinux.dcc.fc.up.pt/$repo/os/$arch
## Score: 6.6, United States
Server = http://mirror.cs.pitt.edu/archlinux/$repo/os/$arch
## Score: 6.7, United States
Server = http://mirrors.acm.wpi.edu/archlinux/$repo/os/$arch
## Score: 6.8, United States
Server = http://ftp.osuosl.org/pub/archlinux/$repo/os/$arch
## Score: 7.1, India
Server = http://mirror.cse.iitk.ac.in/archlinux/$repo/os/$arch
## Score: 10.1, United States
Server = http://mirrors.xmission.com/archlinux/$repo/os/$arch
Save and close the file then update all the package indexes with the following command:
pacman -Syu
Step 2 – Install Apache and PHP
First, install the Apache web server with the following command:
pacman -Sy apache
After the successful installation, start and enable the Apache service with the following command:
systemctl start httpd
systemctl enable httpd
Next, install the PHP and other required extensions using the following command:
pacman -Sy php php-gd php-cgi php-intl php-apache php-sqlite unzip
Next, edit the PHP configuration file and enable the required extensions:
nano /etc/php/php.ini
Add the following lines:
extension=pdo_mysql
extension=gd
extension=pdo_sqlite
extension=mysqli
extension=intl
Save and close the file when you are finished.
Step 3 – Install and Configure MariaDB Database
First, install the MariaDB server with the following command:
pacman -S libmariadbclient mariadb mariadb-clients
Next, initialize the MariaDB database with the following command:
mysql_install_db --user=mysql --basedir=/usr --datadir=/var/lib/mysql
Next, start and enable the MariaDB service with the following command:
systemctl start mysqld
systemctl enable mysqld
Next, connect to the MariaDB console using the following command:
mysql
Once you are connected, create a database and user for drupal:
CREATE DATABASE nextcloud;
GRANT ALL ON nextcloud.* TO nextcloud@localhost IDENTIFIED BY 'password';
Next, flush the privileges and exit from the MariaDB shell with the following command:
FLUSH PRIVILEGES;
EXIT;
Step 4 – Install NextCloud
At the time of writing this tutorial, the latest version of NextCloud is 23. You can download it using the following command:
wget https://download.nextcloud.com/server/releases/latest.zip
Once the Download is completed, extract it to the Apache web root directory with the following command:
unzip latest.zip -d /srv/http/
Next, create a data directory for NextCloud with the following command:
mkdir -p /srv/http/nextcloud/data
Next, change the ownership of the NextCloud directory to http:
chown -R http:http /srv/http/nextcloud/
chmod -R 775 /srv/http/nextcloud/
Step 5 – Create an Apache Virtual Host Configuration File
Next, you will need to create an Apache virtual host configuration file to host NextCloud on the web.
nano /etc/httpd/conf/extra/nextcloud.conf
Add the following code:
<VirtualHost *:80>
    ServerName nextcloud.example.com
    DocumentRoot /srv/http/nextcloud
    ErrorLog /var/log/httpd/nextcloud_error.log
    CustomLog /var/log/httpd/nextcloud_requests.log combined
</VirtualHost>
Save and close the file, then edit the Apache main configuration file.
nano /etc/httpd/conf/httpd.conf
Uncomment the following line:
Include conf/extra/httpd-vhosts.conf
LoadModule mpm_prefork_module modules/mod_mpm_prefork.so
Comment out the following line:
#LoadModule mpm_event_module modules/mod_mpm_event.so
Add the following lines:
LoadModule php_module modules/libphp.so
AddHandler php-script .php
Include conf/extra/php_module.conf
Include conf/extra/nextcloud.conf
Save and close the file.
Next, restart the Apache service to apply the changes:
systemctl restart httpd
Step 6 – Access Nextcloud
Now, open your web browser and access Nextcloud using the URL http://nextcloud.example.com. You should see the Nextcloud admin user creation screen:
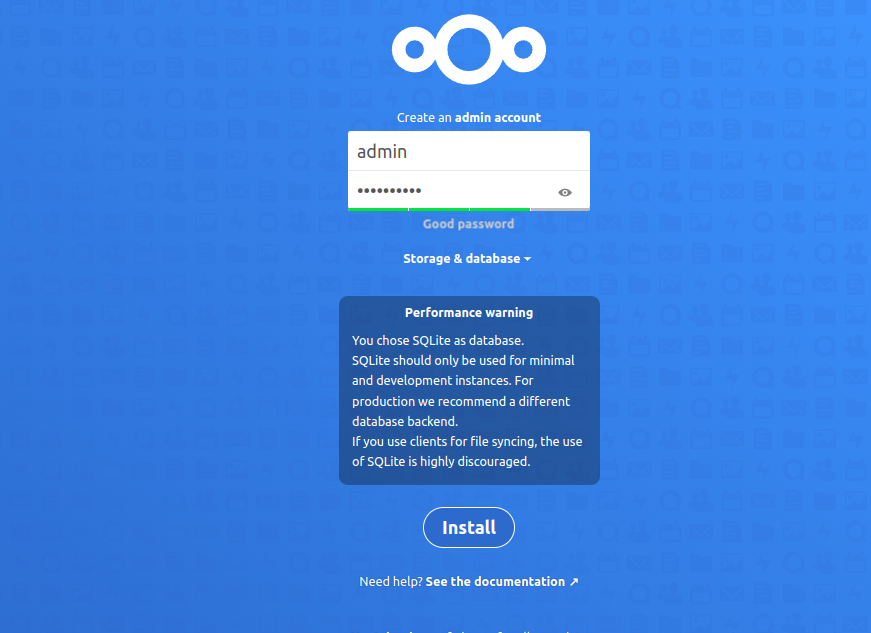
Define your admin username and password and click on the Install button. You should see the following screen:
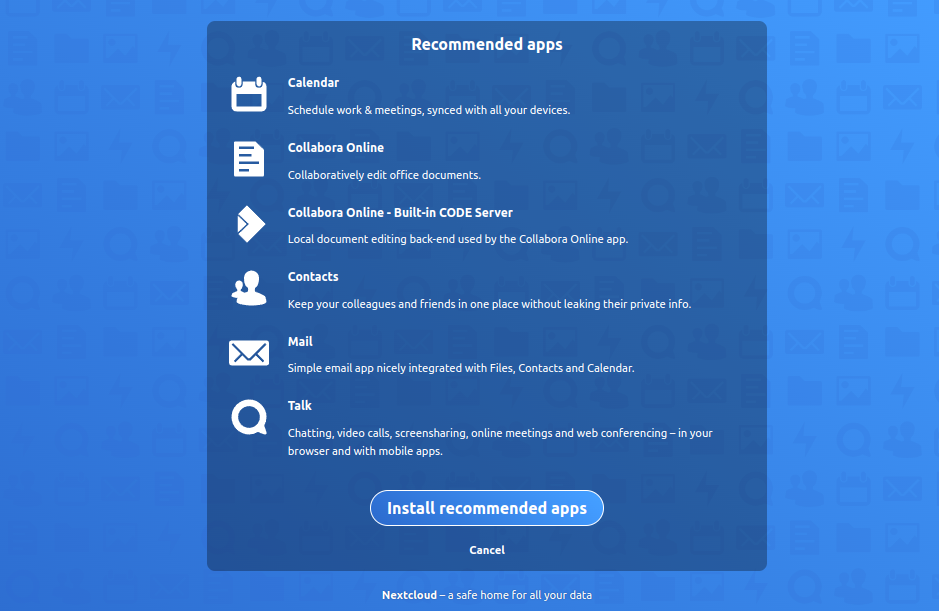
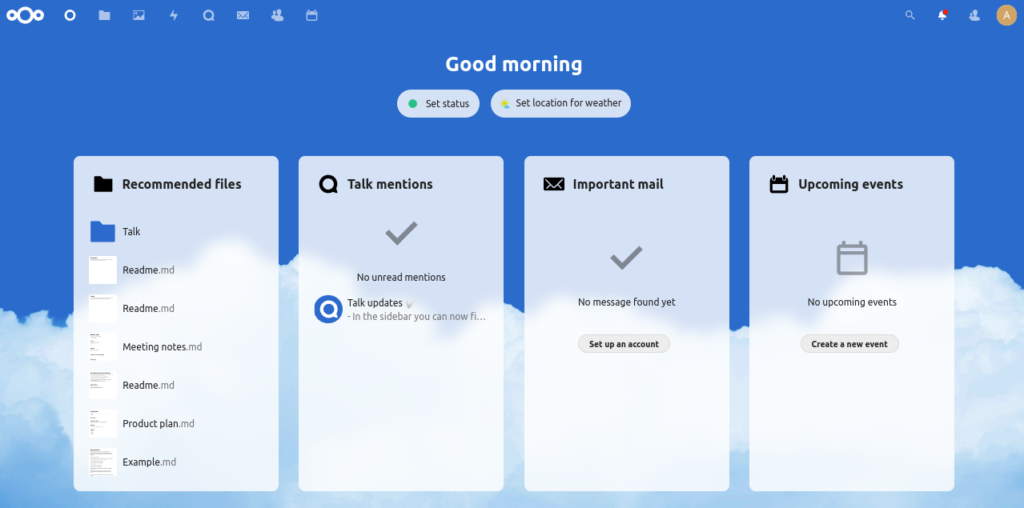
Click on the Install recommended apps. Once all the recommended apps are installed, you should see the Nextcloud dashboard on the following screen:
Conclusion
In this guide, we explained how to install Nextcloud with Apache on Arch Linux. You can now upload your files, docs, and music on the Nextcloud server and start sharing them with your friend and family. You can try Nextcloud on one of our dedicated server hosting from Atlantic.Net!