Cacti is a free, open-source, web-based monitoring tool used for monitoring remote systems via a web browser. It is a frontend application for RRDTool that allows users to poll services at specific intervals and graph the resulting data. With Cacti, you can monitor remote server and network devices such as routers, switches, and more. It uses SNMP protocol to collect various system metrics such as CPU, memory disk space, and bandwidth utilization.
In this post, we will show you how to install the Cacti monitoring tool on Arch Linux.
Step 1 – Configure Repository
By default, the default repository is outdated in Arch Linux, so you will need to modify the default mirror list. You can do it by editing the mirror list configuration file:
nano /etc/pacman.d/mirrorlist
Remove all lines and add the following lines:
## Score: 0.7, United States
Server = http://mirror.us.leaseweb.net/archlinux/$repo/os/$arch
## Score: 0.8, United States
Server = http://lug.mtu.edu/archlinux/$repo/os/$arch
Server = http://mirror.nl.leaseweb.net/archlinux/$repo/os/$arch
## Score: 0.9, United Kingdom
Server = http://mirror.bytemark.co.uk/archlinux/$repo/os/$arch
## Score: 1.5, United Kingdom
Server = http://mirrors.manchester.m247.com/arch-linux/$repo/os/$arch
Server = http://archlinux.dcc.fc.up.pt/$repo/os/$arch
## Score: 6.6, United States
Server = http://mirror.cs.pitt.edu/archlinux/$repo/os/$arch
## Score: 6.7, United States
Server = http://mirrors.acm.wpi.edu/archlinux/$repo/os/$arch
## Score: 6.8, United States
Server = http://ftp.osuosl.org/pub/archlinux/$repo/os/$arch
## Score: 7.1, India
Server = http://mirror.cse.iitk.ac.in/archlinux/$repo/os/$arch
## Score: 10.1, United States
Server = http://mirrors.xmission.com/archlinux/$repo/os/$arch
Save and close the file, then update all the package indexes with the following command:
pacman -Syu
Step 2 – Install Cacti Arch Linux
By default, the Cacti monitoring package is included in the Arch Linux default repository. You can install it by simply running the following command.
pacman -S cacti
Once Cacti is installed, you can proceed to install Nginx and PHP.
Step 3 – Install Nginx and PHP
Next, you will need to install Nginx, PHP, and other required extensions to host Cacti on the Internet. You can install all of them by running the following command.
pacman -S nginx-mainline php php-fpm php-gd php-intl
Once all the packages are installed, edit the php.ini configuration file and modify the default settings.
nano /etc/php/php.ini
Add/modify the following lines:
extension=gd
extension=gettext
extension=gmp
extension=ldap
extension=mysqli
extension=pdo_mysql
extension=snmp
extension=sockets
extension=intl

memory_limit = 512M
max_execution_time = 300
Save and close the file, then create a PHP-FPM configuration file for Cacti:
nano /etc/php/php-fpm.d/cacti.conf
Add the following lines:
[cacti]
user = cacti
group = cacti
listen = /run/cacti/cacti.sock
listen.owner = http
listen.group = http
pm = ondemand
pm.max_children = 4
Save and close the file, then start and enable the Nginx and PHP-FPM services using the following command.
systemctl start nginx php-fpm
systemctl enable nginx php-fpm
Step 4 – Install and Configure MariaDB Database
Cacti uses a MariaDB as a database backend, so you will need to install the MariaDB on your server. You can install it with the following command.
pacman -S mariadb
After installing the MariaDB server, initialize the MariaDB database with the following command.
mysql_install_db --user=mysql --basedir=/usr --datadir=/var/lib/mysql
Next, edit the MariaDB configuration file and tweak some default settings:
nano /etc/my.cnf
Add/modify the following lines:
[mysqld]
innodb = ON
collation-server = utf8mb4_unicode_ci
max_heap_table_size = 128M
tmp_table_size = 64M
join_buffer_size = 2M
innodb_file_format = Barracuda
innodb_large_prefix = 1
innodb_buffer_pool_size = 2048M
innodb_flush_log_at_timeout = 3
innodb_read_io_threads = 32
innodb_write_io_threads = 16
innodb_io_capacity = 5000
innodb_io_capacity_max = 10000
innodb_doublewrite = OFF
sort_buffer_size = 4M
Next, start and enable the MariaDB service with the following command.
systemctl start mysqld
systemctl enable mysqld
Next, log into the MariaDB shell with the following command.
mysql
Once you are logged in, create a database and user using the following command.
MariaDB [(none)]> CREATE DATABASE cactidb;
MariaDB [(none)]> GRANT ALL ON cactidb.* TO cactiuser@localhost IDENTIFIED BY 'some_password';
MariaDB [(none)]> GRANT SELECT ON mysql.time_zone_name TO cactiuser@localhost;
Next, flush the privileges and exit from the MariaDB shell with the following command.
MariaDB [(none)]> FLUSH PRIVILEGES;
MariaDB [(none)]> EXIT;
Next, import the Cacti database and timezone data with the following command.
mysql -u root -p cactidb </usr/share/webapps/cacti/cacti.sql
mysql mysql < /usr/share/mysql/mysql_test_data_timezone.sql
Step 5 – Configure Cacti
Next, you will need to edit the Cacti main configuration file and define your database settings:
nano /etc/webapps/cacti/config.php
Define your URL path and database settings as shown below:
$url_path = '/';

$database_type     = 'mysql';
$database_default  = 'cactidb';
$database_hostname = 'localhost';
$database_username = 'cactiuser';
$database_password = 'some_password';
$database_port     = '3306';
$database_retries  = 5;
Save and close the file when you are done.
Step 6 – Configure Nginx for Cacti
Next, you will need to create an Nginx virtual host configuration file for Cacti.
First, create a directory to store the Nginx configuration file.
mkdir /etc/nginx/sites-enabled
Next, create an Nginx virtual host file with the following command.
nano /etc/nginx/sites-enabled/cacti.conf
Add the following configuration:
server {
  listen 8081;
  server_name _;
  root /usr/share/webapps/cacti/;
  index index.php;
  charset utf-8;

  access_log /var/log/nginx/cacti-access.log;
  error_log /var/log/nginx/cacti-error.log;

  location / {
    try_files $uri $uri/ index.php;
  }

  location ~* \.php$ {
    fastcgi_split_path_info ^(.+\.php)(/.+)$;
    include fastcgi_params;
    fastcgi_pass unix:/run/cacti/cacti.sock;
    fastcgi_index index.php;
    include fastcgi_params;
    fastcgi_param SCRIPT_FILENAME $document_root$fastcgi_script_name;
    fastcgi_buffer_size 16k;
    fastcgi_buffers 4 16k;
  }
}
Save and close the file then edit the Nginx main configuration file:
nano /etc/nginx/nginx.conf
Add the following line after the line http {:
server_names_hash_bucket_size 64;
include sites-enabled/*;
Save and close the file, then verify the Nginx configuration using the following command.
nginx -t
If everything is fine, you will get the following output.
nginx: the configuration file /etc/nginx/nginx.conf syntax is ok
nginx: configuration file /etc/nginx/nginx.conf test is successful
Finally, restart the Nginx service to apply the changes.
systemctl restart nginx
Step 7 – Perform Cacti Web Installation
At this point, Cacti is installed and configured with Nginx. You can now access the Cacti web installation wizard using the URL http://your-server-ip:8081. You will be redirected to the Cacti login screen:
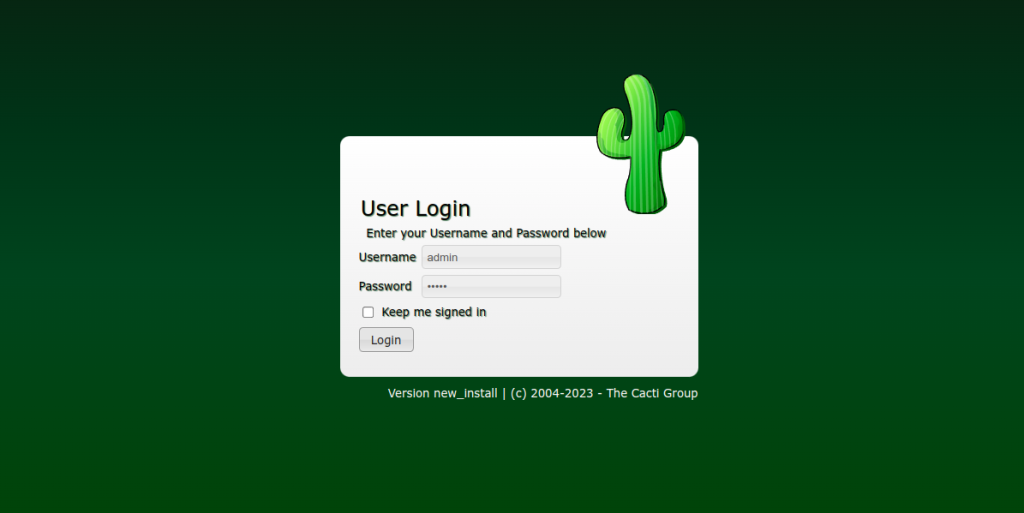
Provide the default username as admin and password as admin then click on the Login button. You should see the change password screen:
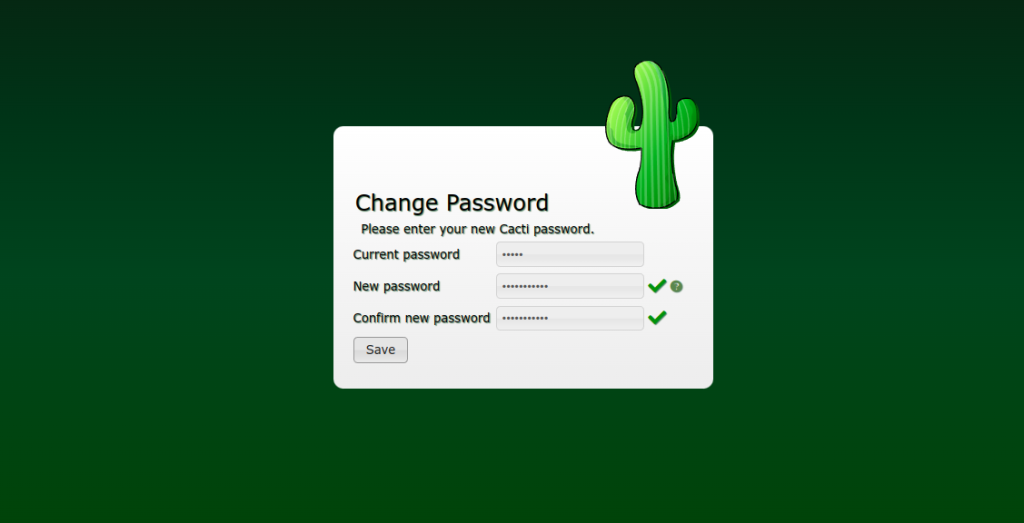
Change your password then click on the Save button. You should see the License agreement screen:
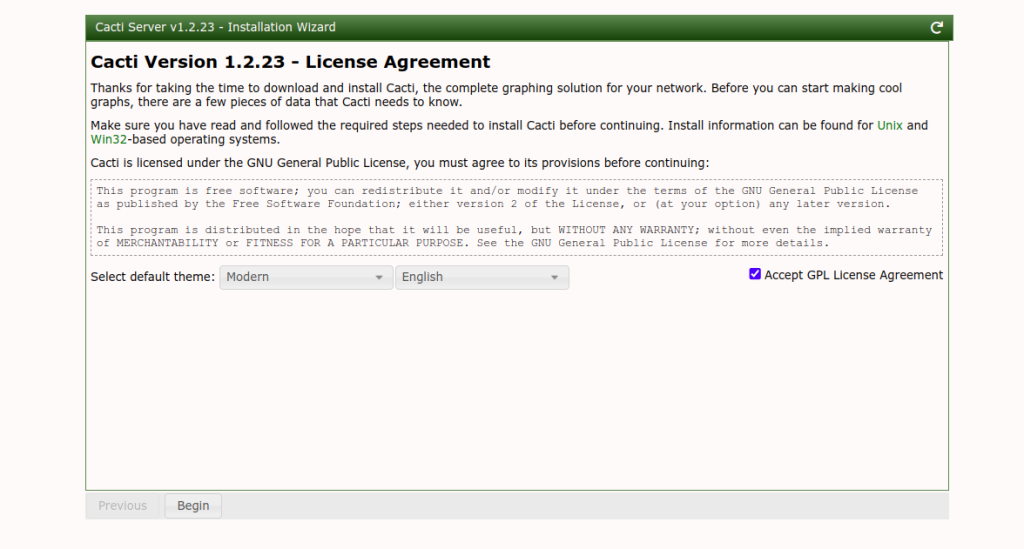
Accept the license and click on Begin. You should see the pre-installation check screen.
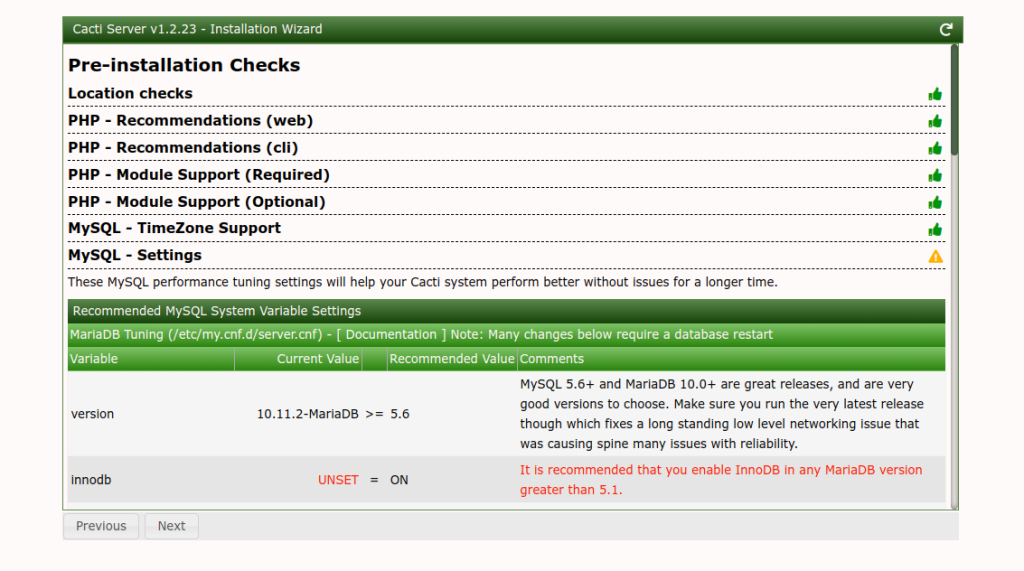
Click on the Next button. You should see the installation type screen.
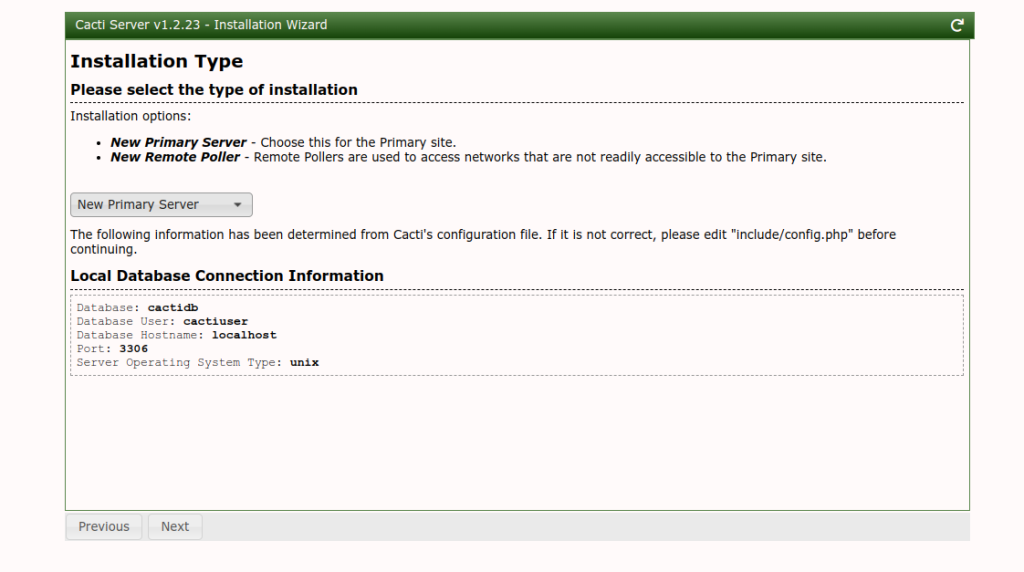
Select your installation type and click on the Next button. You should see the permission check screen.
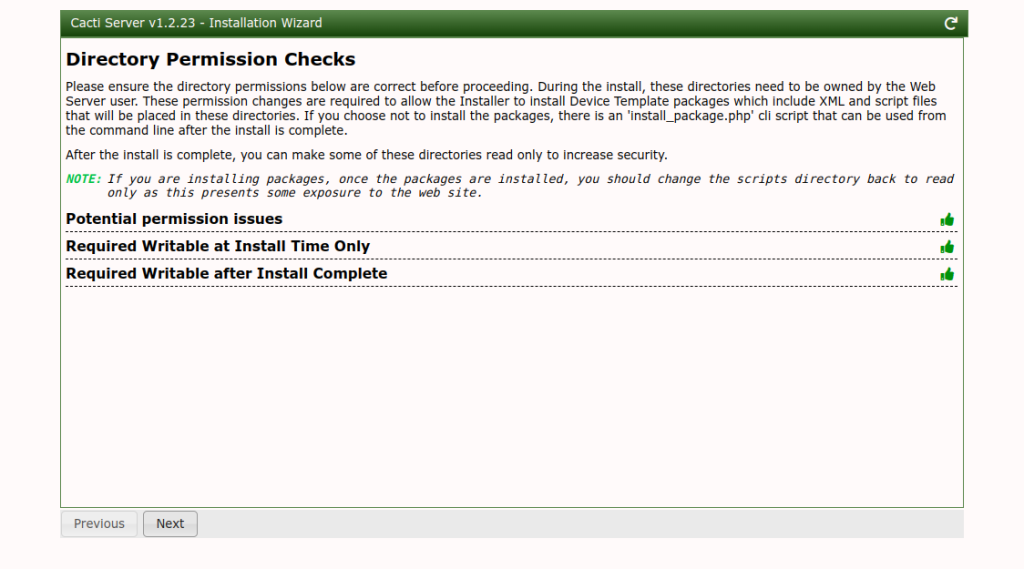
Click on the Next button. You should see the binary location and version information screen.
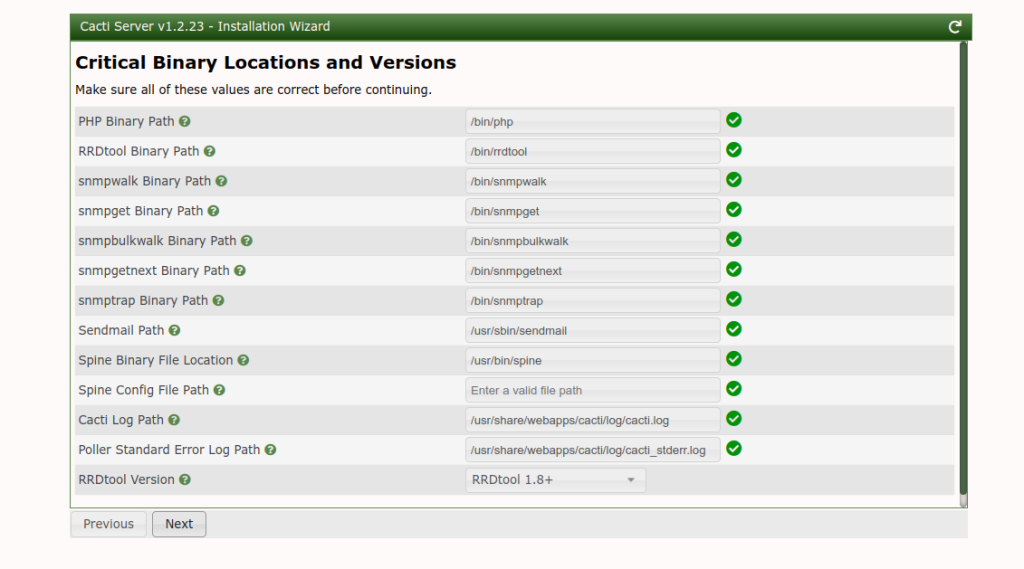
Click on the Next button. You should see the input validation screen.
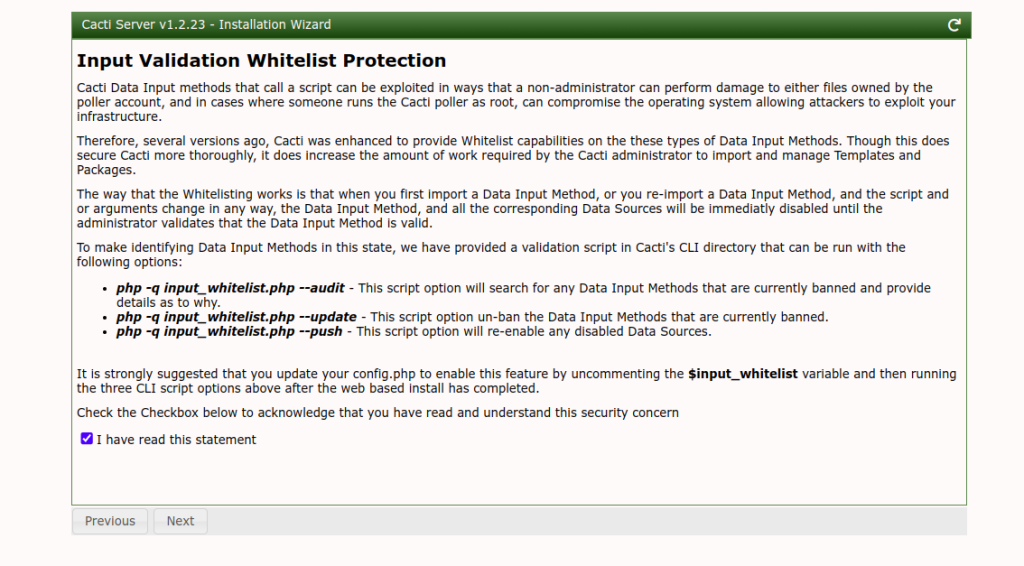
Click on the Next button. You should see the default profile screen.
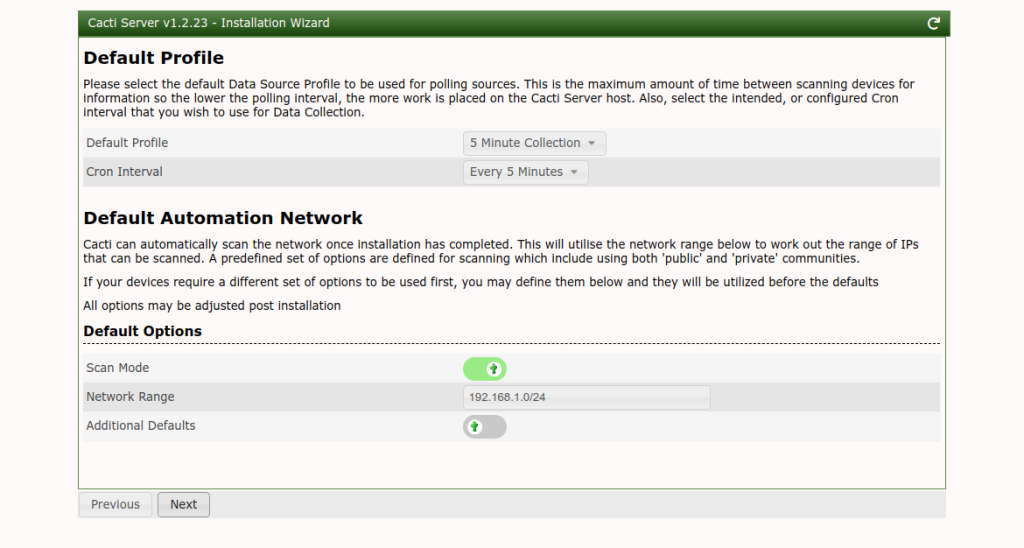
Click on the Next button. You should see the template setup screen.
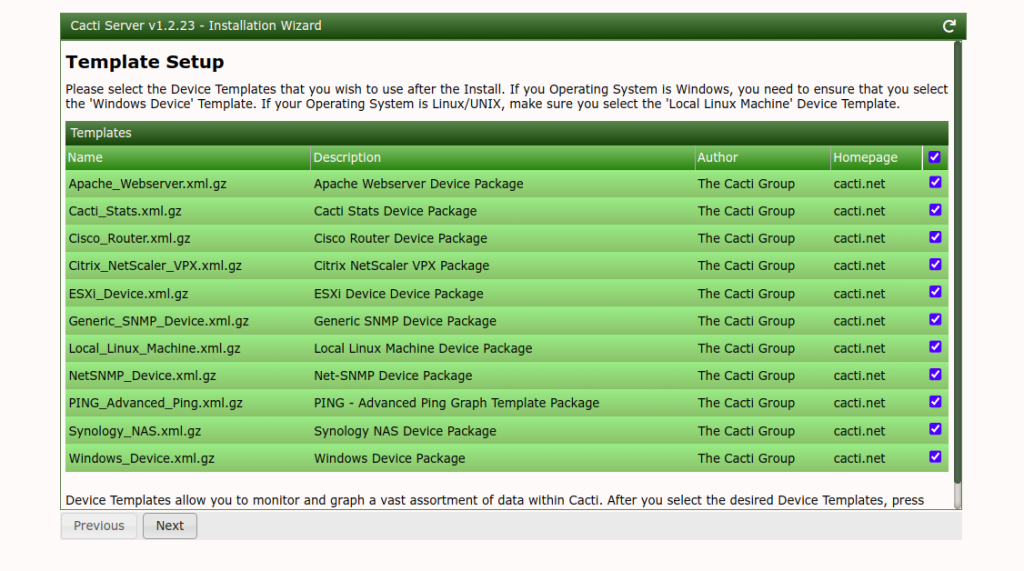
Click on the Next button. You should see the following screen.
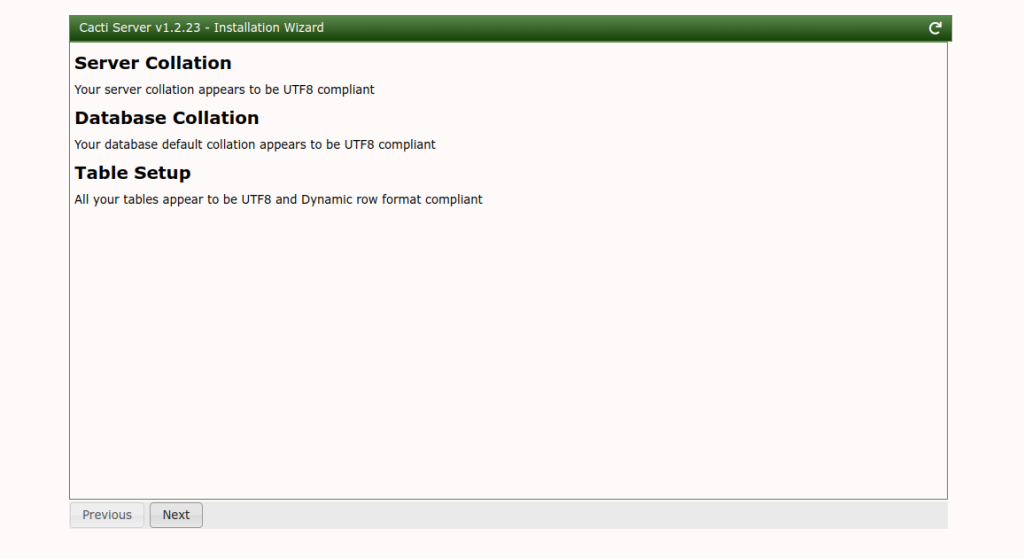
Click on the Next button. You should see the confirm installation screen.
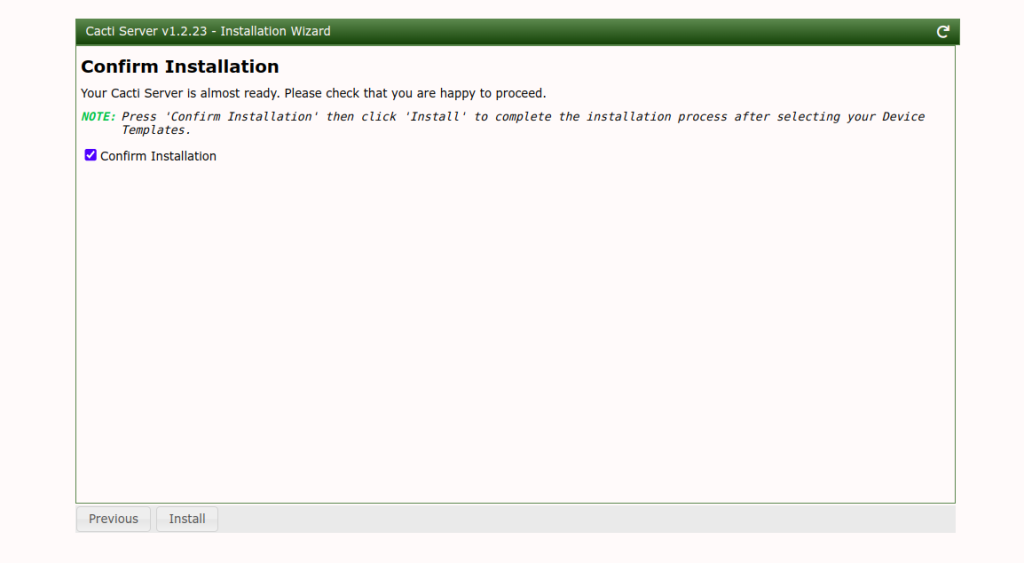
Click on the Install button to start the installation. Once the installation is complete, you should see the following screen.
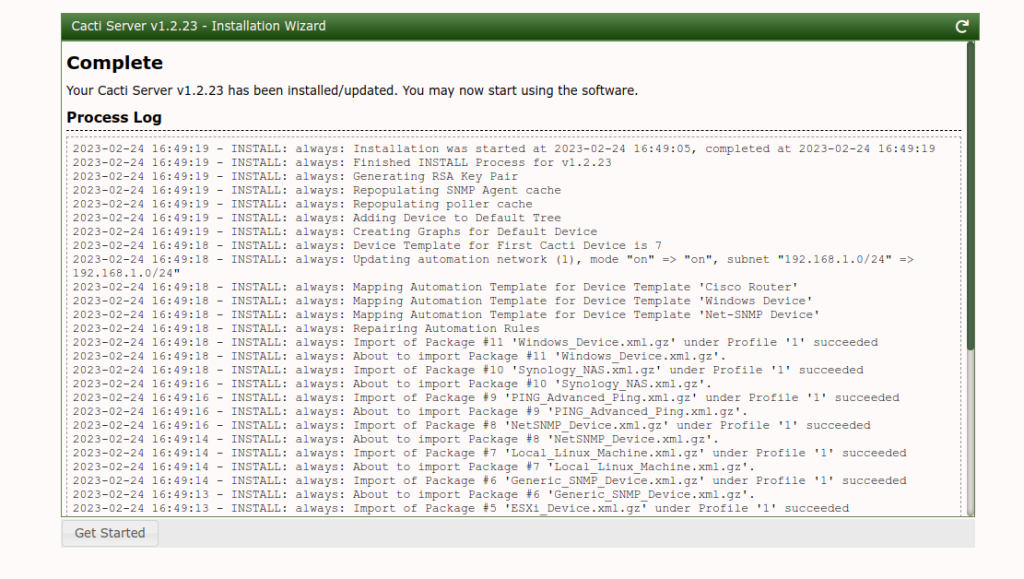
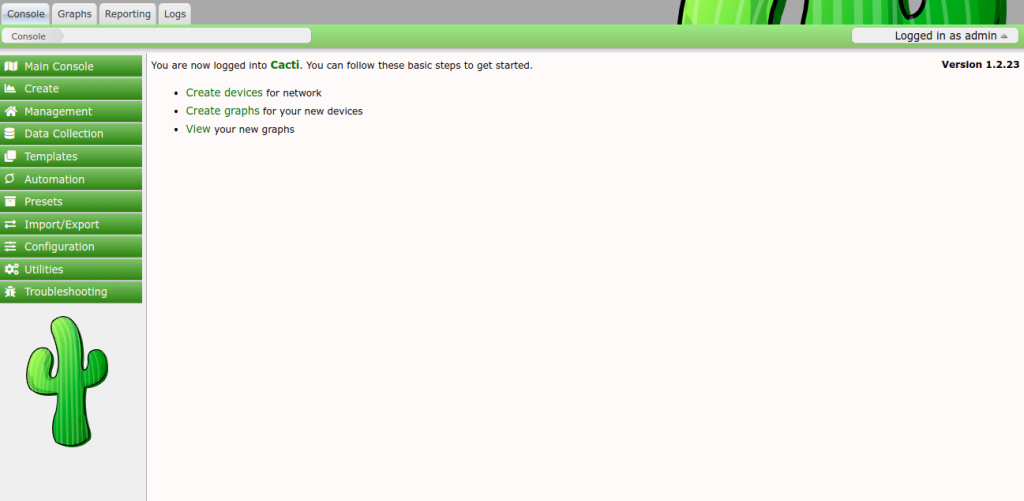
Click on the Get Started button. You should see the Cacti dashboard.
Conclusion
In this post, we explained how to install the Cacti monitoring tool with Nginx on Arch Linux. You can now add remote machines to your Cacti server and start monitoring them from the Cacti dashboard. You can now deploy the Cacti monitoring tool on a dedicated server from Atlantic.Net!