React is a free and open-source JavaScript library used for creating a web front-end. Its declarative, efficient, and flexible library allows you to compose complex UIs from small and isolated pieces. It is developed by Facebook and maintained by Meta and a community of individual developers and companies. You can use React.js with server-side, client, and other frameworks.
This post will explain how to install React.js with Nginx on Arch Linux.
Step 1 – Configure Repository
By default, the default repository is outdated in Arch Linux, so you will need to modify the default mirror list. You can do it by editing the mirror list configuration file:
nano /etc/pacman.d/mirrorlist
Remove all lines and add the following lines:
## Score: 0.7, United States
Server = http://mirror.us.leaseweb.net/archlinux/$repo/os/$arch
## Score: 0.8, United States
Server = http://lug.mtu.edu/archlinux/$repo/os/$arch
Server = http://mirror.nl.leaseweb.net/archlinux/$repo/os/$arch
## Score: 0.9, United Kingdom
Server = http://mirror.bytemark.co.uk/archlinux/$repo/os/$arch
## Score: 1.5, United Kingdom
Server = http://mirrors.manchester.m247.com/arch-linux/$repo/os/$arch
Server = http://archlinux.dcc.fc.up.pt/$repo/os/$arch
## Score: 6.6, United States
Server = http://mirror.cs.pitt.edu/archlinux/$repo/os/$arch
## Score: 6.7, United States
Server = http://mirrors.acm.wpi.edu/archlinux/$repo/os/$arch
## Score: 6.8, United States
Server = http://ftp.osuosl.org/pub/archlinux/$repo/os/$arch
## Score: 7.1, India
Server = http://mirror.cse.iitk.ac.in/archlinux/$repo/os/$arch
## Score: 10.1, United States
Server = http://mirrors.xmission.com/archlinux/$repo/os/$arch
Save and close the file, then update all the package indexes with the following command:
pacman -Syu
Step 2 – Install Nodejs and NPM
First, you will need to install the Nodejs and NPM on your server. You can install both packages using the following command.
pacman -S nodejs npm
After the installation, you can verify Nodejs with the following command.
node --version
Step 3 – Install create-react-app
Next, you will need to install the create-react-app package on your server. You can install it using NPM:
npm install -g create-react-app
After the installation, you can verify the installation using the following command.
create-react-app --version
Step 4 – Create a React App
Next, you will need to install all tools needed to run React app. First, create a new React app using the create-react-app command.
create-react-app web-app
Once the application is created, you should see the following output.
Success! Created web-app at /root/web-app
Inside that directory, you can run several commands:

  npm start
    Starts the development server.

  npm run build
    Bundles the app into static files for production.

  npm test
    Starts the test runner.

  npm run eject
    Removes this tool and copies build dependencies, configuration files
    and scripts into the app directory. If you do this, you can’t go back!

We suggest that you begin by typing:

  cd web-app
  npm start

Happy hacking!
Step 5 – Start React App
Next, navigate to the web-app directory and start the React app using the following command.
cd web-app
npm start
You should see the following output.
Compiled successfully!

You can now view web-app in the browser.

  http://localhost:3000

Note that the development build is not optimized.
To create a production build, use npm run build.

webpack compiled successfully
Press the CTRL+C to stop the application.
Step 6 – Create a Systemd Service File for React App
Next, you will need to create a systemd file to manage the React app. You can create it with the following command.
nano /lib/systemd/system/react.service
Add the following code:
[Service]
Type=simple
User=root
Restart=on-failure
WorkingDirectory=/root/web-app
ExecStart=npm start -- --port=3000
Save and close the file, then reload the daemon to apply the changes.
systemctl daemon-reload
Next, start and enable the React service using the following command.
systemctl start react
systemctl enable react
You can check the service status with the following command.
systemctl status react
You should see the following output.
● react.service
     Loaded: loaded (/usr/lib/systemd/system/react.service; static)
     Active: active (running) since Fri 2023-02-24 09:03:41 UTC; 5s ago
   Main PID: 74477 (npm start --por)
      Tasks: 29 (limit: 4700)
     Memory: 167.2M
     CGroup: /system.slice/react.service
             ├─74477 "npm start --port=3000"
             ├─74488 node /root/web-app/node_modules/.bin/react-scripts start --port=3000
             └─74495 /usr/bin/node /root/web-app/node_modules/react-scripts/scripts/start.js --port=3000

Feb 24 09:03:41 archlinux systemd[1]: Started react.service.
Feb 24 09:03:42 archlinux npm[74477]: > web-app@0.1.0 start
Feb 24 09:03:42 archlinux npm[74477]: > react-scripts start --port=3000
Step 7 – Configure Ngonx for React App
By default, React app listens on the local host, so you will need to configure Nginx as a reverse proxy to access the React app from the remote machine.
First, install the Nginx package with the following command.
pacman -S nginx-mainline
Next, start and enable the Nginx service using the following command.
systemctl start nginx
systemctl enable nginx
Next, create a directory to store Nginx virtual host.
mkdir /etc/nginx/sites-enabled
Next, create an Nginx virtual host configuration file.
nano /etc/nginx/sites-enabled/react.conf
Add the following configuration.
upstream react_backend {
server localhost:3000;
}

server {
listen 80;
server_name react.example.com;

location / {
proxy_pass http://react_backend/;
proxy_http_version 1.1;
proxy_set_header Upgrade $http_upgrade;
proxy_set_header Connection "upgrade";
proxy_set_header Host $http_host;

proxy_set_header X-Real-IP $remote_addr;
proxy_set_header X-Forward-For $proxy_add_x_forwarded_for;
proxy_set_header X-Forward-Proto http;
proxy_set_header X-Nginx-Proxy true;

proxy_redirect off;
}
}
Save and close the file, then edit the Nginx main configuration file.
nano /etc/nginx/nginx.conf
Add the following lines after the line http {:
server_names_hash_bucket_size 64;
include sites-enabled/*;
Save the file, then verify the Nginx configuration.
nginx -t
Output.
nginx: the configuration file /etc/nginx/nginx.conf syntax is ok
nginx: configuration file /etc/nginx/nginx.conf test is successful
Next, restart the Nginx service to implement the changes.
systemctl restart nginx
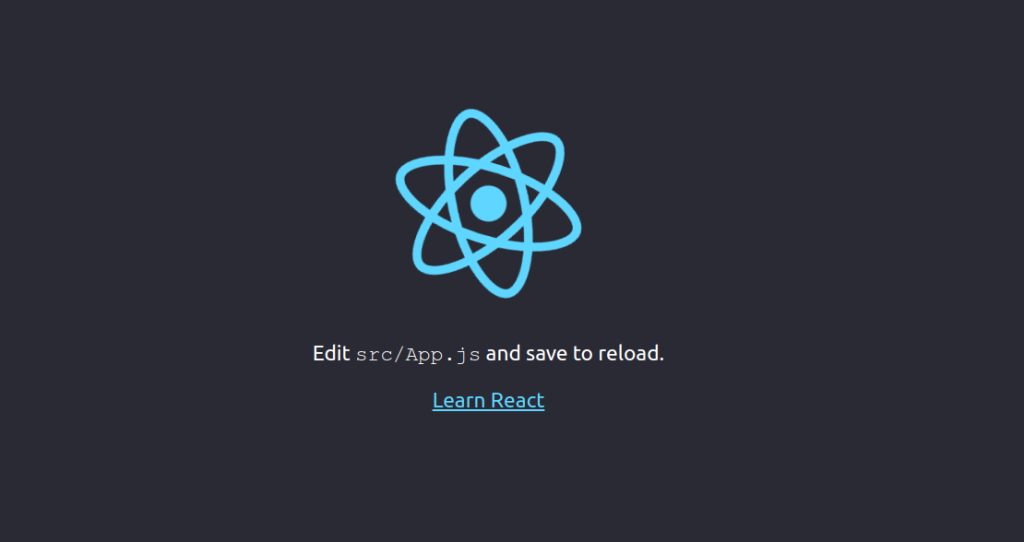
Step 8 – Access React App
Now, open your web browser and access the React App using the URL http://react.example.com. You should see the React default page on the following screen.
Conclusion
In this tutorial, we showed you how to install React JS application on Arch Linux. We also configured Nginx as a reverse proxy for React app. Try to install React.js on dedicated hosting from Atlantic.Net!
* This post is for informational purposes only and does not constitute professional, legal, financial, or technical advice. Each situation is unique and may require guidance from a qualified professional.
Readers should conduct their own due diligence before making any decisions.