TDengine is a high-performance, distributed, scalable time-series database designed to handle large volumes of data in real-time. Developed by the TDengine team, this open-source software is optimized for IoT, industrial, and financial applications. TDengine provides features such as high-speed data insertion and querying, real-time data processing, SQL-based data analytics, and data compression.
This procedure will provide a detailed guide to creating a TDengine database on an Ubuntu instance running on the Atlantic.Net Cloud Platform.
Pre-requisites
To create an Atlantic.Net account, you can follow these steps:
- Go to the Atlantic.Net website atAtlantic.Net and click on the “Sign Up” button in the top right corner of the page.
- On the sign-up page, fill in your information, including your name, email address, and password. You will also need to select a security question and provide an answer.
- Review the terms and conditions and privacy policy, and then click on the “Create Account” button to submit your registration.
- Once you have submitted your registration, you will receive an email from Atlantic.Net with a link to activate your account. Click on the link in the email to activate your account.
- Once your account is activated, you can log in to the Atlantic.Net Cloud Control Panel to create and manage your cloud servers and other services.
You may need to provide additional information, such as your billing information and verification documents, to complete your registration and start using Atlantic.Net services.
Step 1 – Log in to your Atlantic.Net Account
Click the following link to be directed to the Login page. Fill in your details to log in.
Step 2 – Create an Ubuntu Instance on Atlantic.Net
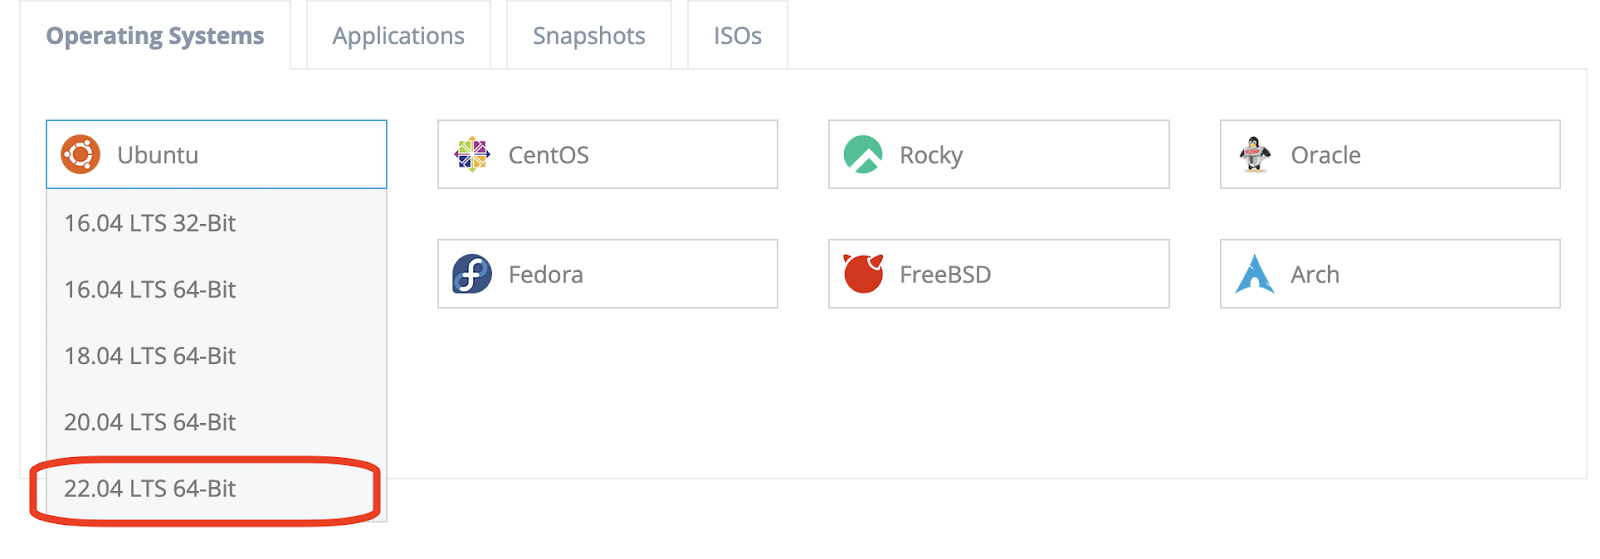
Now it’s time to build it; in this example, we will install Ubuntu 22.04 LTS 64bit.
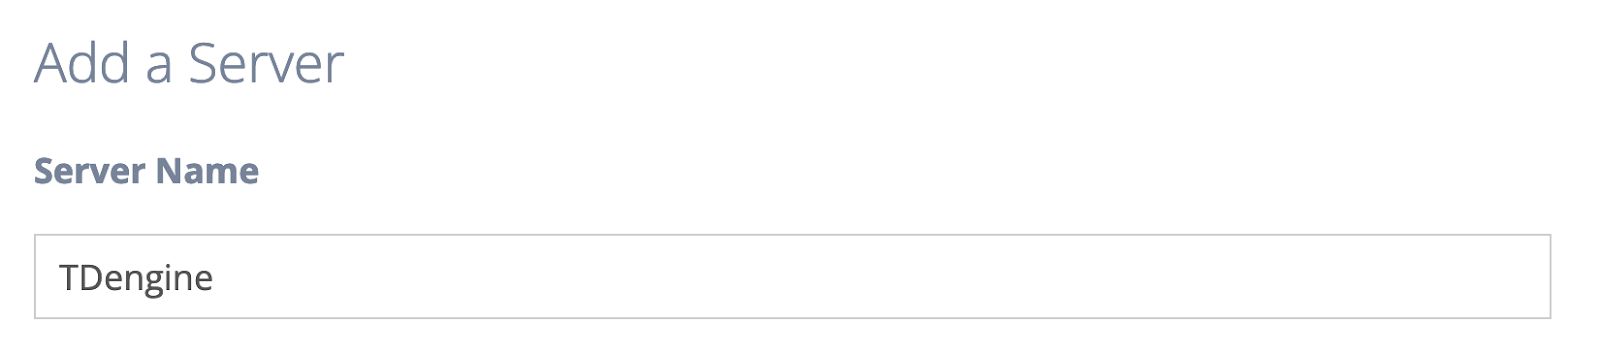
Click on the “Add Server” button to create a new cloud server.

On the “Add a Server” page, type a name for your server.
Scroll down to find the Ubuntu operating system and click the “Ubuntu” button to see the versions. We installed 22.04 LTS 64-bit; select it and continue.
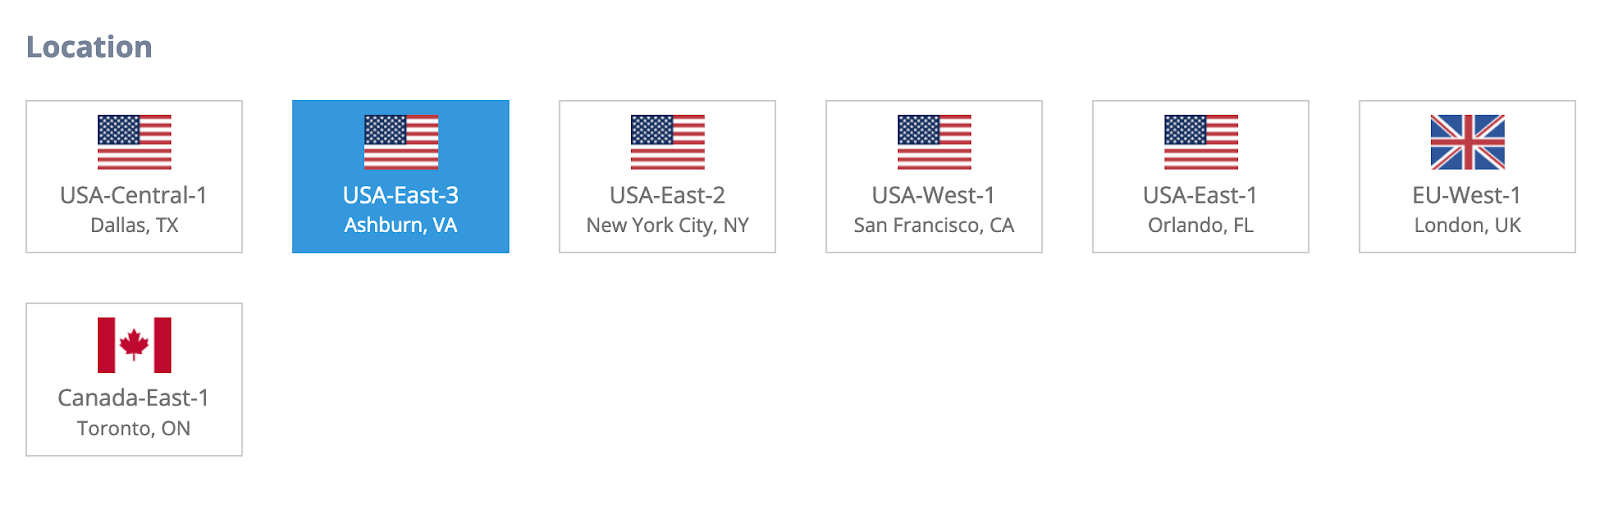
Choose the region that you want to use for your Ubuntu instance. In this example, we will use USA-East-3 (Ashburn, VA).
Choose the payment term: on-demand, one year, or three years. Various discounts are available, but we will choose on-demand for added flexibility.

Choose the instance plan. TDengine recommends at least 4GB RAM (more for production workloads). In this demo, we will choose the G3.4GB plan.
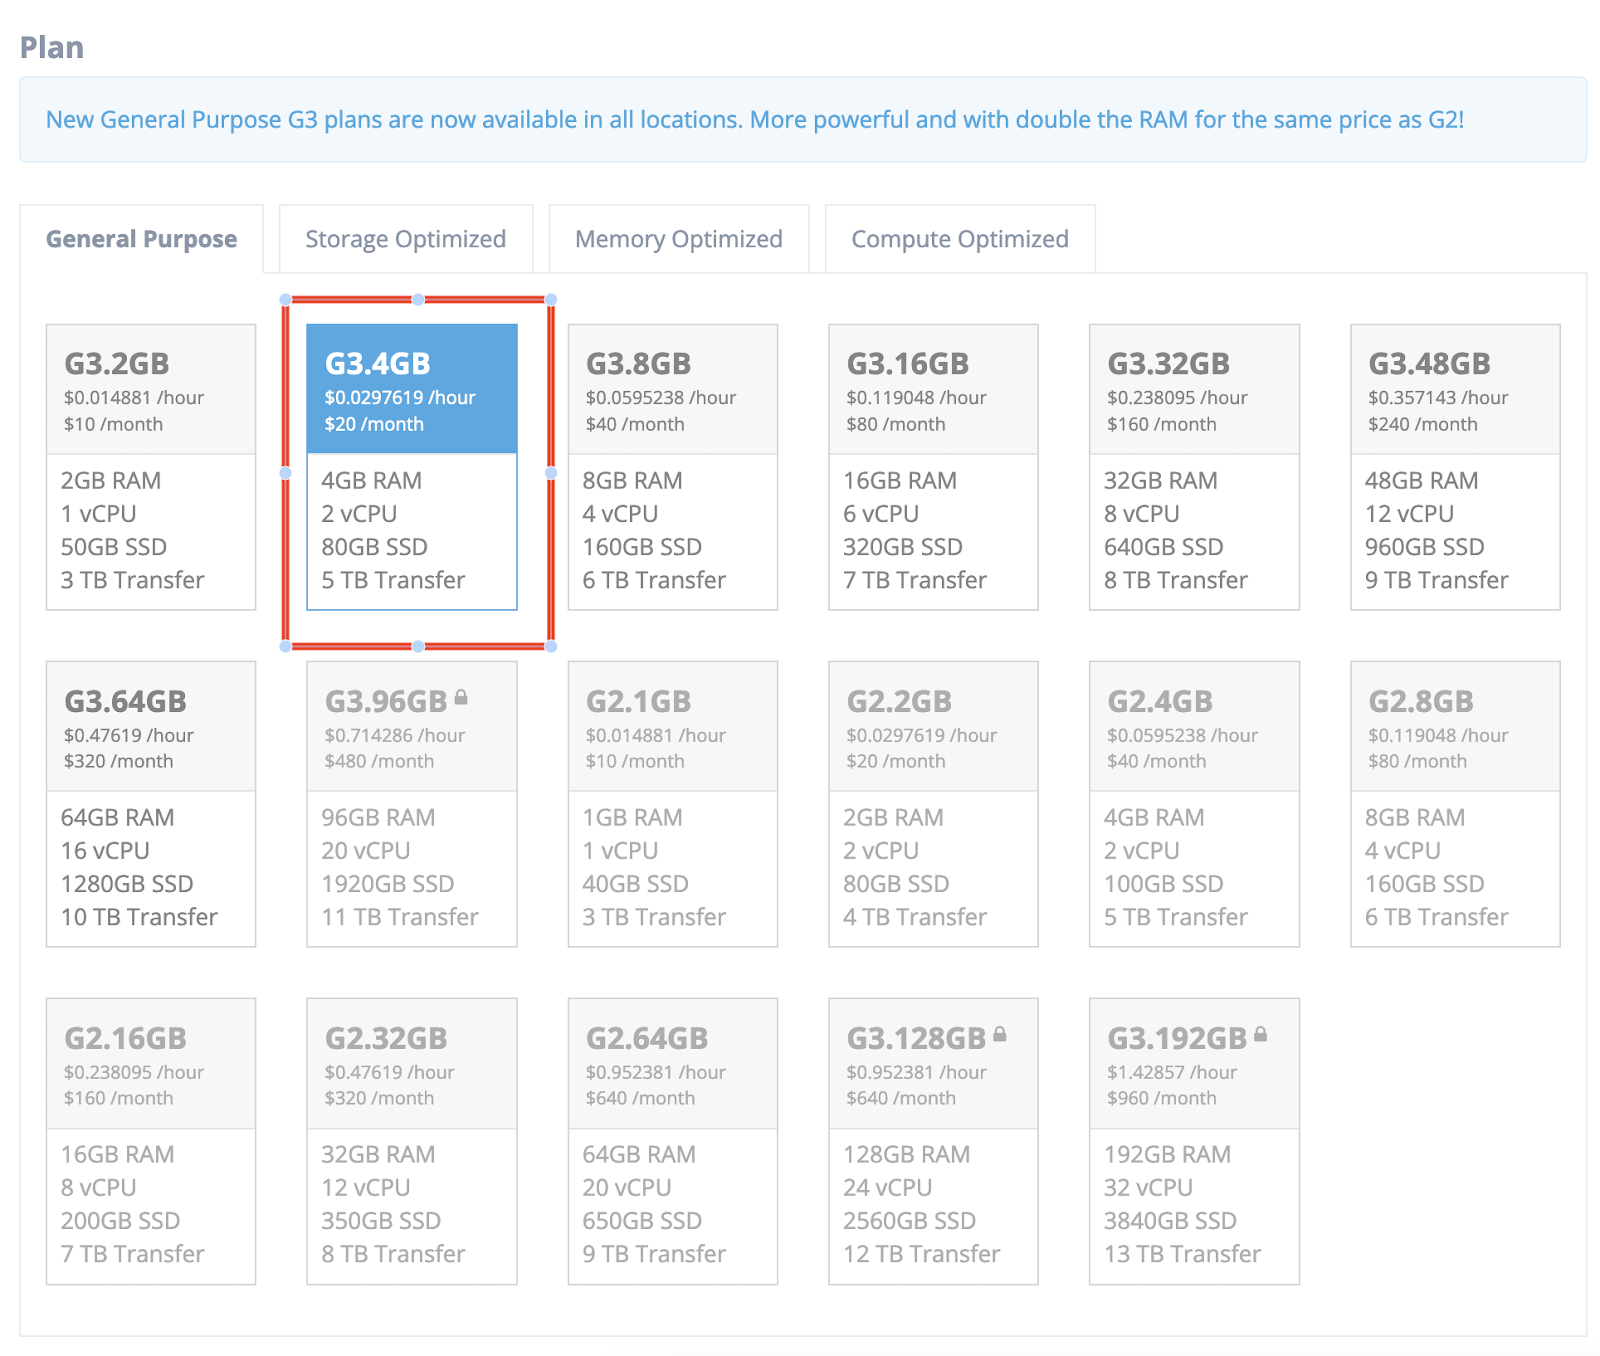
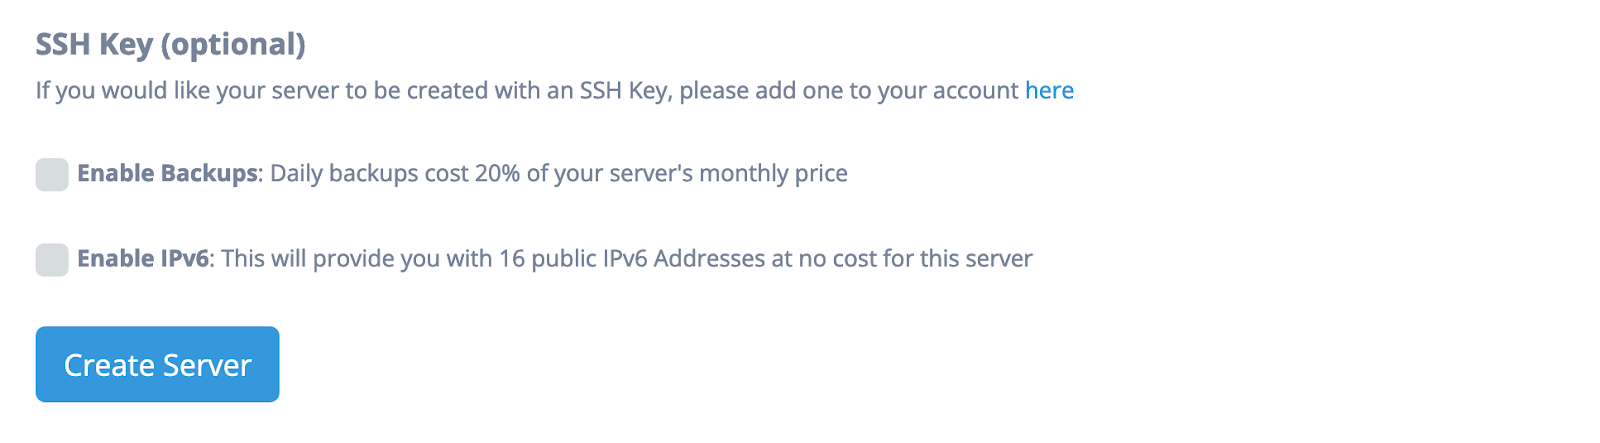
You can also select additional options, such as backups and IPV6, and add your own SSH keys if needed.
When you have selected everything you need, click the “Create Server” button.
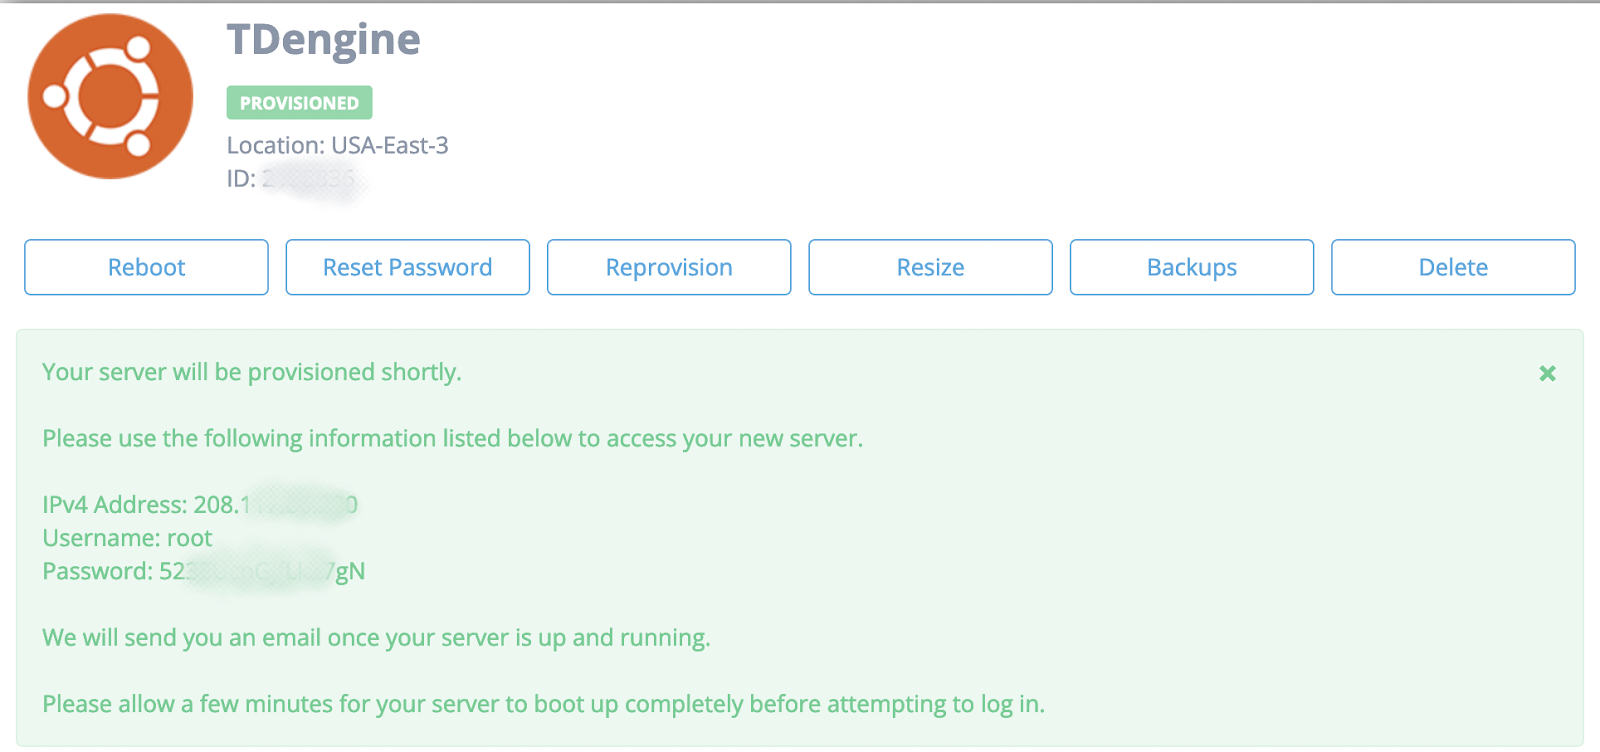
Wait about 30 seconds for your server to be created. Once your server is ready, you can log in to it using SSH and start using it. The credentials are provided on screen and emailed to the primary email address on your account.
Step 3 – Enable SSH on your instance
There are numerous ways to enable SSH on your server. To connect to the server, use a GUI SSH client, such as PuTTY on Windows or iTerm2 on macOS. Download and install the client on your local machine, enter the server’s IP address and login credentials, and connect to the server.
In this example, I will be using iTerm2 on macOS.
ssh username@server_ip_address
Replace username with your VPS username and server_ip_address with your VPS’s public IP address.
Step 4 – Update OS and Prep System for TDEngine
Update the Ubuntu package list by running the following command:
apt update -y
Install the prerequisite packages by running the following command:
apt install gcc cmake build-essential git libssl-dev libjansson-dev libsnappy-dev liblzma-dev libz-dev zlib1g pkg-config -y
Note: You will be prompted “which services should be restarted,” leave the default selected and select “ok.”
Step 5 – Download and Install the TDEngine
To keep things simple we will install TDEngine using the pre-made packages from the official documentation.
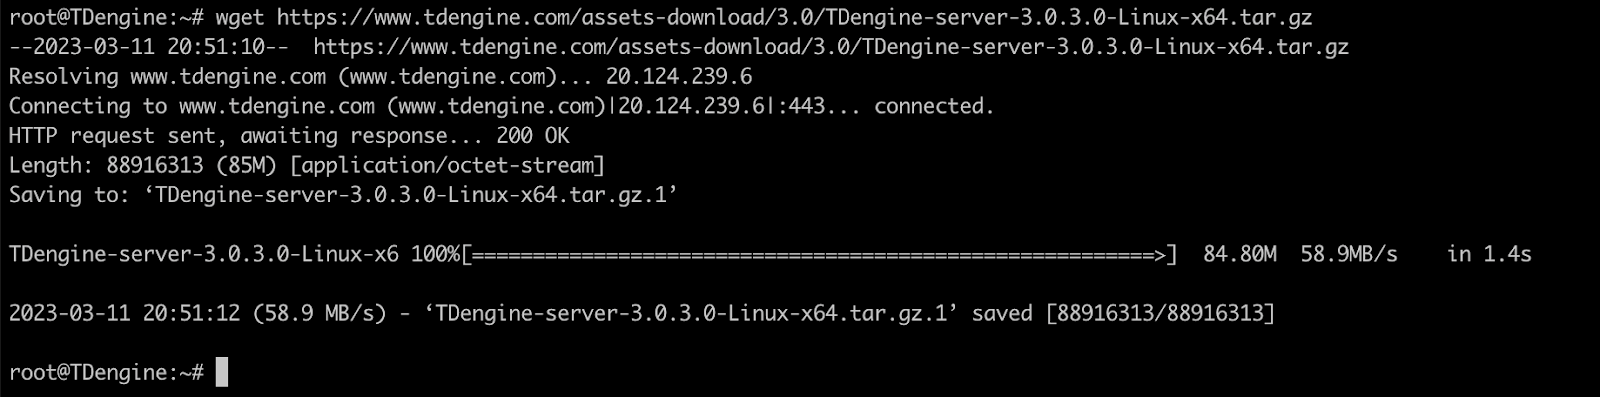
Use wget to download the latest package.
wget https://www.tdengine.com/assets-download/3.0/TDengine-server-3.0.3.0-Linux-x64.tar.gz
Untar the downloaded package.
tar -zxvf TDengine-server-3.0.3.0-Linux-x64.tar.gz
Navigate to the TDEngine folder and install.
cd TDengine-server-3.0.3.0/
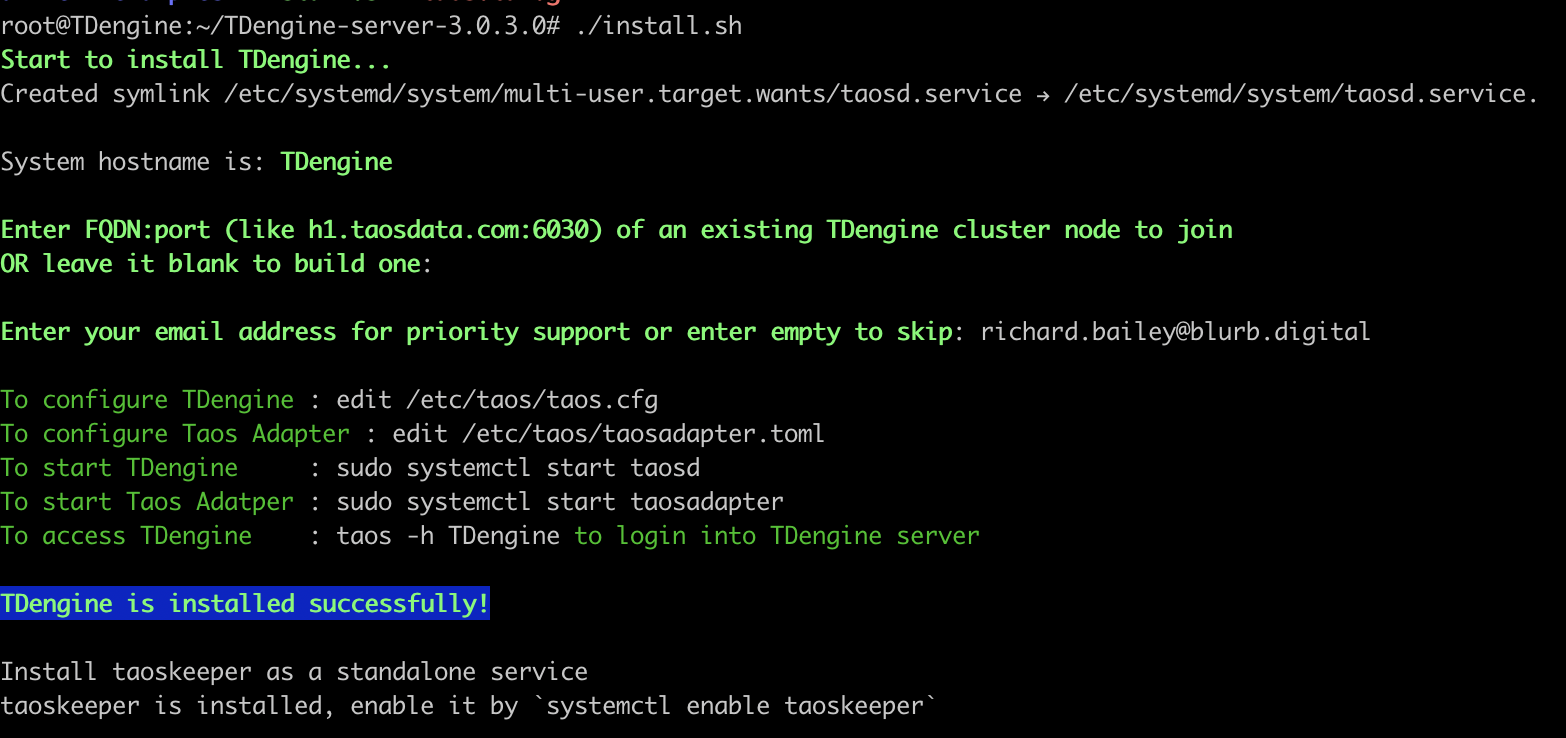
./install.sh
Note: When asked for an FQDN, just hit enter. You will be prompted to enter an email address.
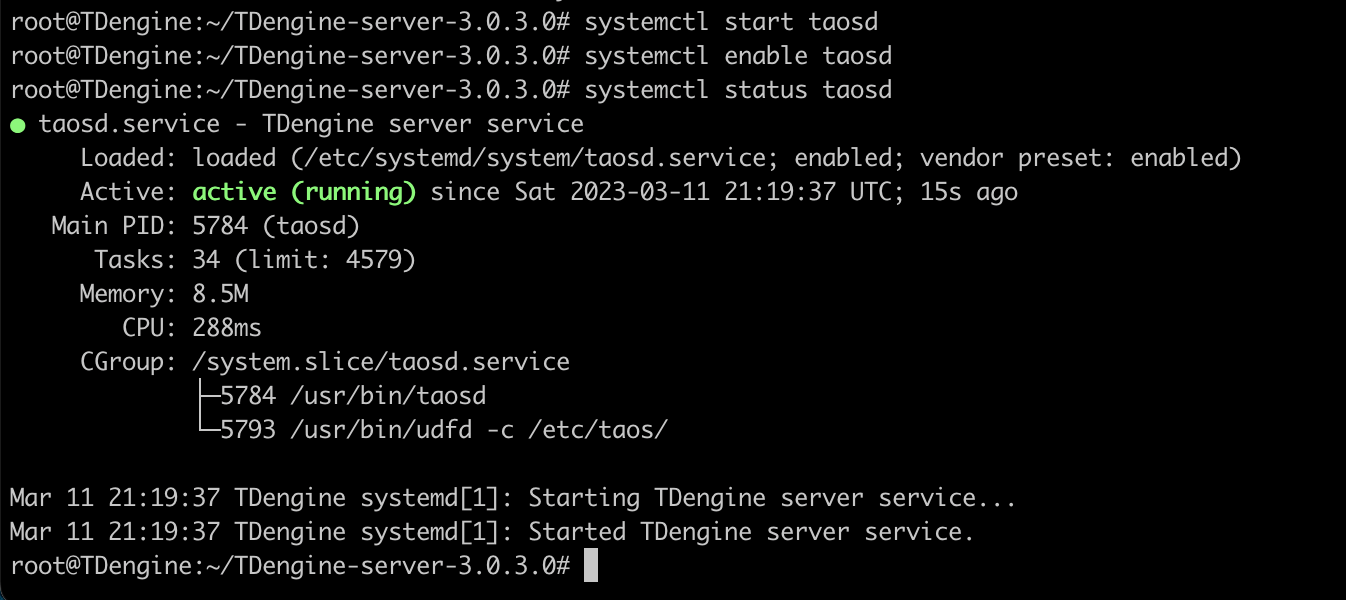
Start and Enable the TAOS service.
systemctl start taosd
systemctl enable taosd
Check the status of the TAOS service to ensure that it has been installed correctly.
systemctl status taosd
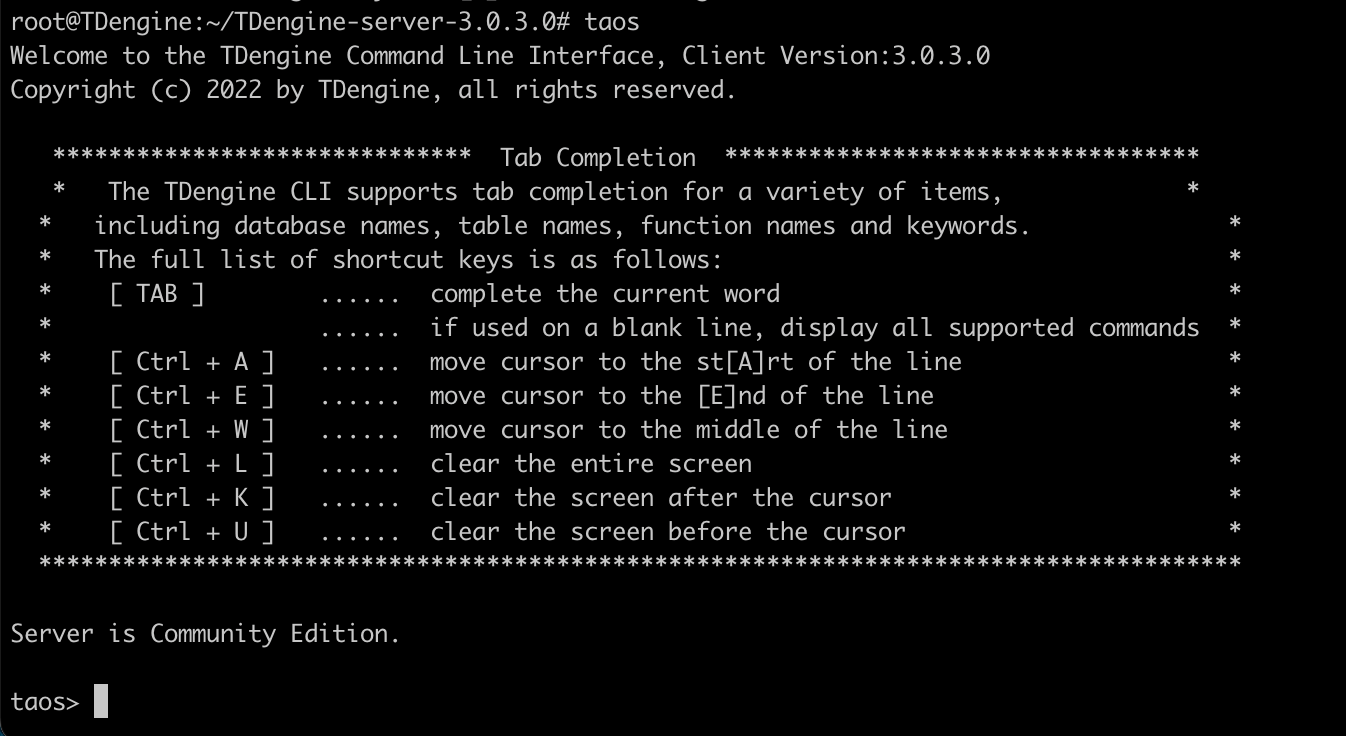
Step 6 – Try out the TAOS CLI
To access the command line interface, simply type:
taos
To create a database enter the following:
CREATE DATABASE atlanticdemo;
USE atlanticdemo;
CREATE TABLE t (ts TIMESTAMP, speed INT);
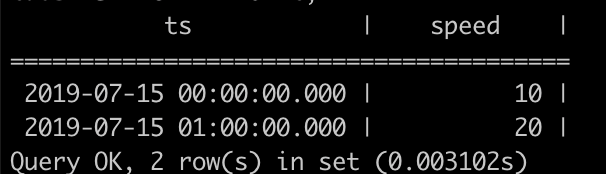
INSERT INTO t VALUES ('2019-07-15 00:00:00', 10);
INSERT INTO t VALUES ('2019-07-15 01:00:00', 20);
SELECT * FROM t;
You will see this output:
Conclusion
In this tutorial, we explained how to install TDengine on Ubuntu Linux. We also showed you how to create a simple database using the TAOS CLI. You can now start exploring the possibilities of this superfast database. You can try to install TDEngine on dedicated hosting from Atlantic.Net!