Verified and Tested 2/4/15
Introduction
In this guide, we will go over how to install your own VNC server on a Fedora or CentOS virtual private server. This will allow you to connect and view common Linux desktop Graphical User Interfaces such as GNOME and KDE.
Prerequisites
A Fedora or CentOS VPS with root permissions.
A Desktop Environment (GUI) such as GNOME or KDE
Installing a VNC server
Install the VNC server. In this example, we will use TigerVNC. For information on TigerVNC, visit the following site: tigervnc.org
yum install tigervnc-server -y
If using a newer version of Fedora, use the DNF package manager:
dnf install tigervnc-server -y
Set the VNC password for root
vncpasswd
(Optional) If you want to set the VNC password for another user:
su <otheruser>
vncpasswd
Start the VNC server, create a window (session), and choose output resolution:
vncserver :1 -geometry 1024x768 -depth 24
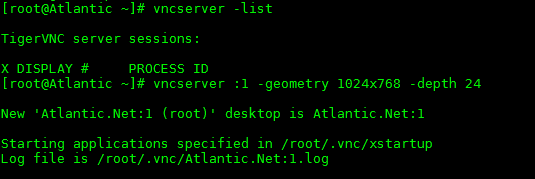
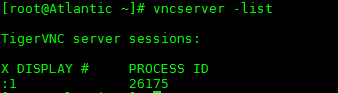
You can check current active VNC windows with the “vncserver –list” command.
vncserver -list
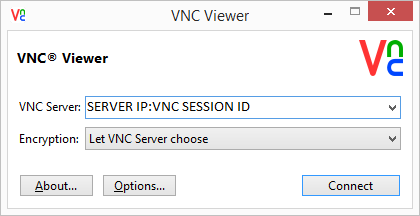
Try connecting with a VNC client of your choice. Notice I am connecting using the server IP and the VNC window that I declared earlier.
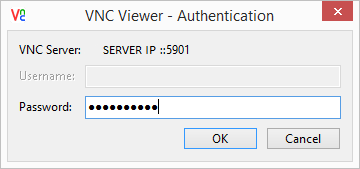
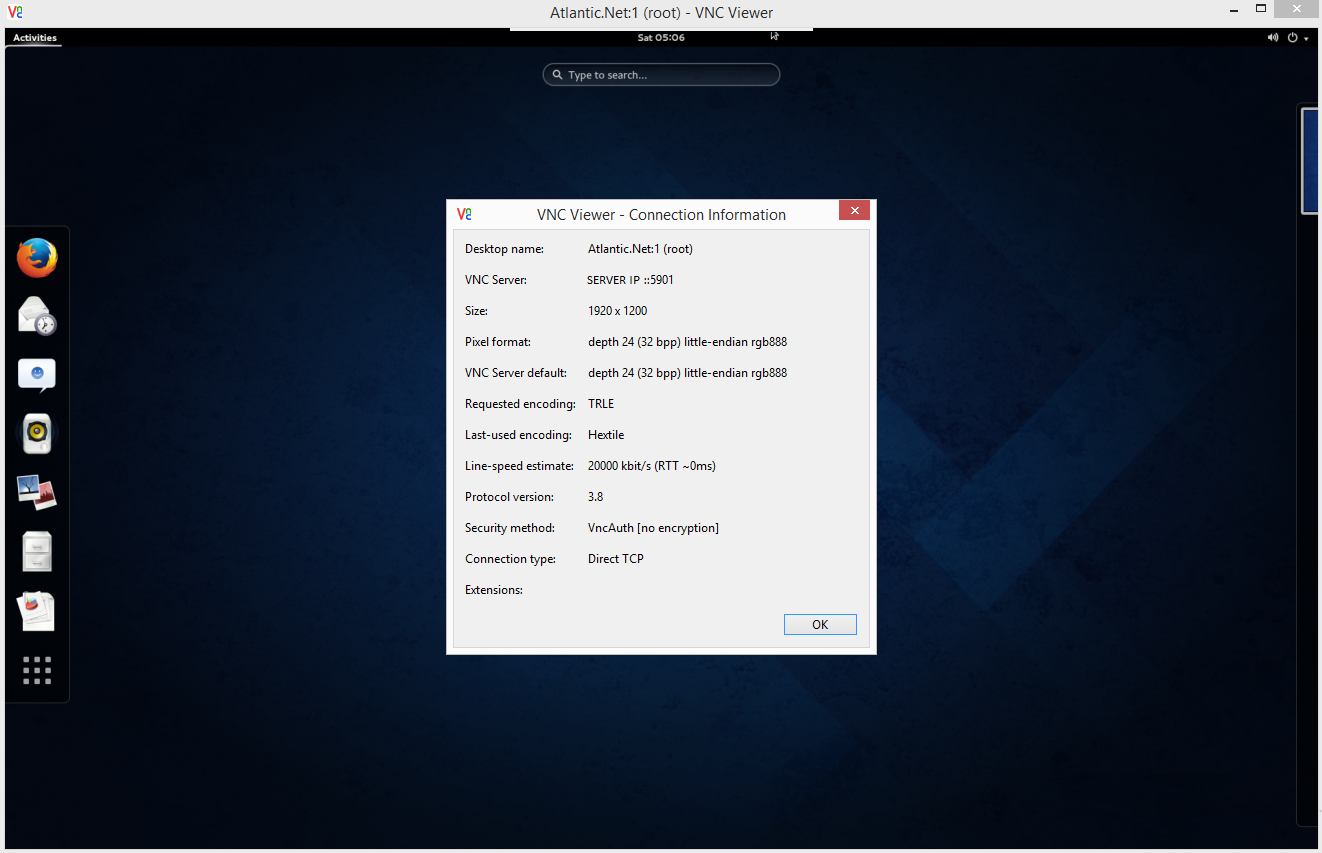
In this example, I am connected to a private cloud server with GNOME installed.
Thank you for following along with this how to install your own VNC server on a Fedora or CentOS cloud server. Learn more about our affordable VPS hosting solutions and be sure to check back with us again for updates and further tutorials, like Using VNC to Access a Cloud Server.