Ampache is a free, open-source, web-based audio and video streaming server and file manager that allows you to access your music from a remote location over the Internet. It offers a beautiful and user-friendly web interface to browse and manage your music collection through a simple web interface. If you are looking for an open-source media server, then Ampache is the best option for you.
This post will show you how to install Ampache media server on Oracle Linux 8.
Step 1 – Install Apache, MariaDB, and PHP
First, install the Apache web server and MariaDB database server packages using the following command:
dnf install httpd mariadb-server -y
After the successful installation, you will need to install PHP version 7.4 and other extensions on your server.
First, enable the PHP 7.4 repository with the following command:
dnf module enable php:7.4
Next, run the following command to install PHP with other required extensions:
dnf install php php-cli php-fpm php-gd php-mysqlnd php-json php-curl php-intl php-pdo php-mbstring php-dom php-xml unzip -y
Next, start and enable the Apache, MariaDB, and PHP-FPM services:
systemctl start httpd mariadb
systemctl enable httpd mariadb
Next, edit the PHP configuration file and change the default settings:
nano /etc/php.ini
Change the following values:
post_max_size = 110M
upload_max_filesize = 100M
Save and close the file when you are done.
Step 2 – Download Ampache
Next, you will need to download the latest version of Ampache from the Git repository. You can download it with the following command:
wget https://github.com/ampache/ampache/releases/download/5.4.1/ampache-5.4.1_all.zip
Once the download is completed, unzip the downloaded file to the Apache web directory:
unzip ampache-5.4.1_all.zip -d /var/www/html/ampache/
Next, change the ownership and permissions of the Ampache directory:
chown --recursive  apache:apache /var/www/html/ampache/
chmod -R 777 /var/www/html/ampache/
Step 3 – Configure Apache for Ampache
Next, you must create an Apache virtual host configuration file to host the Ampache media server. You can create it with the following command:
nano /etc/httpd/conf.d/ampache.conf
Add the following lines:
<VirtualHost *:80>

    ServerName ampache.example.com
    DocumentRoot /var/www/html/ampache/public

    <Directory /var/www/html/ampache/public>
        AllowOverride All
        Require all granted
    </Directory>

    RewriteEngine on
    CustomLog /var/log/httpd/ampache.access.log common
    ErrorLog  /var/log/httpd/ampache.error.log

</VirtualHost>
Save and close the file, then restart the Apache service to apply the configuration changes:
systemctl restart httpd
Step 4 – Access Ampache Web Interface
Now, open your web browser and access the Ampache web interface using the URL http://ampache.example.com. You should see the following page:
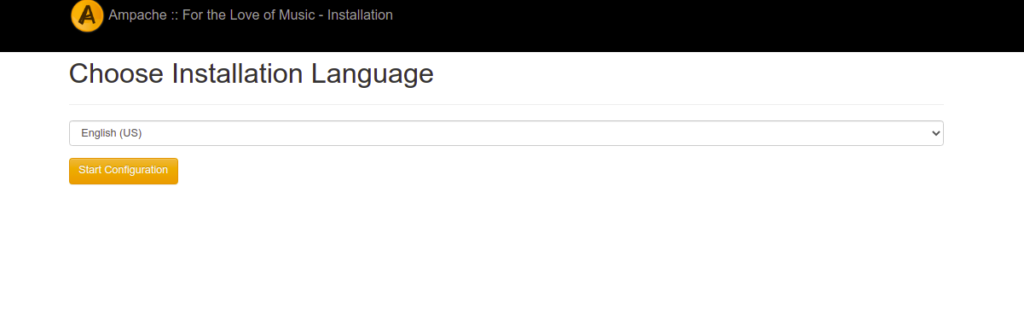
Select your language and click on the Start Configuration button. You should see the following page:
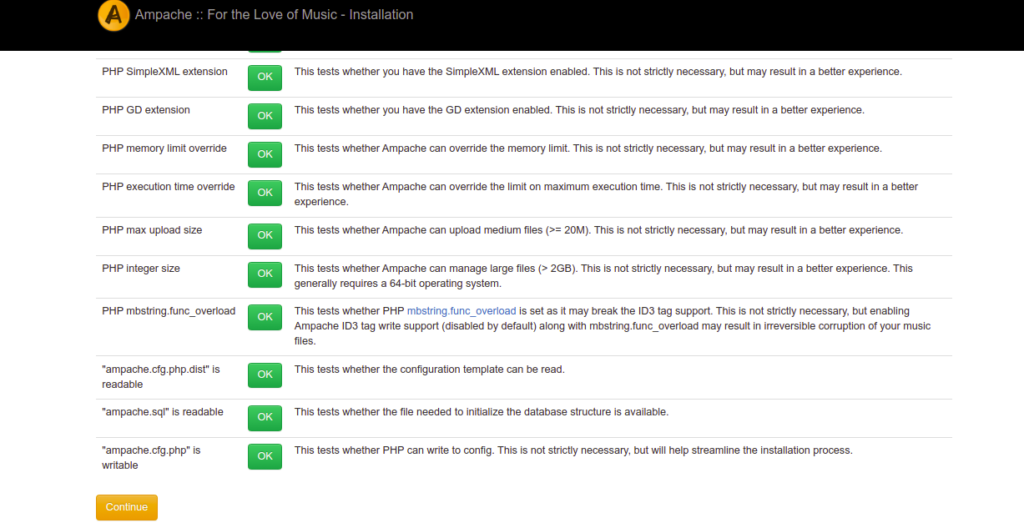
Ensure all PHP dependencies are installed, then click on the Continue button. You should see the database configuration page:
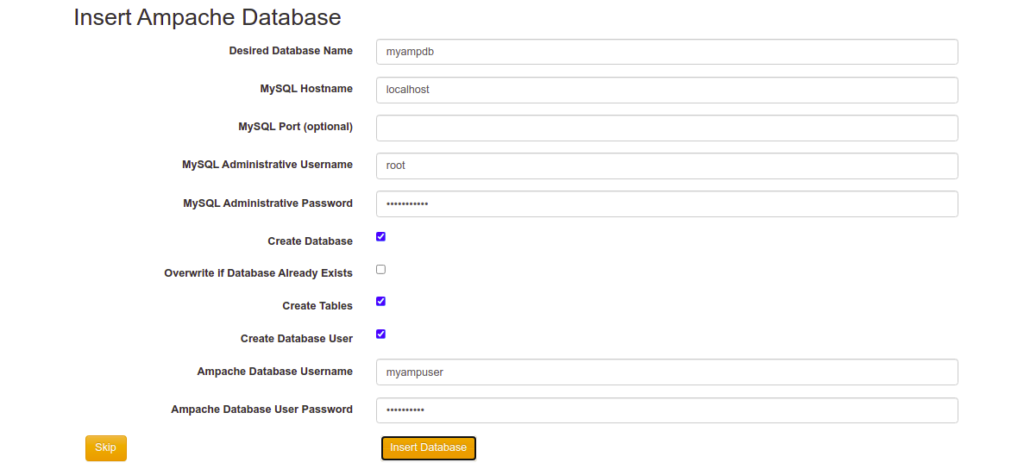
Provide your new database information and click on the Insert Database button. You should see the following page:
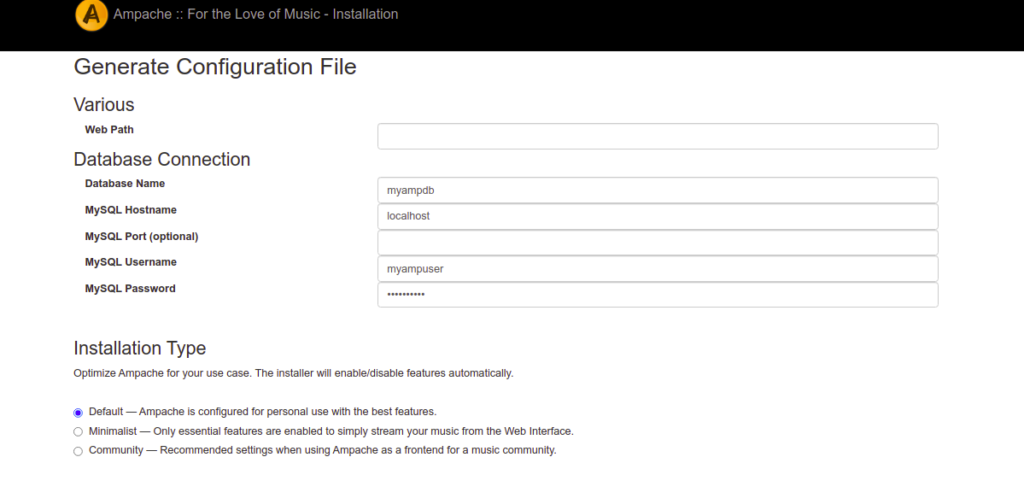
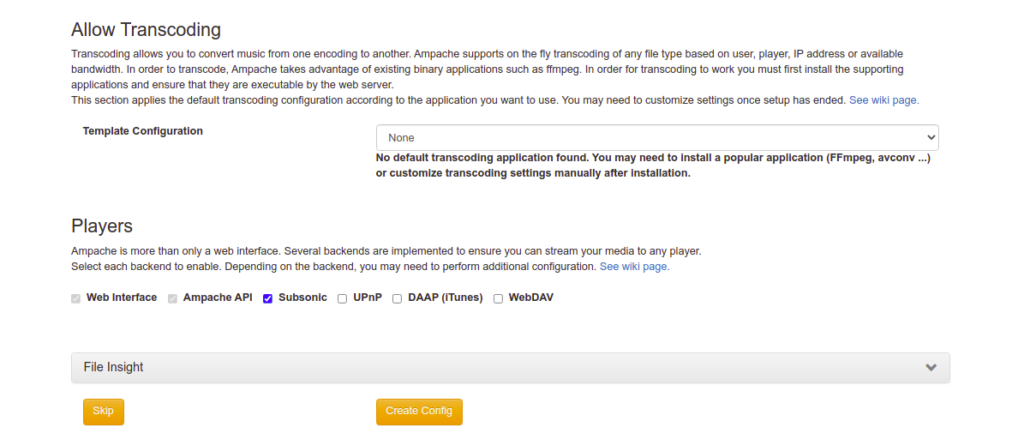
Provide your database details, installation type, template configuration, and players, and click on the Create Config button. You should see the following page:
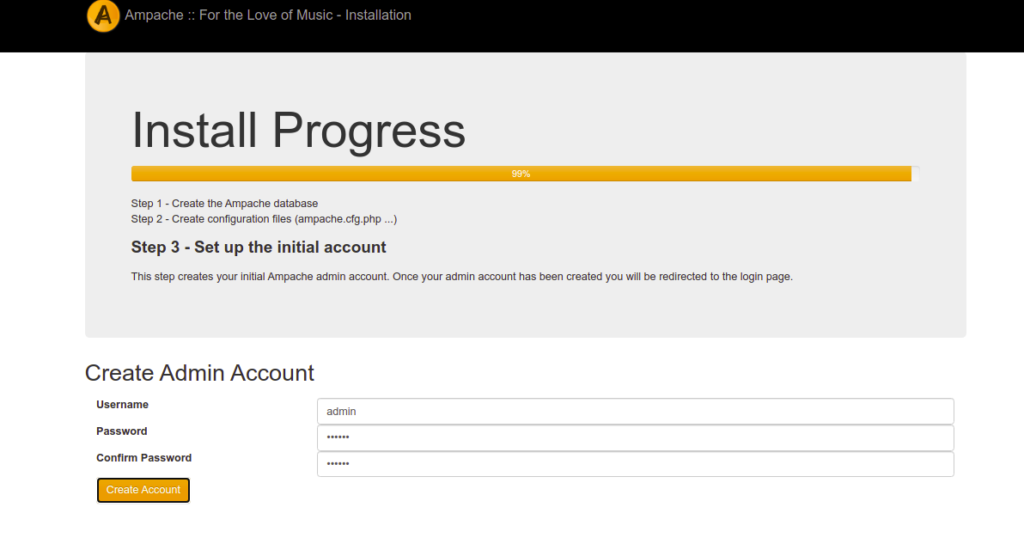
Define your admin username and password and click on the Create Account button. You should see the Ampache login screen:
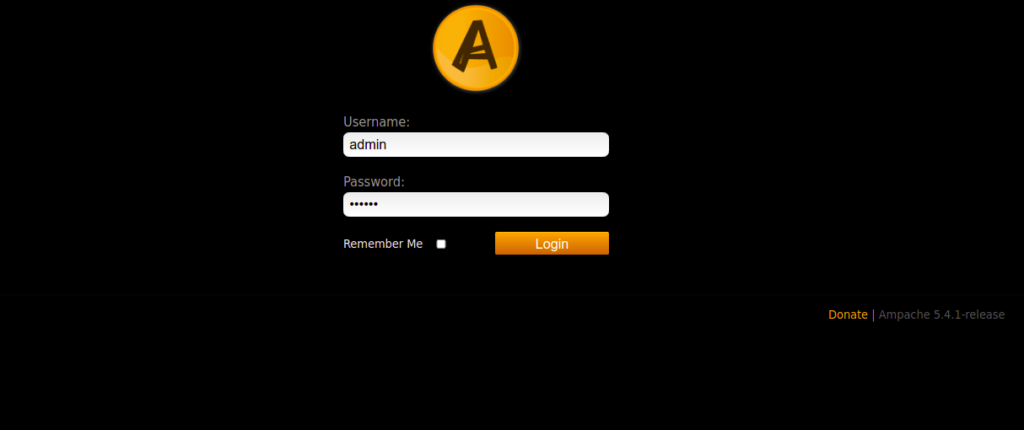
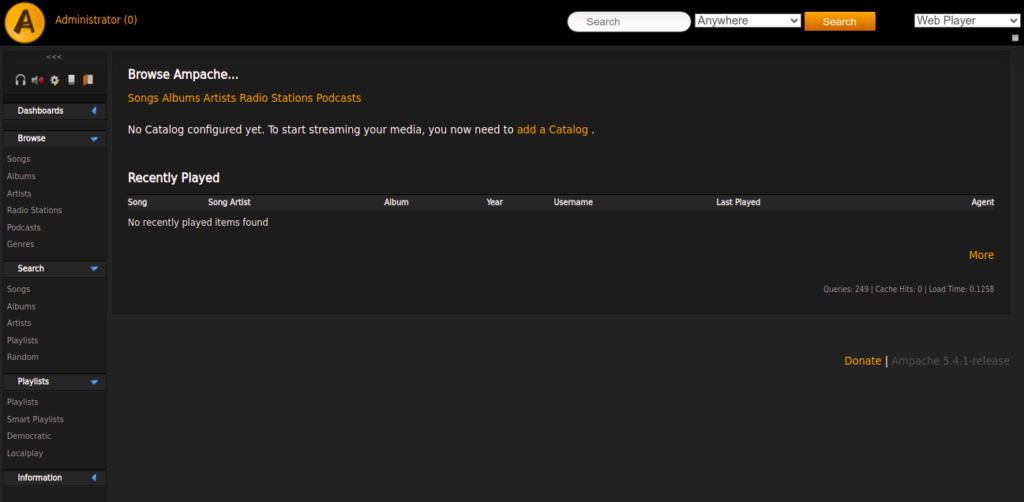
Provide your admin username and password and click on the Login button. You should see the Ampache dashboard as shown below:
Conclusion
This tutorial explained how to install and set up an Ampache media server on Oracle Linux 8. You can now explore the Ampache features, upload your music files, and access them from anywhere on the internet. Try it on dedicated hosting from Atlantic.Net!