Composer is a package management system and dependency manager for PHP. It checks your project requirements and installs all the required dependencies. Composer is a simple, reliable, and very useful tool that helps developers to manage and integrate packages and libraries into their PHP-based projects.
In this tutorial, we will show you how to install and use Composer on Ubuntu 20.04 server.
Step 1 – Install PHP and Other Dependencies
Before installing Composer, you will need to install PHP and other required dependencies on your server.
You can install all of them with the following command:
apt-get install php php-cli php-mbstring curl gnupg2 git unzip -y
After installing all the packages, you can proceed to the next step.
Step 2 – Install Composer
Composer provides a PHP-based installation script to install the Composer to your system.
First, download the Composer installation script with the following command:
curl -sS https://getcomposer.org/installer -o composer-setup.php
Next, you will need to verify whether the downloaded script matches with the SHA-384 hash for the latest installer found on the Composer signature page.
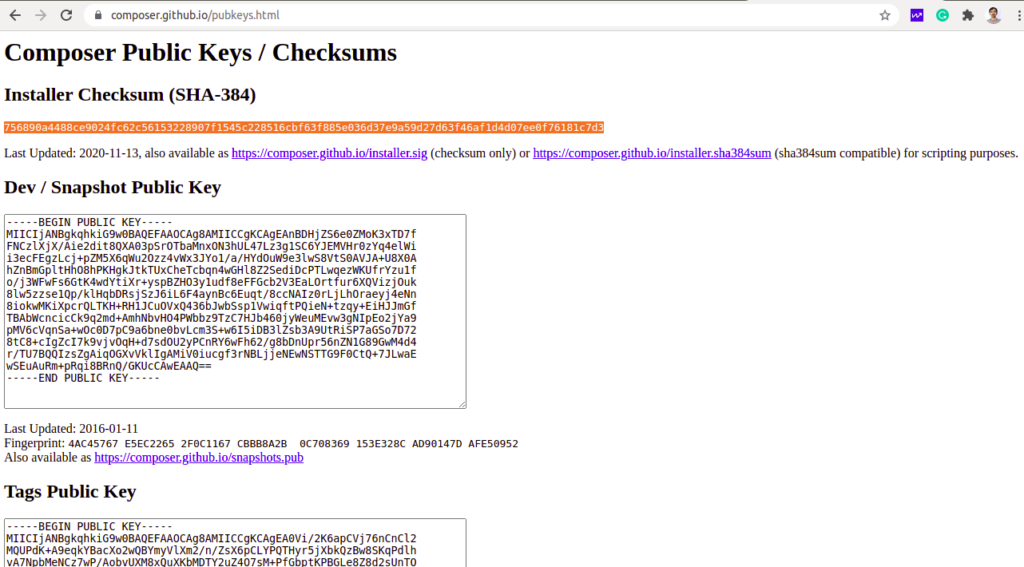
To do so, copy the hash from that page and store it in the shell variable.
HASH=756890a4488ce9024fc62c56153228907f1545c228516cbf63f885e036d37e9a59d27d63f46af1d4d07ee0f76181c7d3
Next, run the following command to verify the downloaded script:
php -r "if (hash_file('SHA384', 'composer-setup.php') === '$HASH') { echo 'Installer verified'; } else { echo 'Installer corrupt'; unlink('composer-setup.php'); } echo PHP_EOL;"
If everything is correct, you should get the following output:
Installer verified
Next, run the following script to install Composer globally:
php composer-setup.php --install-dir=/usr/local/bin --filename=composer
Once the installation has been completed, you should get the following output:
All settings correct for using Composer
Downloading...

Composer (version 2.1.3) successfully installed to: /usr/local/bin/composer
Use it: php /usr/local/bin/composer
You can now check the Composer version using the following command:
composer --version
You should see the following output:
Composer version 2.1.3 2021-06-09 16:31:20
Step 3 – How to Use Composer
At this point, Composer is installed on your server. Now we will show you how to create a project with Composer.
First, create a new directory for your project:
mkdir myproject
Next, change the directory to myproject:
cd myproject
Next, create a PHP-based application that prints the current time.
composer require nesbot/carbon
The above command will download and install carbon with all required dependencies and creates the composer.json file:
Installing dependencies from lock file (including require-dev)
Package operations: 6 installs, 0 updates, 0 removals
  - Downloading symfony/translation-contracts (v2.4.0)
  - Downloading symfony/polyfill-mbstring (v1.23.0)
  - Downloading symfony/translation (v5.3.3)
  - Downloading nesbot/carbon (2.50.0)
  - Installing symfony/translation-contracts (v2.4.0): Extracting archive
  - Installing symfony/polyfill-php80 (v1.23.0): Extracting archive
  - Installing symfony/polyfill-mbstring (v1.23.0): Extracting archive
  - Installing symfony/deprecation-contracts (v2.4.0): Extracting archive
  - Installing symfony/translation (v5.3.3): Extracting archive
  - Installing nesbot/carbon (2.50.0): Extracting archive
3 package suggestions were added by new dependencies, use `composer suggest` to see details.
Generating autoload files
Run the following command to verify all files created by Composer:
ls -l
You should see the following output:
-rw-r--r-- 1 root root    60 Jul 15 04:52 composer.json
-rw-r--r-- 1 root root 18155 Jul 15 04:52 composer.lock
drwxr-xr-x 6 root root  4096 Jul 15 04:52 vendor
Now, create a new file named app.php:
nano app.php
Add the following code:
<?php

require __DIR__ . '/vendor/autoload.php';

use Carbon\Carbon;

printf("Now: %s", Carbon::now());
?>
Save and close the file, then run the app.php with the following command:
php app.php
This will print the current time of your system:
Now: 2021-07-15 04:54:37
If you want to update the project, run the following command:
composer update
This will check for newer versions of the installed packages and match them with all packages inside composer.json then update the package.
Conclusion
In the above guide, you learned how to install Composer on Ubuntu 20.04. You also learned how to create a PHP-based project with Composer. Get started with Composer on your dedicated server from Atlantic.Net, and for more information, visit the Composer official documentation.
* This post is for informational purposes only and does not constitute professional, legal, financial, or technical advice. Each situation is unique and may require guidance from a qualified professional.
Readers should conduct their own due diligence before making any decisions.