Askbot is a free and open-source question and answers forum application written in Python and Django. It is simple, highly customizable, and very similar to other forum software including StackOverflow and YahooAnswers. It has some good features including a karma-based content system, voting, and content moderation. Currently, it is used by open-source projects like Fedora and LibreOffice.
In this post, we will show you how to install Askbot forum software on Debian 10.
Step 1 – Install Required Dependencies
Before starting, you will need to install some Python dependencies in your server. You can install all of them by running the following command:
apt-get update -y
apt-get install python-dev python-setuptools python-pip sudo python-psycopg2 libpq-dev -y
Once all the dependencies are installed, you can proceed to the next step.
Step 2 – Install and Configure PostgreSQL
Askbot uses PostgreSQL or MariaDB as a database backend, so you will need to install any database software in your system. You can install the PostgreSQL database with the following command:
apt-get install postgresql -y
Once installed, connect to the PostgreSQL shell with the following command:
su - postgres
[postgres@centos8 ~]$ psql
Next, create a database and user for Askbot with the following command:
postgres=# create database askbot;
postgres=# create user askbot with password 'password';
Next, grant all the privileges to askbot with the following command:
postgres=# grant all privileges on database askbot to askbot;
Finally, exit from the PostgreSQL shell with the following command:
postgres=# \q
exit
Next, you will need to edit the PostgreSQL main configuration file and enable the md5 authentication.
nano /etc/postgresql/11/main/pg_hba.conf
Change the following lines:
# "local" is for Unix domain socket connections only
local   all             all                                     md5
# IPv4 local connections:
host    all             all             127.0.0.1/32            md5
# IPv6 local connections:
host    all             all             ::1/128                 md5
Save and close the file, then restart PostgreSQL to apply the changes:
systemctl restart postgresql
Step 3 – Install Askbot
First, create a user for Askbot and set a password with the following command:
useradd -m -s /bin/bash askbot
passwd askbot
Next, add askbot user to sudo with the following command:
usermod -a -G sudo askbot
Next, install python virtualenv package with the following command:
pip install virtualenv six
Once installed, change the user to askbot and create a new virtual environment for Askbot with the following command:
su - askbot
virtualenv askbot
Next, change the directory to askbot and activate the virtual environment with the following command:
cd askbot
source bin/activate
Next, upgrade pip to the latest version using the command below:
pip install --upgrade pip
Next, install Askbot, Six, and PostgreSQL module with the following command:
pip install six==1.10.0
pip install askbot==0.10.3 psycopg2
Next, create a directory for your application:
mkdir myapp
Next, change the directory to myapp and setup the Askbot with the following command:
cd myapp
askbot-setup
You will be asked to provide installation path:
Deploying Askbot - Django Q&A forum application
Problems installing? -> please email admin@askbot.org

To CANCEL - hit Ctr-C at any time

Enter directory path (absolute or relative) to deploy
askbot. To choose current directory - enter "."
> .
Type . and hit Enter to continue. You should see the following output:
Please select database engine:
1 - for postgresql, 2 - for sqlite, 3 - for mysql, 4 - oracle
type 1/2/3/4: 1
Type 1 to select a postgresql database engine and hit Enter to continue. You should see the following output:
Please enter database name (required)
> askbot

Please enter database user (required)
> askbot

Please enter database password (required)
> password

Press Enter for all other values
Provide your Askbot database details and hit Enter to finish the setup.
Next, generate the static file with the following command:
python manage.py collectstatic
Next, migrate the database with the following command:
python manage.py migrate
Next, start the Askbot server with the following command:
python manage.py runserver 0.0.0.0:8080 &
You should get the following output:
Performing system checks...

System check identified no issues (0 silenced).
March 24, 2021 - 03:07:43
Django version 1.8.19, using settings 'settings'
Starting development server at http://0.0.0.0:8080/
Quit the server with CONTROL-C.
Press CTRL+C to stop the server.
Step 4 – Install and Configure Uwsgi
Make sure you have exited out of the virtualenv to the root shell – type exit
Next, you will need to install Uwsgi to manage the Askbot service. You can install it with Nginx using the following command:
pip install uwsgi
apt-get install nginx -y
Next, create a site directory for Uwsqi and create an askbok.ini file:
mkdir -p /etc/uwsgi/sites
nano /etc/uwsgi/sites/askbot.ini
Add the following lines:
[uwsgi]

chdir = /home/askbot/askbot/myapp
home = /home/askbot/askbot
static-map = /m=/home/askbot/askbot/myapp/static
wsgi-file = /home/askbot/askbot/myapp/django.wsgi
master = true
processes = 5
# Askbot will running under the sock file
socket = /run/uwsgi/askbot.sock
chmod-socket = 664
uid = askbot
gid = www-data
vacuum = true
# uWSGI Log file
logto = /var/log/uwsgi.log
Save and close the file when you are finished.
Step 5 – Create a Systemd Service File for Askbot
Next, you will need to create a systemd service file to manage the Askbot service.
nano /etc/systemd/system/uwsgi.service
Add the following lines:
[Unit]
Description=uWSGI service

[Service]
ExecStartPre=/bin/bash -c 'mkdir -p /run/uwsgi; chown askbot:www-data /run/uwsgi'
ExecStart=/usr/local/bin/uwsgi --emperor /etc/uwsgi/sites
Restart=always
KillSignal=SIGQUIT
Type=notify
NotifyAccess=all

[Install]
WantedBy=multi-user.target
Save and close the file, then reload the systemd daemon with the following command:
systemctl daemon-reload
Next, start the Askbot service and enable it to start at system reboot:
systemctl start uwsgi
systemctl enable uwsgi
You can also verify the status of Askbot with the following command:
systemctl status uwsgi
You should get the following output:
● uwsgi.service - uWSGI service
   Loaded: loaded (/etc/systemd/system/uwsgi.service; disabled; vendor preset: enabled)
   Active: active (running) since Wed 2021-03-24 09:12:55 UTC; 6s ago
  Process: 13609 ExecStartPre=/bin/bash -c mkdir -p /run/uwsgi; chown askbot:www-data /run/uwsgi (code=exited, status=0/SUCCESS)
 Main PID: 13612 (uwsgi)
   Status: "The Emperor is governing 1 vassals"
    Tasks: 7 (limit: 2359)
   Memory: 65.4M
   CGroup: /system.slice/uwsgi.service
           ├─13612 /usr/local/bin/uwsgi --emperor /etc/uwsgi/sites
           ├─13613 /usr/local/bin/uwsgi --ini askbot.ini
           ├─13617 /usr/local/bin/uwsgi --ini askbot.ini
           ├─13618 /usr/local/bin/uwsgi --ini askbot.ini
           ├─13619 /usr/local/bin/uwsgi --ini askbot.ini
           ├─13620 /usr/local/bin/uwsgi --ini askbot.ini
           └─13621 /usr/local/bin/uwsgi --ini askbot.ini

Mar 24 09:12:55 debian10 uwsgi[13612]: your processes number limit is 7865
Mar 24 09:12:55 debian10 uwsgi[13612]: your memory page size is 4096 bytes
Mar 24 09:12:55 debian10 uwsgi[13612]: detected max file descriptor number: 1024
Mar 24 09:12:55 debian10 systemd[1]: Started uWSGI service.
Mar 24 09:12:55 debian10 uwsgi[13612]: *** starting uWSGI Emperor ***
Mar 24 09:12:55 debian10 uwsgi[13612]: *** has_emperor mode detected (fd: 7) ***
Mar 24 09:12:55 debian10 uwsgi[13612]: [uWSGI] getting INI configuration from askbot.ini
Mar 24 09:12:55 debian10 uwsgi[13612]: [uwsgi-static] added mapping for /m => /home/askbot/askbot/myapp/static
Mar 24 09:12:56 debian10 uwsgi[13612]: Wed Mar 24 09:12:56 2021 - [emperor] vassal askbot.ini has been spawned
Mar 24 09:12:56 debian10 uwsgi[13612]: Wed Mar 24 09:12:56 2021 - [emperor] vassal askbot.ini is ready to accept requests
Step 6 – Configure Nginx for Askbot
Next, you will need to configure Nginx to host the Askbot application.
To do so, create an Nginx virtual host configuration file:
nano /etc/nginx/conf.d/askbot.conf
Add the following lines:
server {
         listen 80;
         server_name askbot.example.com;
         location / {
         include         uwsgi_params;
         uwsgi_pass	 unix:/run/uwsgi/askbot.sock;
    }
 }
Save and close the file, then verify Nginx for any syntax error with the following command:
nginx -t
If you get this error : nginx: [emerg] could not build server_names_hash, you should increase server_names_hash_bucket_size: 32
nginx: configuration file /etc/nginx/nginx.conf test failed type:
nano /etc/nginx/nginx.conf
Make sure that server_names_hash_bucket_size 64; is uncommented
Next, restart Nginx to apply the configuration changes:
systemctl start nginx
Step 7 – Access Askbot
Now, open your web browser and access the Askbot web UI using the URL http://askbot.example.com. You will be redirected to the following page:
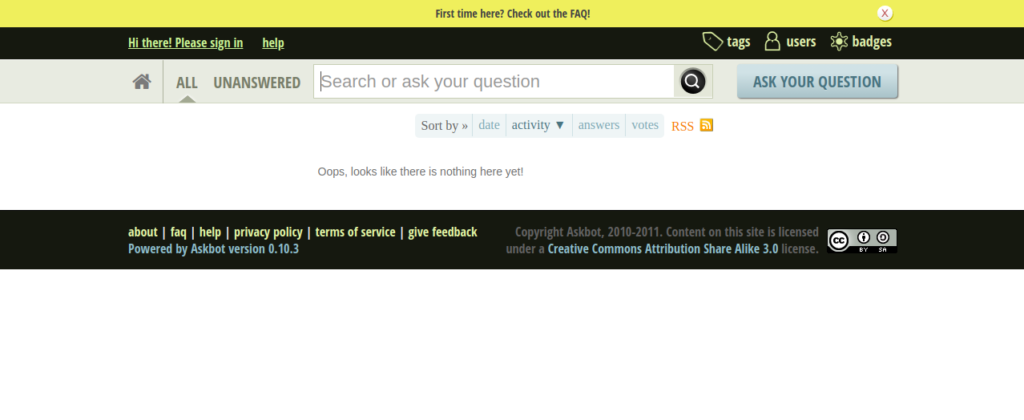
Click on the Sign in button. You should see the following page;
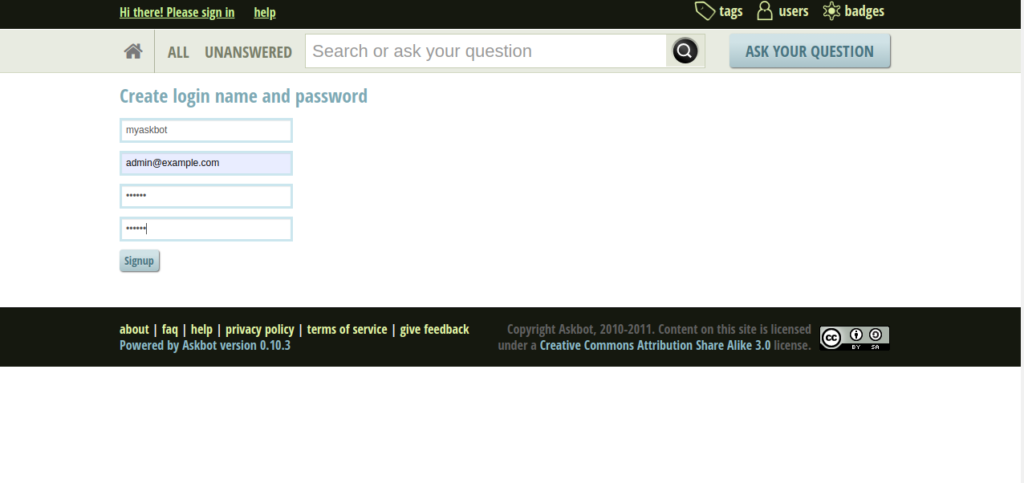
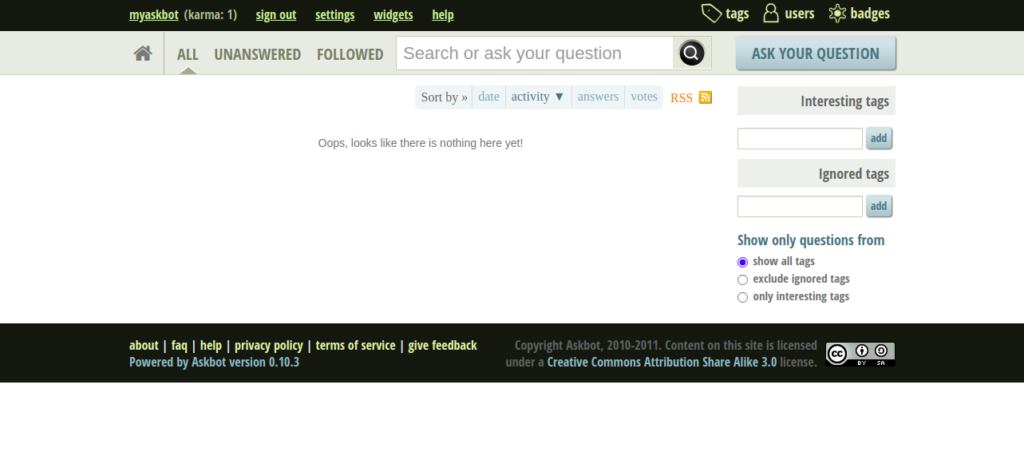
Provide your login name, email, and password and click on the Signup button. You should see the Askbot dashboard on the following page:
Conclusion
Congratulations! You have successfully installed Askbot with Nginx on Debian 10. You can now create your own Q&A forum with Askbot. Try it today on a dedicated server from Atlantic.Net!
* This post is for informational purposes only and does not constitute professional, legal, financial, or technical advice. Each situation is unique and may require guidance from a qualified professional.
Readers should conduct their own due diligence before making any decisions.