AWStats, also known as “Advanced Web Statistics,” is an open-source web analytics software written in Perl. It uses log files to analyze log files from Apache, Nginx, IIS, and other web servers. AWStats is a very useful tool that helps you to monitor your website traffic, the number of visits, unique visitors, visit duration, and other data. It also displays information about visitors OS, IP, Browser, Search engine, Screen size, and keywords used to find your website.7
In this post, we will show you how to install AWStats on CentOS 7.
Step 1 – Install and Configure Apache
For this article, you will need to install the Apache webserver and create a virtual host configuration file for domain test.example.com.
First, install the Apache package with the following command:
yum install httpd -y
Once the installation is completed, start the Apache service and enable it to start at system reboot with the following command:
systemctl start httpd
systemctl enable httpd
Next, create a new virtual host configuration file with the following command:
nano /etc/httpd/conf.d/test.conf
Add the following content:
<VirtualHost *:80>
   ServerName test.example.com
   ServerAdmin webmaster@example.com
   DocumentRoot /usr/share/httpd/noindex
   DirectoryIndex index.html
   ErrorLog /var/log/httpd/test_error.log
   CustomLog /var/log/httpd/test_access.log combined

</VirtualHost>
Save and close the file, then restart the Apache service to apply the changes:
systemctl restart httpd
Step 2 – Install AWStats
By default, AWStats is not available in the CentOS 7 default repo, so you will need to add EPEL repo to your system.
You can add it with the following command:
yum install epel-release -y
Next, install the AWStats with the following command:
yum install awstats -y
Once the installation is completed, you can proceed to the next step.
Step 3 – Configure AWStats
By default, AWStats all configuration files are located inside /etc/awstats/ directory. Here, you will need to create a separate configuration file for your domain test.example.com.
To do so, create a copy of the main configuration file to the file that matches your domain name:
cp /etc/awstats/awstats.centos7.conf /etc/awstats/awstats.test.example.com.conf
Next, edit the configuration file:
nano /etc/awstats/awstats.test.example.com.conf
Change the following lines:
LogFile="/var/log/httpd/test_access.log"
LogType=W
LogFormat=1
SiteDomain="test.example.com"
HostAliases="REGEX[test.example.com]"
Save and close the file when you are finished.
Step 4 – Generate Web Statistics from Apache Logs
Next, you will need to generate your initial statistics from the current Apache logs. You can generate it with the following command:
/usr/share/awstats/wwwroot/cgi-bin/awstats.pl -config=awstats.test.example.com.conf
You should get the following output:
Create/Update database for config "/etc/awstats/awstats.test.example.com.conf" by AWStats version 7.8 (build 20200416)
From data in log file "/var/log/httpd/test_access.log"...
Phase 1 : First bypass old records, searching new record...
Searching new records from beginning of log file...
Phase 2 : Now process new records (Flush history on disk after 20000 hosts)...
Jumped lines in file: 0
Parsed lines in file: 13
 Found 0 dropped records,
 Found 0 comments,
 Found 0 blank records,
 Found 0 corrupted records,
 Found 0 old records,
 Found 13 new qualified records.
Step 5 – Configure Apache to Access AWStats
By default, the Apache webserver is configured to access AWStats only from the localhost, so you will need to edit awstats.conf file to grant access to your IP address.
nano /etc/httpd/conf.d/awstats.conf
Find the following line:
Require local
Replace it with the following line:
Require ip your-system-ip
Save and close the file when you are finished.
your-system-ip is the IP address of your desktop system from where you want to access AWStats. You can find the IP address of your desktop system using whatismyipaddress.
Next, make sure CGI modules are enabled with the following command:
httpd -M | grep cgi
You should get the following output:
 proxy_fcgi_module (shared)
 proxy_scgi_module (shared)
 cgi_module (shared)
Next, set proper ownership to the AWStats root directory with the following command:
chown -R apache: /usr/share/awstats/wwwroot/
Next, restart the Apache service to apply the configuration changes:
systemctl restart httpd
Step 6 – Access AWStats
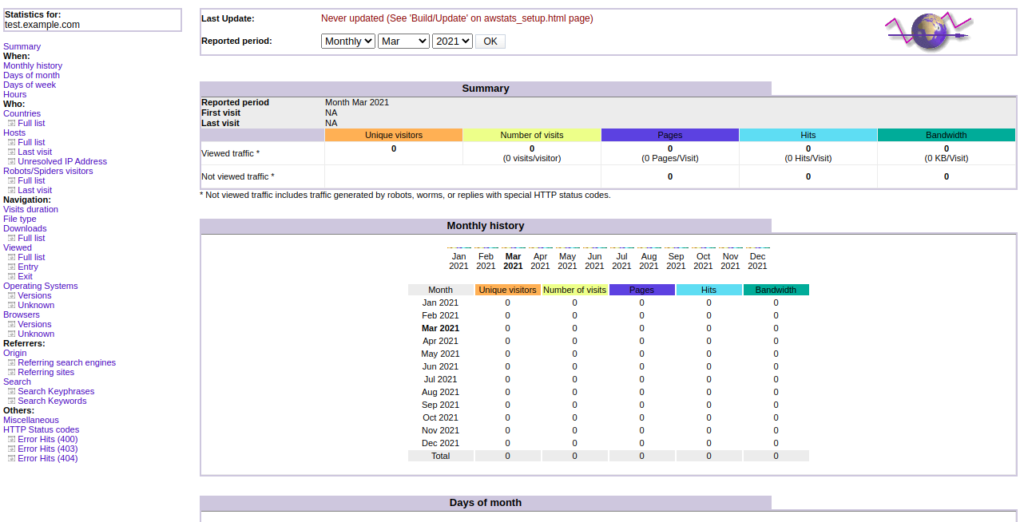
You can now view the Apache log statistics of your website (test.example.com) using the URL http://your-server-ip/awstats/awstats.pl. You should see the AWStats dashboard on the following page:
Conclusion
In the above post, you learned how to install and configure AWStats to analyze your website log. You can now host AWStats in the production environment to monitor your website – try it on your dedicated server hosting account from Atlantic.Net.
* This post is for informational purposes only and does not constitute professional, legal, financial, or technical advice. Each situation is unique and may require guidance from a qualified professional.
Readers should conduct their own due diligence before making any decisions.