Cacti is an open-source web-based monitoring and graphing tool. It provides an extensible and fault management framework for users to monitor network applications. It is a frontend to RRDTool that stores all of the necessary information to create graphs and populate them with data in a MySQL database. Cacti uses the SNMP protocol to monitor different network devices including routers, servers, and switches. If you are looking for an open-source solution to monitor your IT infrastructure then Cacti is the best option for you.
In this post, we will show you how to install Cacti Monitoring Tool on Fedora Linux.
Step 1 – Install Required Dependencies
First, you will need to install development tools on your server. You can install all of them using the following commands.
dnf update -y
dnf groupinstall "Development Tools" -y
Next, install other required dependencies using the command given below.
dnf install -y net-snmp net-snmp-utils rrdtool -y
Once all the packages are installed, you can proceed to the next step.
Step 2 – Install Apache, MariaDB, and PHP
First, install Apache and MariaDB with the following command.
dnf install httpd mariadb-server -y
Once installed, start and enable both Apache and MariaDB services.
systemctl enable --now httpd mariadb
Next, install PHP and other required extensions using the following command.
dnf install -y php php-{mysqlnd,curl,gd,intl,pear,ldap,xmlrpc,snmp,mbstring,gettext,gmp,json,xml,common}
Next, edit the PHP configuration file and change some default settings.
nano /etc/php.ini
Change the following settings.
date.timezone = UTC
memory_limit = 512M
max_execution_time = 300
Save and close the file, then start and enable the PHP-FPM service.
systemctl enable --now php-fpm
Step 3 – Configure MariaDB Database
First, log in to your MariaDB shell with the following command.
mysql
Once you are logged in, create a database and user for Cacti.
CREATE DATABASE cacti;
GRANT ALL ON cacti.* TO 'cacti'@'localhost' IDENTIFIED BY 'password';
Next, flush the privileges and exit from the MariaDB console.
FLUSH PRIVILEGES;
exit;
Next, edit the MariaDB default configuration file and tweak some settings.
nano /etc/my.cnf.d/mariadb-server.cnf
Add the following lines below [mysqld]
character-set-server=utf8mb4
collation-server=utf8mb4_unicode_ci
max_heap_table_size=128M
tmp_table_size=128M
join_buffer_size=128M
innodb_buffer_pool_size=1024M
innodb_doublewrite=ON
innodb_flush_log_at_timeout=3
innodb_read_io_threads=32
innodb_write_io_threads=16
innodb_buffer_pool_instances=10
innodb_file_format=Barracuda
innodb_large_prefix=1
innodb_io_capacity=5000
innodb_io_capacity_max=10000
Save and close the file, then restart the MariaDB service.
systemctl restart mariadb
Step 4 – Install and Configure Cacti
First, change the directory to the Apache web root and download the latest version of Cacti.
cd /var/www/html/
wget --no-check-certificate https://www.cacti.net/downloads/cacti-latest.tar.gz
Next, extract the downloaded file.
tar -xvzf cacti-latest.tar.gz
Then, rename the extracted directory to cacti
mv cacti-1.2.24 cacti
Next, import the Cacti schema to the cacti database.
cd cacti
mysql -u root -p cacti < /var/www/html/cacti/cacti.sql
Also, import the timezone information to MySQL.
mysql_tzinfo_to_sql /usr/share/zoneinfo | mysql -u root -p mysql
Next, log in to the MariaDB shell and change the default CHARACTER SET.
mysql
GRANT SELECT ON mysql.time_zone_name TO cacti@localhost;
ALTER DATABASE cacti CHARACTER SET utf8mb4 COLLATE utf8mb4_unicode_ci;
Next, flush the privileges and exit from the MariaDB shell.
FLUSH PRIVILEGES;
EXIT;
Next, copy the Cacti configuration file and edit it with nano editor.
cp /var/www/html/cacti/include/config.php.dist /var/www/html/cacti/include/config.php
nano /var/www/html/cacti/include/config.php
Define your database settings.
$database_type     = 'mysql';
$database_default  = 'cacti';
$database_hostname = 'localhost';
$database_username = 'cacti';
$database_password = 'password';
$database_port     = '3306';
Next, create a log file for Cacti and set proper permission on the Cacti directory.
touch /var/www/html/cacti/log/cacti.log
chown -R apache:apache  /var/www/html/cacti
Finally, restart both the Apache and PHP-FPM services to apply the changes.
systemctl restart httpd php-fpm
Step 6 – Access Cacti Web Installation Wizard
Now, open your web browser and access your Cacti installation via http://your-server-ip/cacti. You will see the Cacti login screen.

Provide Cacti with the default username and password as admin/admin then click on the Login button. You will see the change password screen.
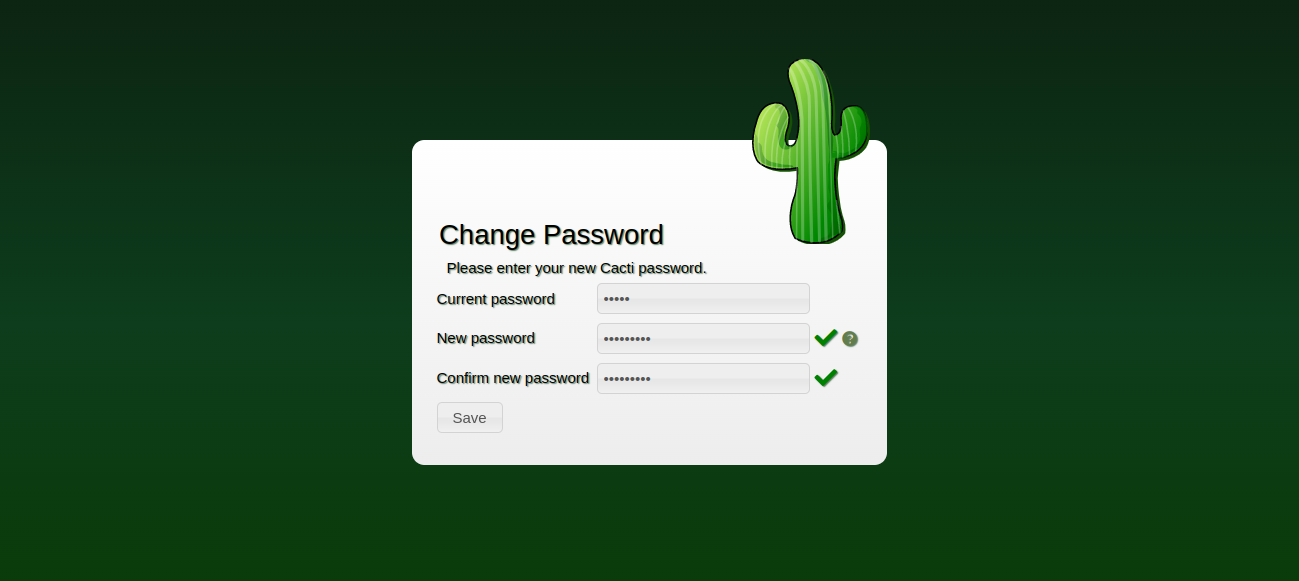
Set your new password and click on the Save button. You will see the License agreement screen.
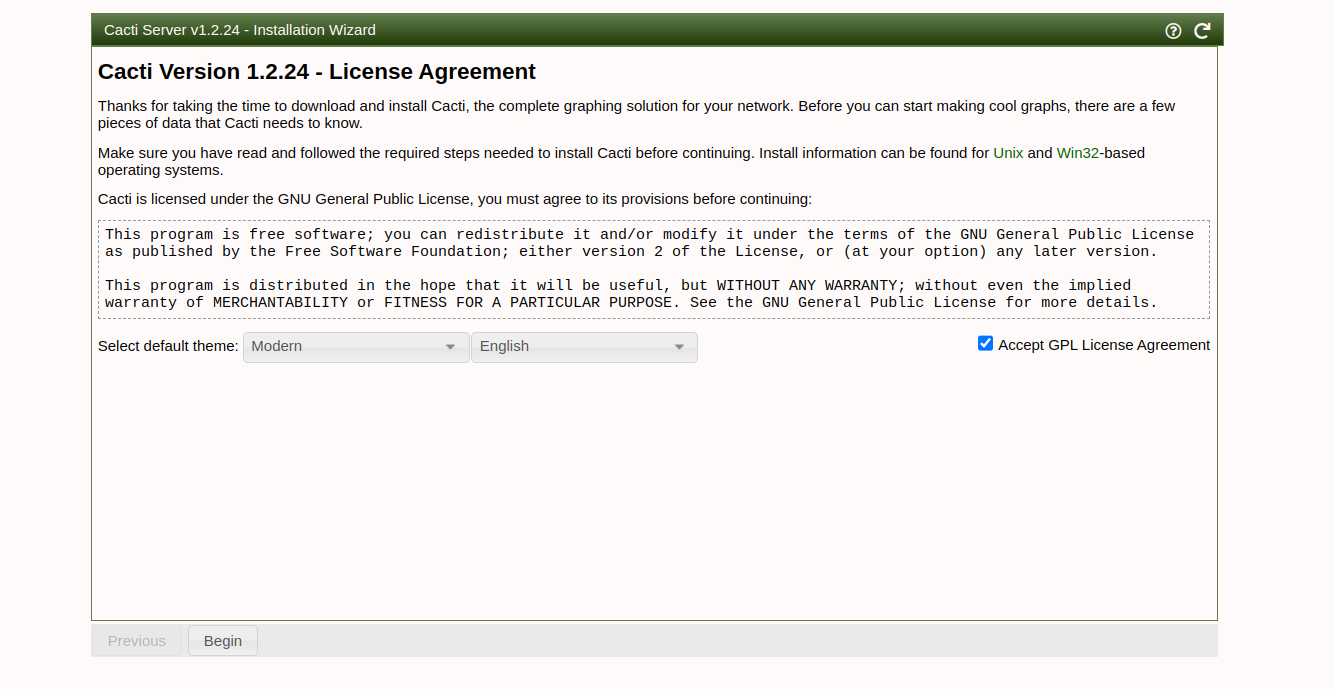
Accept the agreement and click on Begin. You will see the MySQL setting screen.
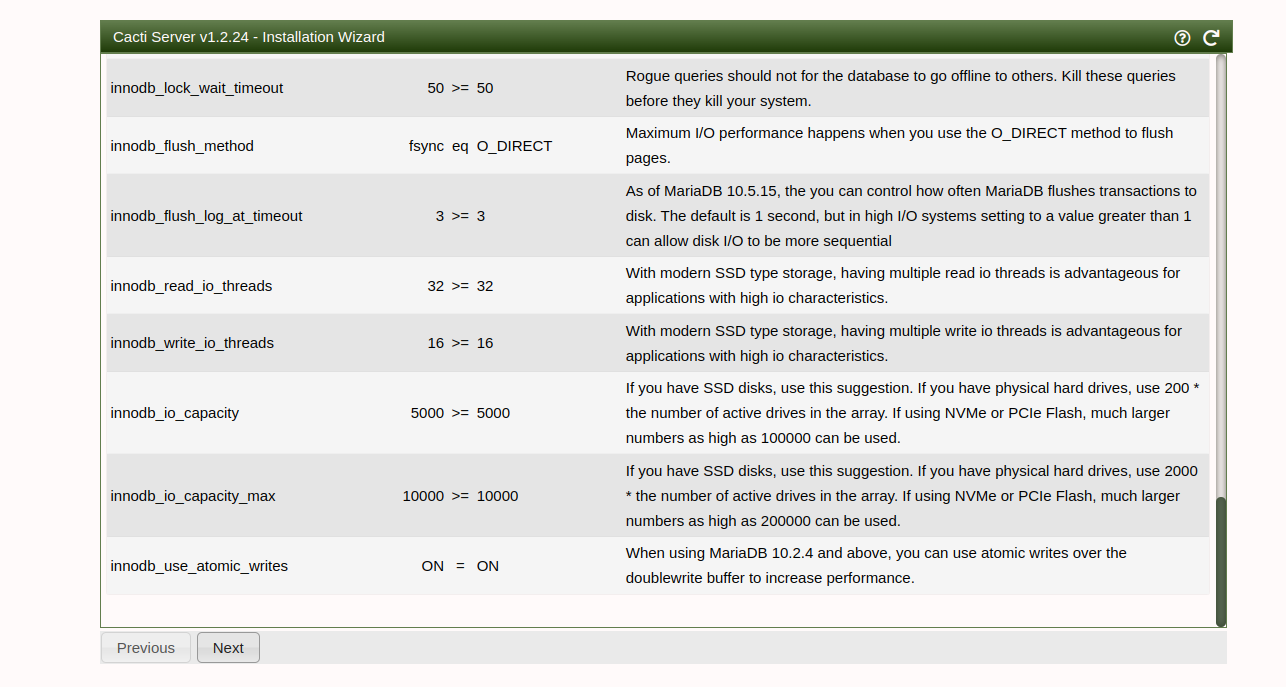
Click on the Next button. You should see the Installation Type screen.
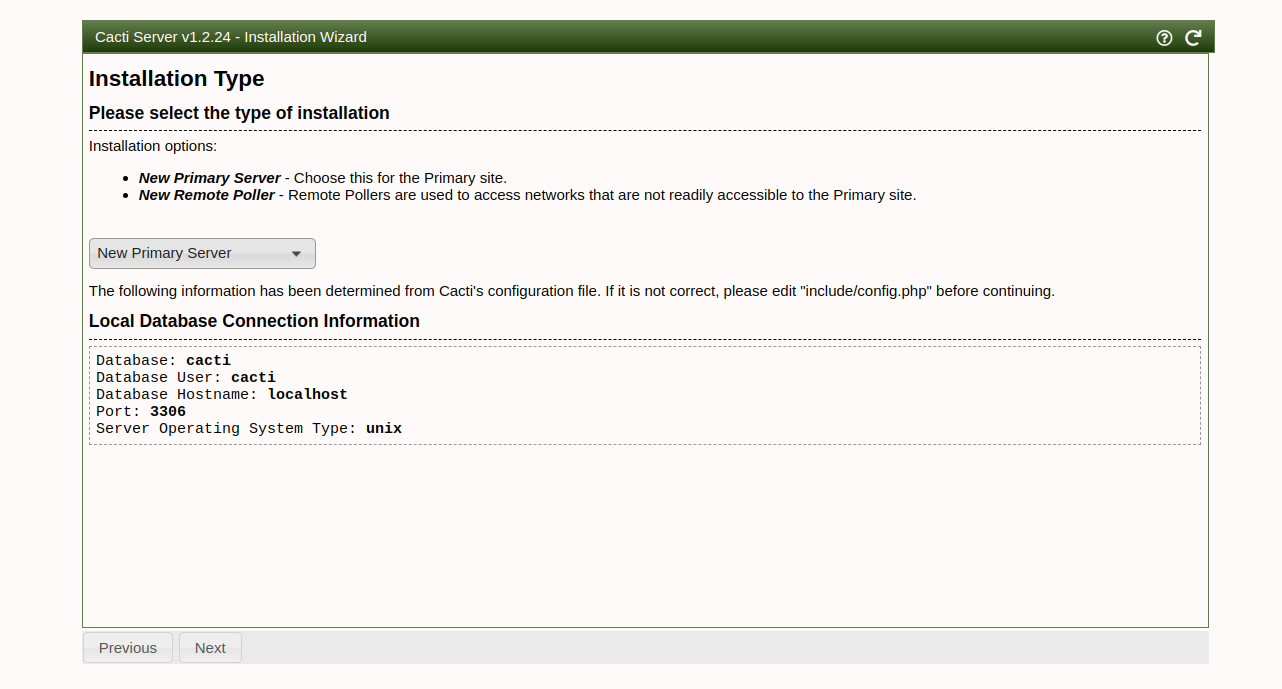
Select your server and click on the Next button. You will see the check directory permission screen.
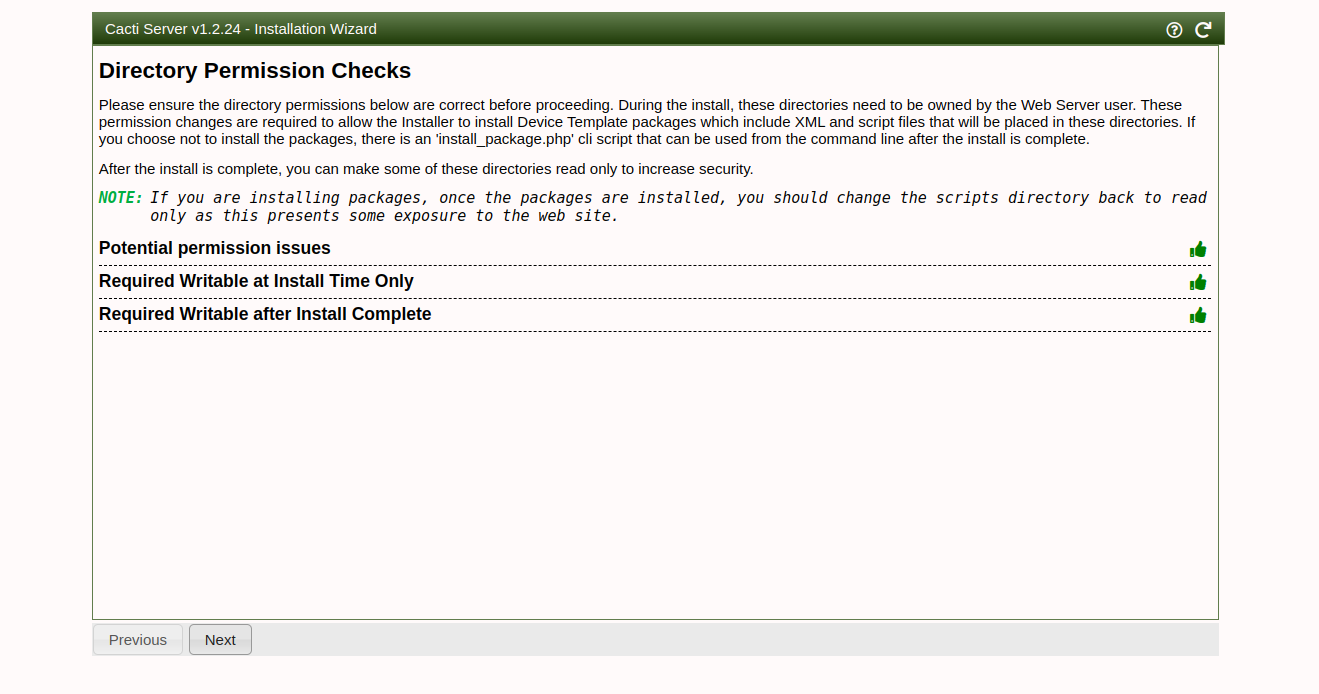
Confirm all permissions and click on the Next button. You will see the verify binary location screen.
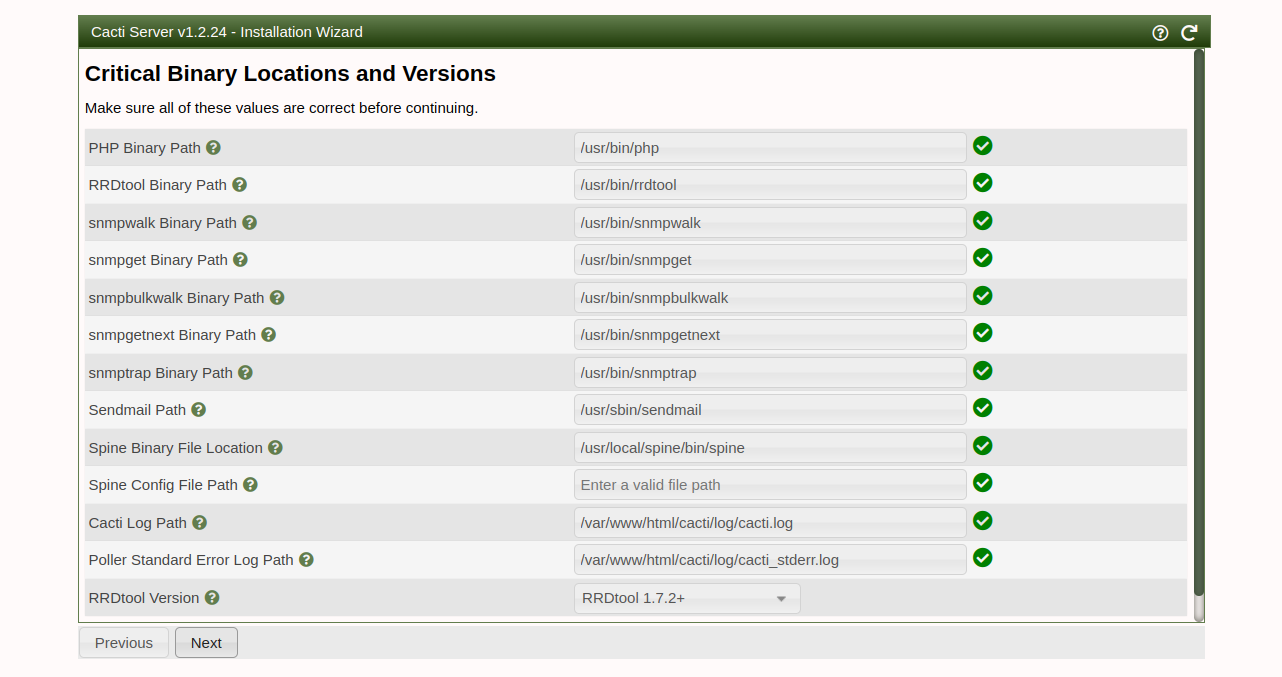
Click on the Next button. You will see the Input validation screen.
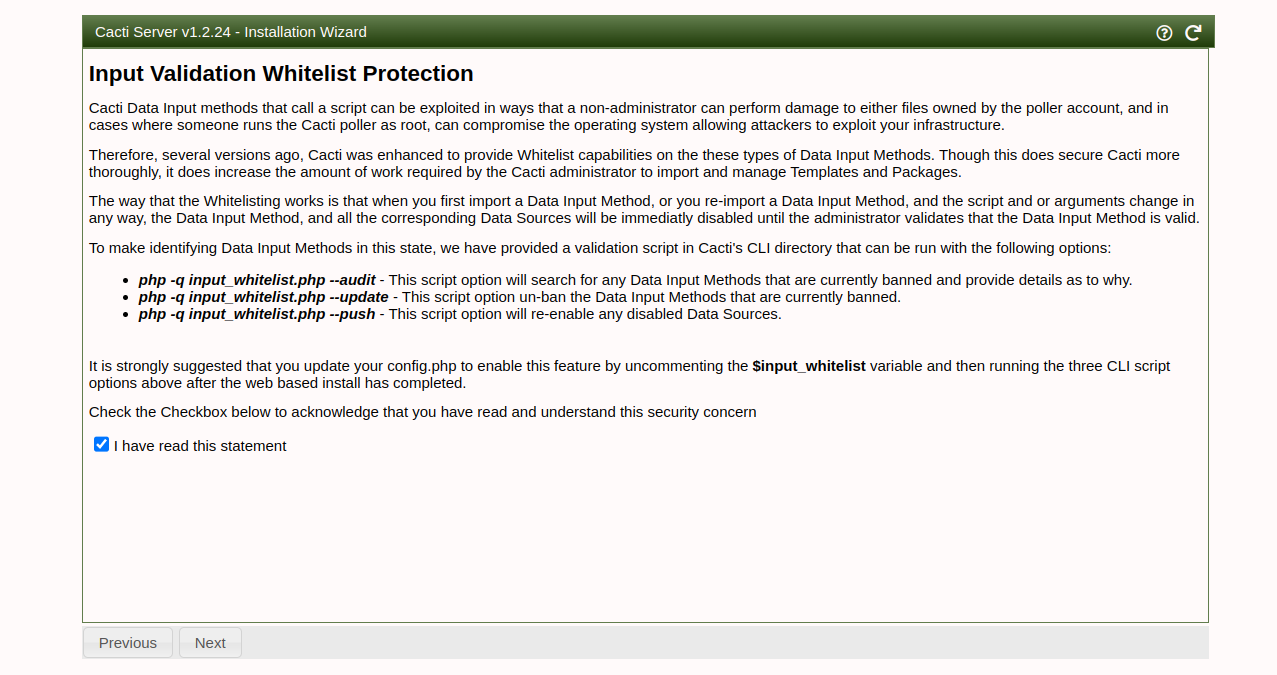
Click on the Next button. You will see the Profile setting page.
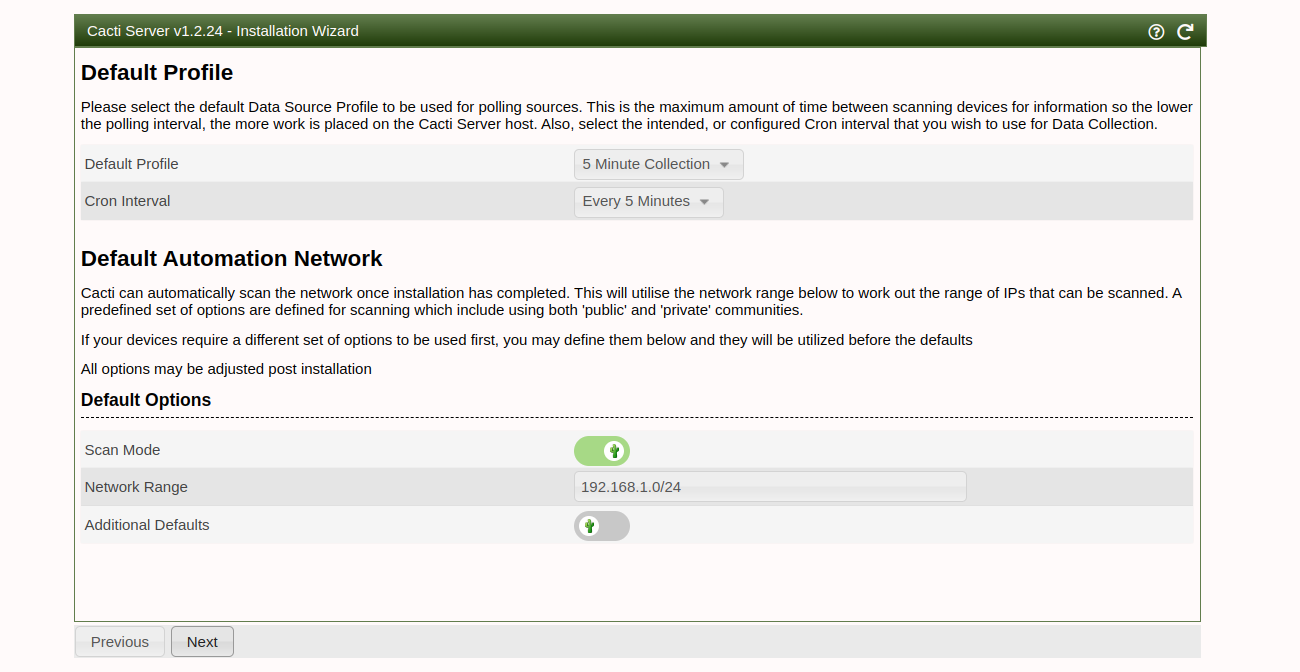
Select all required options and click on the Next button. You will see the template setup screen.
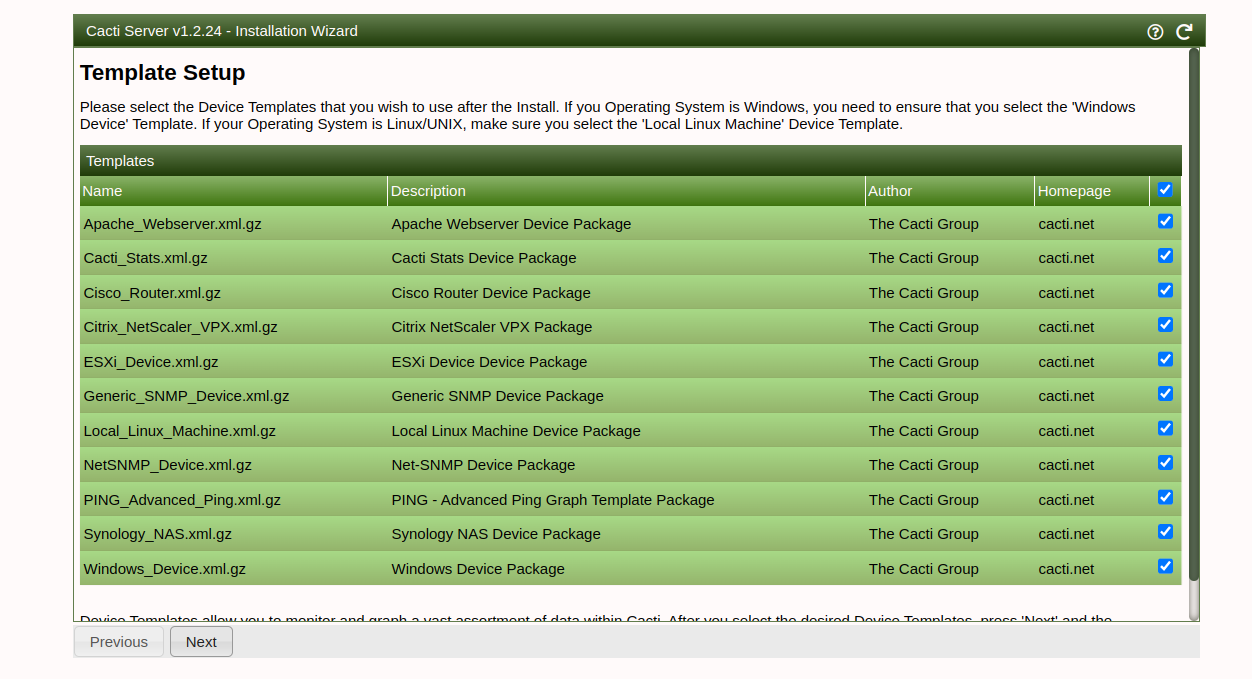
Click on the Next button. You will see the Server Collation screen.
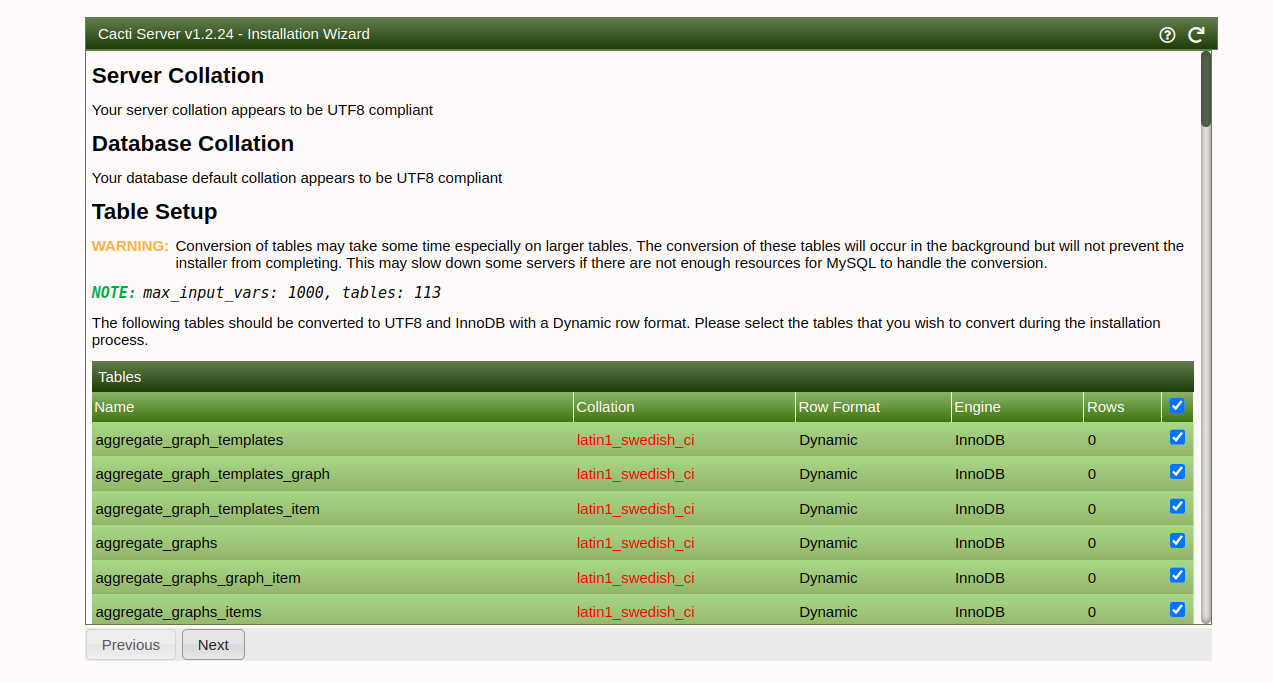
Click on the Next button. You will see the Confirm installation screen.
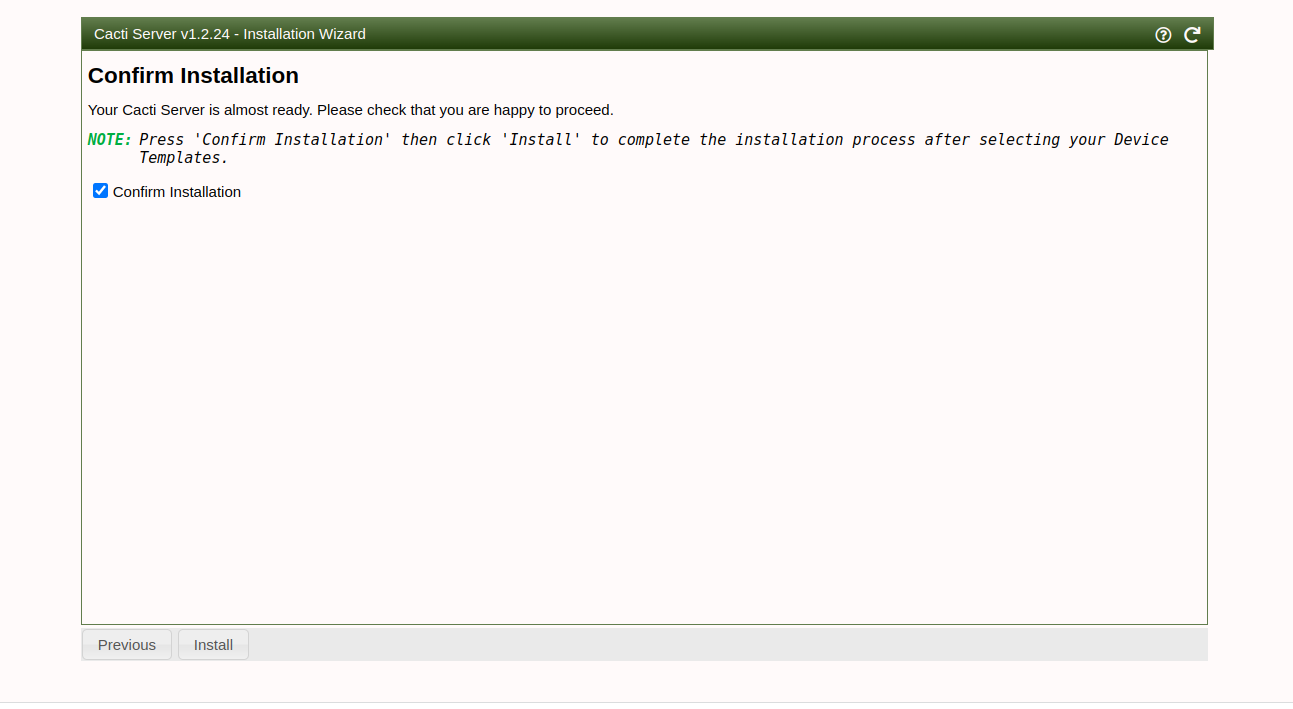
Confirm the installation and click on the Install button. Once the Cacti is installed, you will see the following screen.
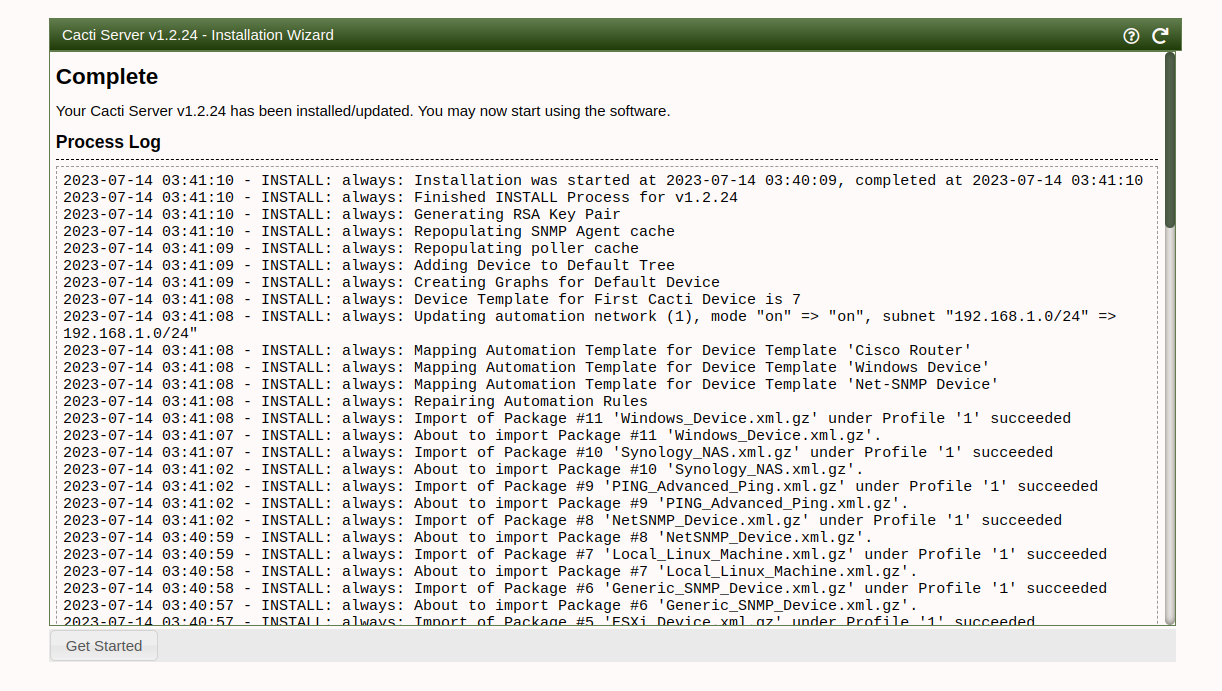
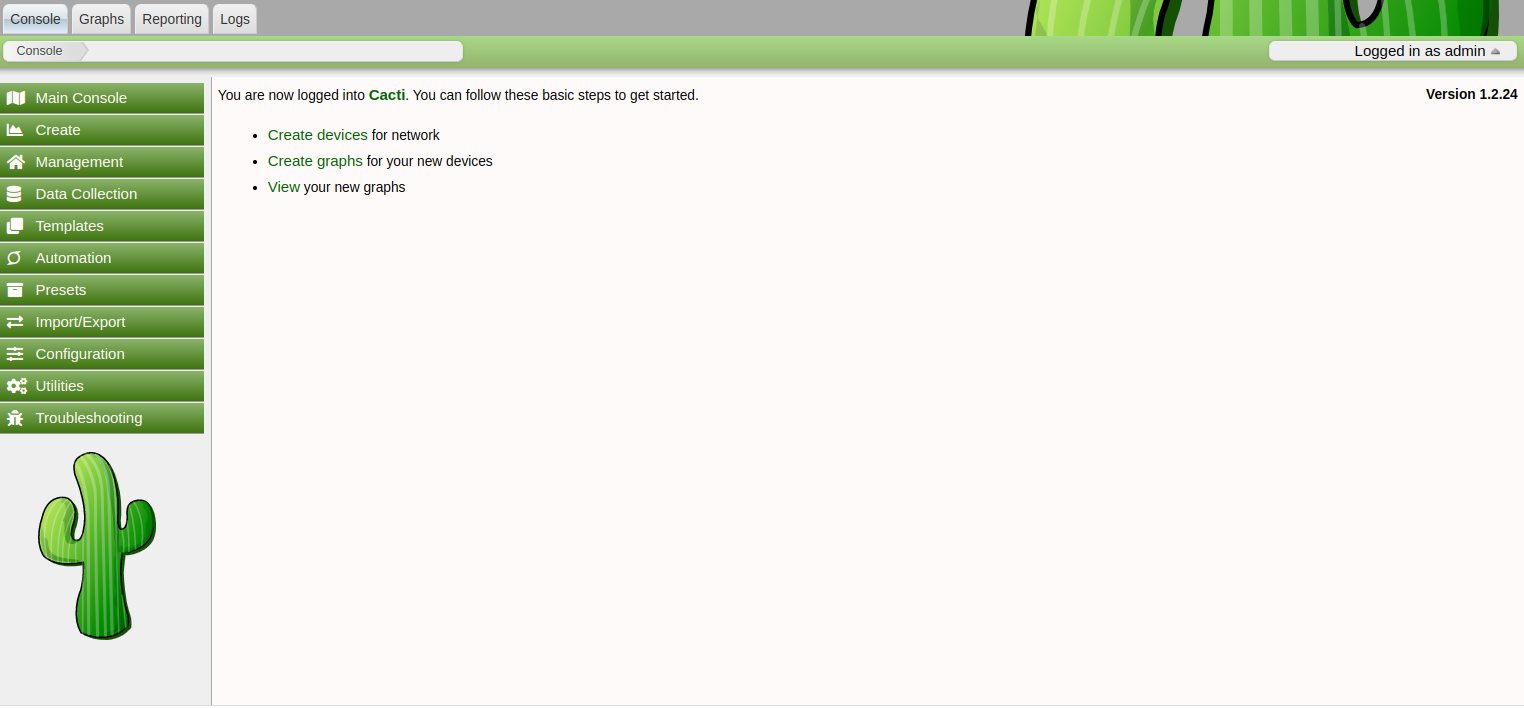
Click on the Get Started button. You will see the Cacti dashboard page.
Conclusion
In this guide, we showed you how to install the Cacti monitoring tool on Fedora Linux. You can now add a remote server to Cacti and start monitoring them via a web-based dashboard. You can now start using Cacti for monitoring servers hosted on a dedicated server from Atlantic.Net!
* This post is for informational purposes only and does not constitute professional, legal, financial, or technical advice. Each situation is unique and may require guidance from a qualified professional.
Readers should conduct their own due diligence before making any decisions.