Caddy is an open-source, cross-platform, enterprise-ready web server written in Go language. Caddy can be configured to serve websites directly from its file system, or it can proxy requests to other web servers. It is a cross-platform web server that runs on different operating systems such as Linux, macOS, Windows, BSD, and Solaris. If you are looking for a high-performance, flexible, and easy-to-use web server, then Caddy is the best option for you.
In this post, we will show you how to install and use the Caddy web server on Fedora Linux.
Step 1 – Install Caddy
By default, the Caddy web server package is available in the Fedora default repository. You can install it using the following command.
dnf install caddy -y
Once the Caddy package is installed, you can verify the Caddy installation using the following command.
caddy version
You will see the Caddy version in the following output.
2.3.0-1.fc34
Next, edit the Caddy default configuration file.
nano /etc/caddy/Caddyfile
Make the following changes:
:80 {
        root * /usr/share/caddy
        file_server
}
Save and close the file, then start and enable the Caddy service with the following command.
systemctl enable --now caddy
You can verify the Caddy service status using the following command.
systemctl status caddy
Output:
● caddy.service - Caddy web server
     Loaded: loaded (/usr/lib/systemd/system/caddy.service; enabled; vendor preset: disabled)
     Active: active (running) since Tue 2023-09-19 01:10:59 EDT; 4s ago
       Docs: https://caddyserver.com/docs/
    Process: 7150 ExecStartPre=/usr/bin/caddy validate --config /etc/caddy/Caddyfile (code=exited, status=0/SUCCESS)
   Main PID: 7155 (caddy)
      Tasks: 5 (limit: 2328)
     Memory: 16.7M
        CPU: 140ms
     CGroup: /system.slice/caddy.service
             └─7155 /usr/bin/caddy run --environ --config /etc/caddy/Caddyfile
Now, open your web browser and access the Caddy default page using the URL http://your-server-ip. You will see the Caddy default page on the following screen.

Step 2 – Create a New Site with Caddy
In this section, we will create a new website using Caddy.
First, create a document root and log directory for Caddy.
mkdir -p /var/www/example.com/html
mkdir /var/log/caddy
Next, assign proper permissions to those directories.
chown caddy:caddy /var/www/example.com/html -R
chown caddy:caddy /var/log/caddy
Next, create an Index page for your website.
nano /var/www/example.com/html/index.html
Add the following code:
<!DOCTYPE html>
<html>
<head>
<title>Congratulations! Caddy is working</title>
</head>
<body>
<h1>Congratulations! Caddy is working</h1>
</body>
</html>
Save and close the file when you are done.
Step 3 – Configure Caddy for Your Website
Next, you will need to configure the Caddy configuration file to serve your website.
nano /etc/caddy/Caddyfile
Remove the default configuration and add the following configuration.
caddy.example.com:80 {
        root * /var/www/example.com/html
        file_server
        encode gzip

        log {
                output file /var/log/caddy/example.access.log
        }

        @static {
                file
                path *.ico *.css *.js *.gif *.jpg *.jpeg *.png *.svg *.woff *.pdf *.webp
        }
        header @static Cache-Control max-age=5184000

}
Save and close the file, then validate the Caddy configuration.
caddy validate --adapter caddyfile --config /etc/caddy/Caddyfile
If everything is fine, you will see the following output.
2023/09/19 05:12:35.854	INFO	using provided configuration	{"config_file": "/etc/caddy/Caddyfile", "config_adapter": "caddyfile"}
2023/09/19 05:12:35.860	INFO	http	server is listening only on the HTTPS port but has no TLS connection policies; adding one to enable TLS	{"server_name": "srv0", "https_port": 443}
2023/09/19 05:12:35.861	INFO	http	enabling automatic HTTP->HTTPS redirects	{"server_name": "srv0"}
2023/09/19 05:12:35.861	INFO	tls.cache.maintenance	started background certificate maintenance	{"cache": "0xc0004902a0"}
2023/09/19 05:12:35.863	INFO	tls.cache.maintenance	stopped background certificate maintenance	{"cache": "0xc0004902a0"}
Valid configuration
Finally, restart the Caddy service to apply the changes.
systemctl restart caddy
Step 4 – Access the Caddy Website
At this point, your Caddy web server is configured to serve your new website. Now, it’s time to verify the website.
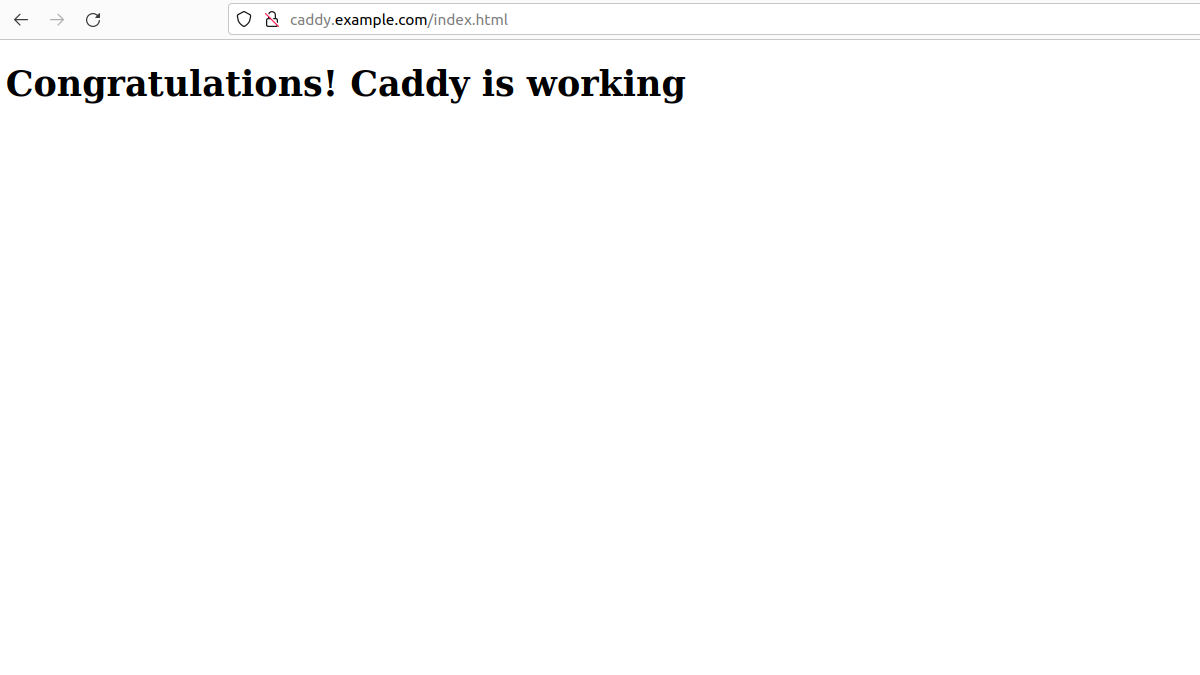
Open your web browser and access your website using the URL http://caddy.example.com. You will see your website page on the following screen.
Conclusion
Congratulations! You have successfully installed and configured the Caddy web server on Fedora Linux. You can now start deploying high-performance websites using the Caddy web server. Try to deploy the Caddy web server on dedicated server hosting from Atlantic.Net!
* This post is for informational purposes only and does not constitute professional, legal, financial, or technical advice. Each situation is unique and may require guidance from a qualified professional.
Readers should conduct their own due diligence before making any decisions.