GitLab is a free, open-source, and web-based Git repository manager and DevOps tool. It comes with a lot of features including issue tracking, continuous integration, deployment pipeline, and more. It offers two editions, the Enterprise Edition and the Community Edition. It is an alternative to GitHub that supports integration with various services. With GitLab, you can host your own internal repository for a development team and allow users to host their projects.
In this post, we will show you how to install the GitLab community edition on Rocky Linux 8.
Step 1 – Install Postfix
Before starting, you will need to install the Postfix package on your server. You can install it using the following command:
dnf install postfix
Once Postfix is installed, start the Postfix service and enable it to start at system reboot:
systemctl enable --now postfix
Step 2 – Add GitLab CE Repository
By default, GitLab is not included in the Rocky Linux default repo, so you will need to add a repository from the GitLab installation script.
First, download the script from the GitLab using the following command:
wget https://packages.gitlab.com/install/repositories/gitlab/gitlab-ce/script.rpm.sh
Once the download is completed, set execution permissions with the following command:
chmod +x script.rpm.sh
Next, run the script to add the GitLab CE repository.
os=el dist=8 ./script.rpm.sh
Once the repository has been created, you should get the following output:
Generating yum cache for gitlab_gitlab-ce...
Importing GPG key 0x51312F3F:
 Userid     : "GitLab B.V. (package repository signing key) <[email protected]>"
 Fingerprint: F640 3F65 44A3 8863 DAA0 B6E0 3F01 618A 5131 2F3F
 From       : https://packages.gitlab.com/gitlab/gitlab-ce/gpgkey
Importing GPG key 0xF27EAB47:
 Userid     : "GitLab, Inc. <[email protected]>"
 Fingerprint: DBEF 8977 4DDB 9EB3 7D9F C3A0 3CFC F9BA F27E AB47
 From       : https://packages.gitlab.com/gitlab/gitlab-ce/gpgkey/gitlab-gitlab-ce-3D645A26AB9FBD22.pub.gpg
Generating yum cache for gitlab_gitlab-ce-source...

The repository is setup! You can now install packages.
You can check the repository using the following command:
dnf repolist
You should get the following output:
repo id                                               repo name
appstream                                             Rocky Linux 8 - AppStream
baseos                                                Rocky Linux 8 - BaseOS
epel                                                  Extra Packages for Enterprise Linux 8 - x86_64
epel-modular                                          Extra Packages for Enterprise Linux Modular 8 - x86_64
extras                                                Rocky Linux 8 - Extras
gitlab_gitlab-ce                                      gitlab_gitlab-ce
gitlab_gitlab-ce-source                               gitlab_gitlab-ce-source
remi-modular                                          Remi's Modular repository for Enterprise Linux 8 - x86_64
remi-safe                                             Safe Remi's RPM repository for Enterprise Linux 8 - x86_64
Step 3 – Install GitLab CE
Now, install GitLab CE using the following command:
dnf install gitlab-ce -y
Once GitLab has been installed, you should get the following output:
It looks like GitLab has not been configured yet; skipping the upgrade script.
       *.                  *.
      ***                 ***
     *****               *****
    .******             *******
    ********            ********
   ,,,,,,,,,***********,,,,,,,,,
  ,,,,,,,,,,,*********,,,,,,,,,,,
  .,,,,,,,,,,,*******,,,,,,,,,,,,
      ,,,,,,,,,*****,,,,,,,,,.
         ,,,,,,,****,,,,,,
            .,,,***,,,,
                ,*,.


     _______ __  __          __
    / ____(_) /_/ /   ____ _/ /_
   / / __/ / __/ /   / __ `/ __ \
  / /_/ / / /_/ /___/ /_/ / /_/ /
  \____/_/\__/_____/\__,_/_.___/


Thank you for installing GitLab!
GitLab was unable to detect a valid hostname for your instance.
Please configure a URL for your GitLab instance by setting `external_url`
configuration in /etc/gitlab/gitlab.rb file.
Then, you can start your GitLab instance by running the following command:
  sudo gitlab-ctl reconfigure
Step 4 – Configure GitLab CE
At this point, GitLab is installed in your system but it is not configured yet. You can configure it by editing /etc/gitlab/gitlab.rb file:
nano /etc/gitlab/gitlab.rb
Define your external URL, email address and enable Let’s Encrypt as shown below:
external_url "https://gitlab.linuxbuz.com"

# Enable the Let's encrypt SSL
letsencrypt['enable'] = true

# This is optional to get SSL related alerts
letsencrypt['contact_emails'] = ['[email protected]']

# This example renews every 7th day at 12:30
letsencrypt['auto_renew_hour'] = "12"
letsencrypt['auto_renew_minute'] = "30"
letsencrypt['auto_renew_day_of_month'] = "*/7"
Save and close the file then run the following command to configure GitLab.
gitlab-ctl reconfigure
Once the configuration has been completed, you should get the following output:
Notes:
Default admin account has been configured with following details:
Username: root
Password: You didn't opt-in to print initial root password to STDOUT.
Password stored to /etc/gitlab/initial_root_password. This file will be cleaned up in first reconfigure run after 24 hours.
The above command will configure GitLab and store the access credential in /etc/gitlab/initial_root_password file.
You can check the access password using the following command:
cat /etc/gitlab/initial_root_password
You should get the following output:
Password: M5wKH1kbSyHQgbr3GqpD4oH7rqv4l/A5f98g/FVq7xA=
Step 5 – Access GitLab CE
You can now access the GitLab CE web UI using the URL https://gitlab.linuxbuz.com. You will be redirected to the GitLab login page:
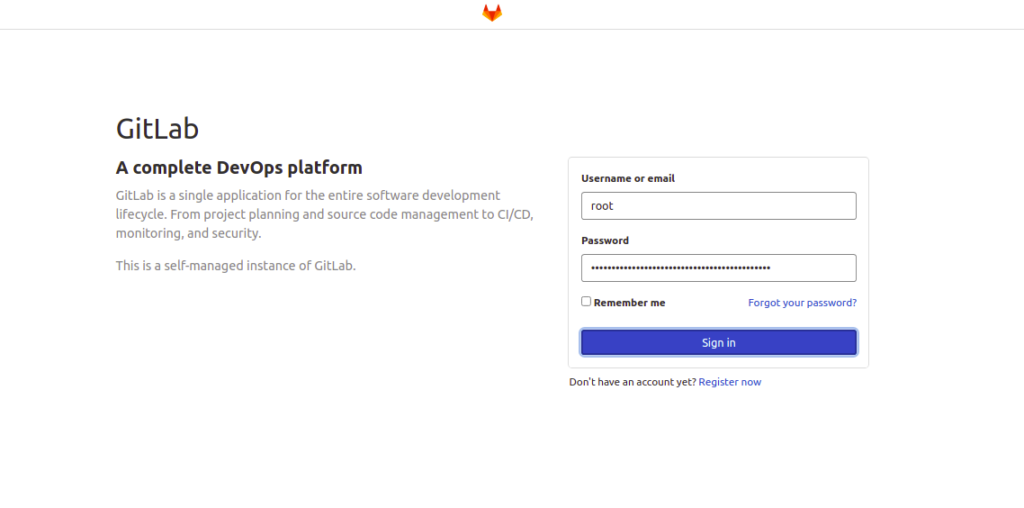
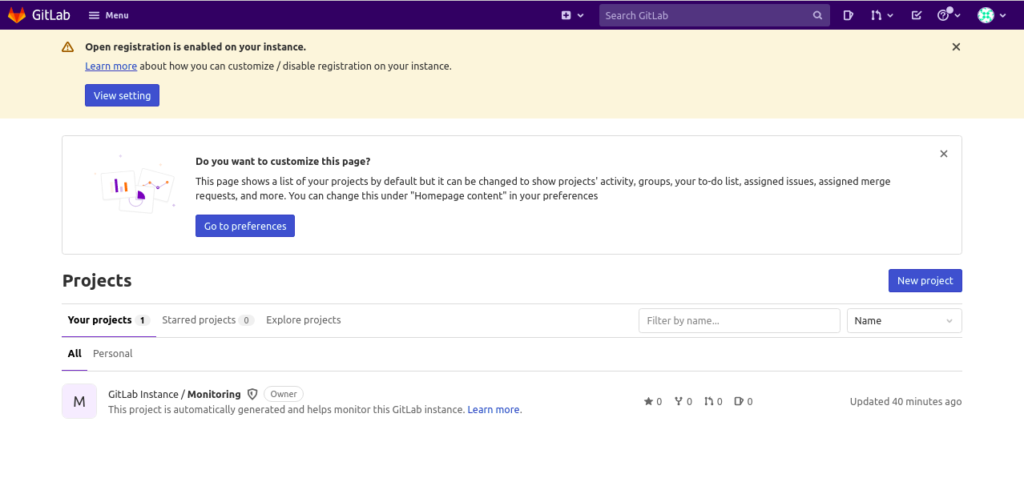
Provide your root username, password and click on the Sign-in button. You should see the GitLab dashboard on the following page:
Step 6 – Backup GitLab
It is recommended to back up your GitLab instance per month. You can back up the GitLab instance using the following command:
gitlab-rake gitlab:backup:create
It is also a good idea to make your backups automatic. You can do it by creating a cron job.
nano /etc/crontab
Add the following line:
0 22 * * * gitlab-rake gitlab:backup:create
Save and close the file when you are finished.
Conclusion
In this guide, we explained how to install GitLab CE on Rocky Linux 8. You can now implement GitLab in your local development to track your all projects. Get started on dedicated hosting from Atlantic.Net.