GoAccess is a free, open-source, lightweight log analyzer written in C language. It can read and analyze log files of Apache, Nginx, CloudFront, Caddy, and more. It uses the ncurses library for its CLI interface. It is an interactive and real-time web server log analyzer that helps you to analyze and view web server logs quickly.
Features
- Display general Statistics, and bandwidth
- Support for HTTP/2 and IPv6
- Display metrics per virtual host
- Support for large datasets + data persistence
- Display top visitors, referring sites, and URLs
In this post, we will show you how to install GoAccess Web Log Analyzer on Rocky Linux 8.
Step 1 – Install Required Packages
First, you will need to install the required tools on your server. You can install all of them with the following command:
dnf update -y
dnf install httpd ncurses-devel libmaxminddb-devel openssl-devel
dnf groupinstall 'Development Tools'
Once all the packages are installed, start and enable the Apache service using the following command:
systemctl start httpd
systemctl enable httpd
Also Read
How to Install Apache on Ubuntu 20.04
Step 2 – Install GoAccess on Rocky Linux 8
By default, GoAccess is not included in the Rocky Linux default repo, so you will need to compile it from the source.
First, download the latest version of GoAccess with the wget command:
wget https://tar.goaccess.io/goaccess-1.5.4.tar.gz
Once the download is completed, extract the downloaded file with the following command:
tar -xvzf goaccess-1.5.4.tar.gz
Next, change the directory to the extracted directory and compile it using the following command:
cd goaccess-1.5.4
autoreconf -fi
./configure --enable-utf8 --with-openssl
make
make install
Once the installation is complete, verify the GoAccess version with the following command:
goaccess --version
You will get the following output:
GoAccess - 1.5.4.
For more details visit: https://goaccess.io/
Copyright (C) 2009-2020 by Gerardo Orellana

Build configure arguments:
  --enable-utf8
  --with-openssl
Step 3 – Configure GoAccess
The GoAccess main configuration file is located at /usr/local/etc/goaccess/goaccess.conf. Most of the options are commented out, so you will need to edit the file and enable the required options.
nano /usr/local/etc/goaccess/goaccess.conf
Change the following lines to enable and disable some recommended options:
time-format %H:%M:%S
date-format %d/%b/%Y
#ignore-panel REFERRERS
log-format COMBINED
Save and close the file when you are finished.
Step 4 – Run GoAccess
First, we will run the GoAccess by specifying the Apache log file. The Apache log files keep a record of all incoming HTTP traffic. You can analyze and monitor the Apache logs using the following command:
goaccess /var/log/httpd/access_log
You should see the following interface:
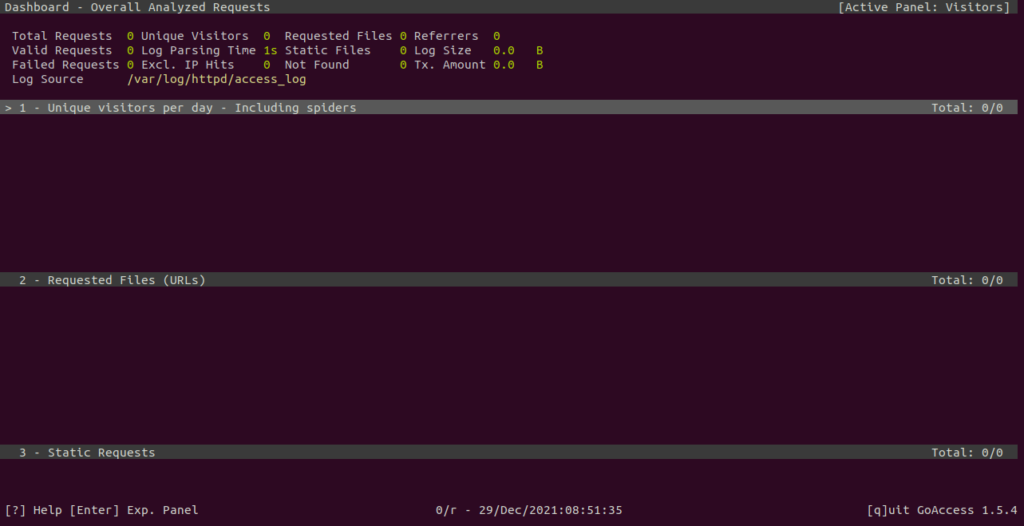
In the above interface, you should see the Apache logs including the following:
- Unique visitors per day
- Requested Files (URLs)
- Static Requests
- Not Found URLs (404s)
- Visitor Hostnames and IPs
- Operating Systems
- Browsers
- Time Distribution
- Virtual Hosts
Step 5 – Generate HTML Reports
GoAccess also allows you to generate HTML reports which you can access online through the web browser.
Run the following command to generate an HTML report:
goaccess /var/log/httpd/access_log -o /var/www/html/stats.html
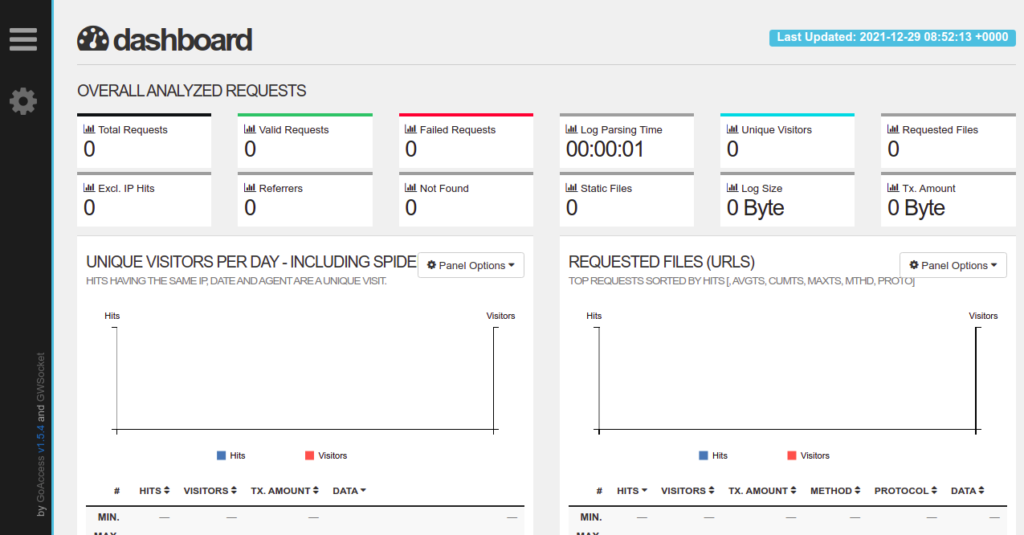
Now, open your web browser and access the generated reports using the URL http://your-server-ip/stats.html. You should see the following dashboard:
Now, go back to your terminal and press the CTRL+C to close the GoAccess.
GoAccess also allows you to generate a real-time HTML report. Run the following command to generate a real-time report and run GoAccess in the background:
goaccess /var/log/nginx/access.log -o /var/www/html/livereport.html --real-time-html --daemonize
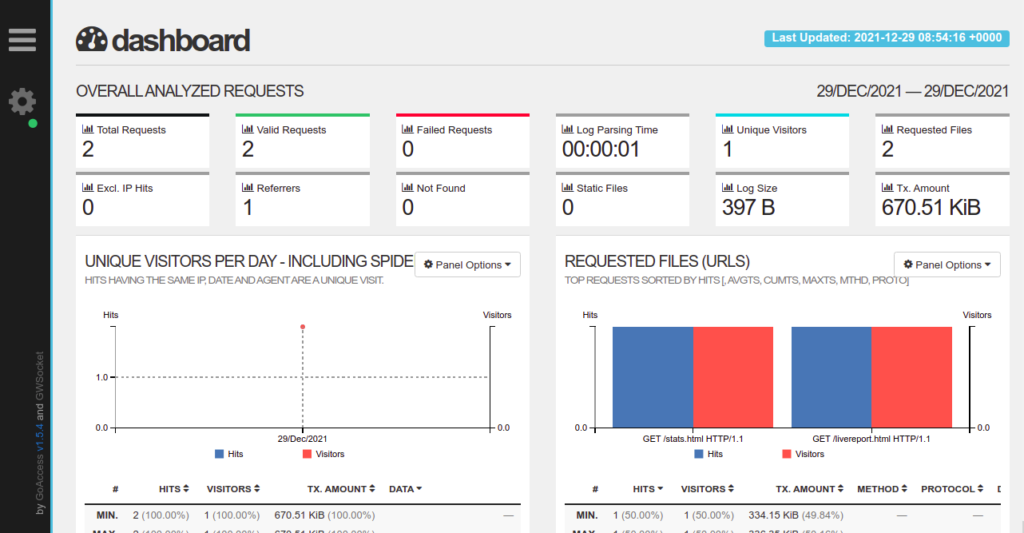
You can now access the GoAccess real-time report using the URL http://your-server-ip/livereport.html. You should see the following screen:
Now, go back to your terminal and kill the GoAccess process using the following command:
kill -9 `pidof goaccess`
Conclusion
In this guide, we explained how to install and configure GoAccess Log Analyzer on Rocky Linux 8. We also explained how to monitor Apache web server logs in real-time through the web browser. Try GoAccess on dedicated servers from Atlantic.Net!