Icecast is an open-source audio/video streaming server that can be used to create your Internet radio stations. It supports Ogg, Opus, WebM, and MP3 streaming formats. You can also stream your media from your server and access it over the internet. It is optimized for MP3 streaming and allows to handle large music collections.
In this tutorial, we will show you how to install Icecast Audio Streaming Server on Ubuntu. This procedure is compatible with Ubuntu 22.04 and Ubuntu 24.04.
Step 1 – Install Icecast
By default, the Icecast package is available in the Ubuntu 24.04 default repository. You can install it by just running the following command:
apt-get install icecast2 -y
During the installation, you will be asked to configure Icecast as shown below:

Select Yes and hit Enter to continue. You will be asked to provide a fully qualified domain name:
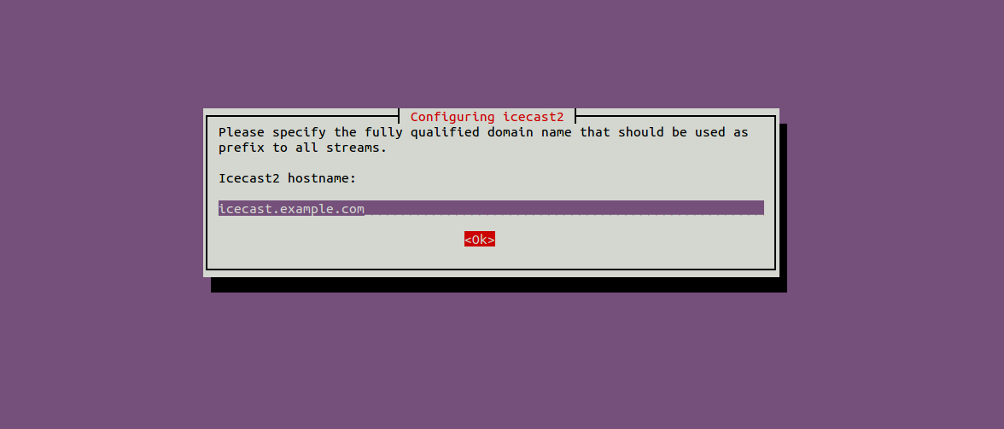
Provide your valid domain name and hit Enter to continue. You will be asked to set the password to control access to media resources:
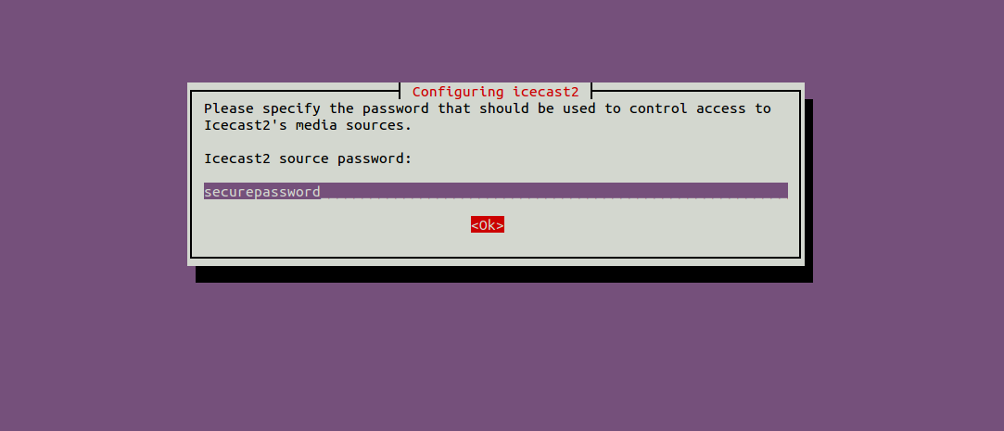
Provide your password and hit Enter to continue. You will be asked to set a password to control access to stream relays:
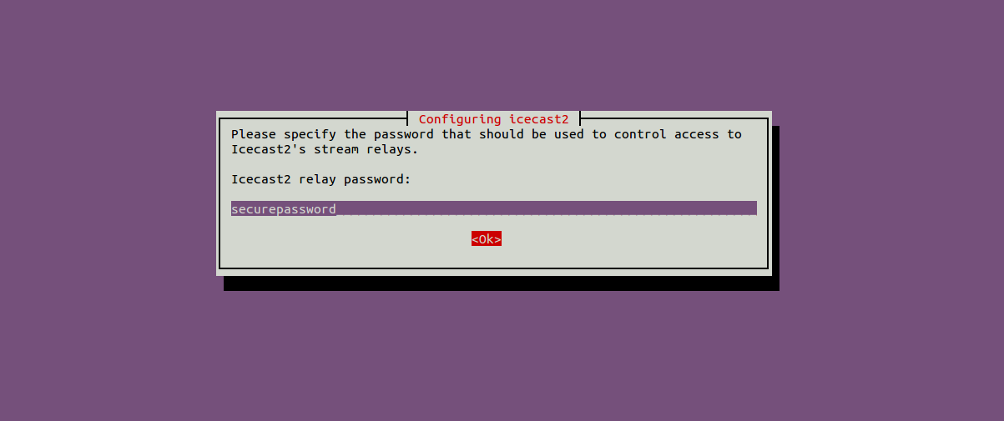
Provide your password and hit Enter to continue. You will be asked to set your administrator password:

Provide your password and hit Enter to finish the installation.
Once Icecast is installed, start the Icecast service and enable it to start at system reboot with the following command:
systemctl start icecast2
systemctl enable icecast2
At this point, Icecast is started and listening on port 8000. You can check it with the following command:
ss -tunelp | grep 8000
You should get the following output:
tcp LISTEN 0 5 0.0.0.0:8000 0.0.0.0:*
users:(("icecast2",pid=1264,fd=4)) uid:108 ino:20678 sk:8 <->
Step 2 – Configure Nginx as a Reverse Proxy for Icecast
Next, you will need to install and configure Nginx as a reverse proxy to access Icecast.
First, install the Nginx server with the following command:
apt-get install nginx -y
Once installed, create an Nginx virtual host configuration file:
nano /etc/nginx/sites-available/icecast.conf
Add the following lines:
server {
listen 80;
listen [::]:80;
server_name icecast.example.com;
access_log /var/log/nginx/access.log;
error_log /var/log/nginx/error.log;
location / {
proxy_pass http://localhost:8000;
}
}
Save and close the file, then enable the virtual host with the following command:
ln -s /etc/nginx/sites-available/icecast.conf /etc/nginx/sites-enabled/
Next, you will also need to set hash bucket size in Nginx main configuration file:
nano /etc/nginx/nginx.conf
Add the following line inside http {:
server_names_hash_bucket_size 64;
Save and close the file, then restart the Nginx service to apply the changes:
systemctl restart nginx
Step 3 – Access Icecast Web UI
Now, open your web browser and access the Icecast web interface using the URL http://icecast.example.com. You should see the Icecast dashboard on the following page:
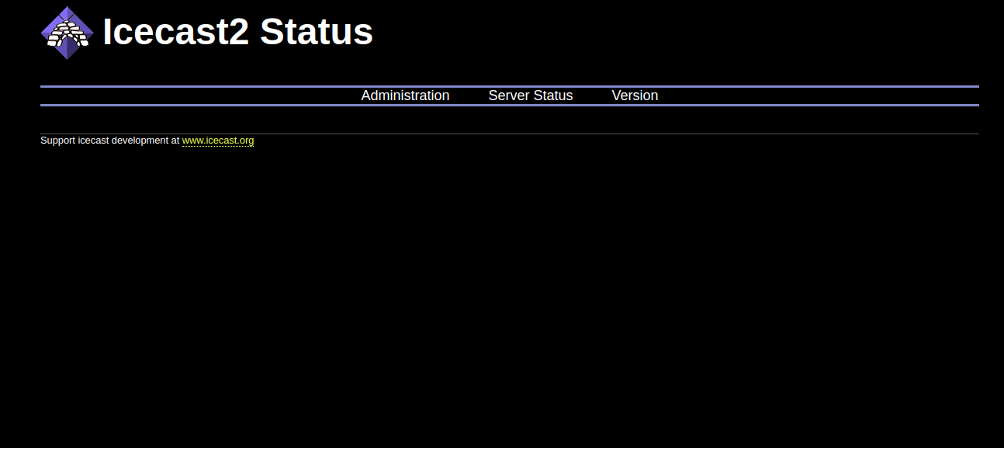
Click on the Administration tab. You will be redirected to the Icecast login page:
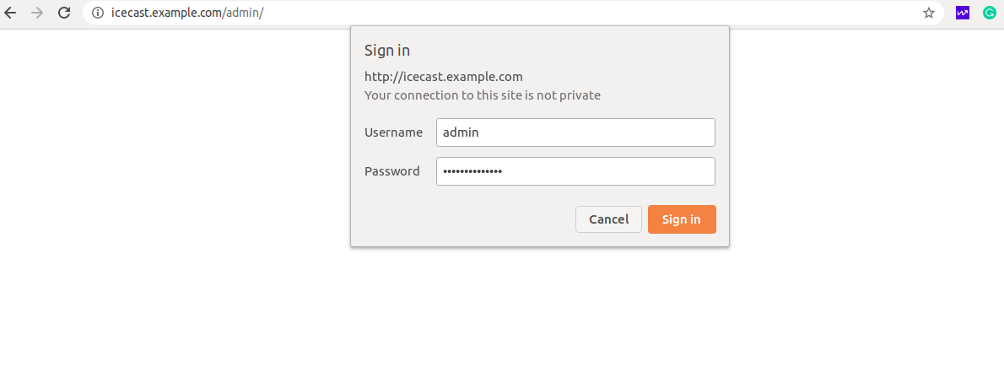
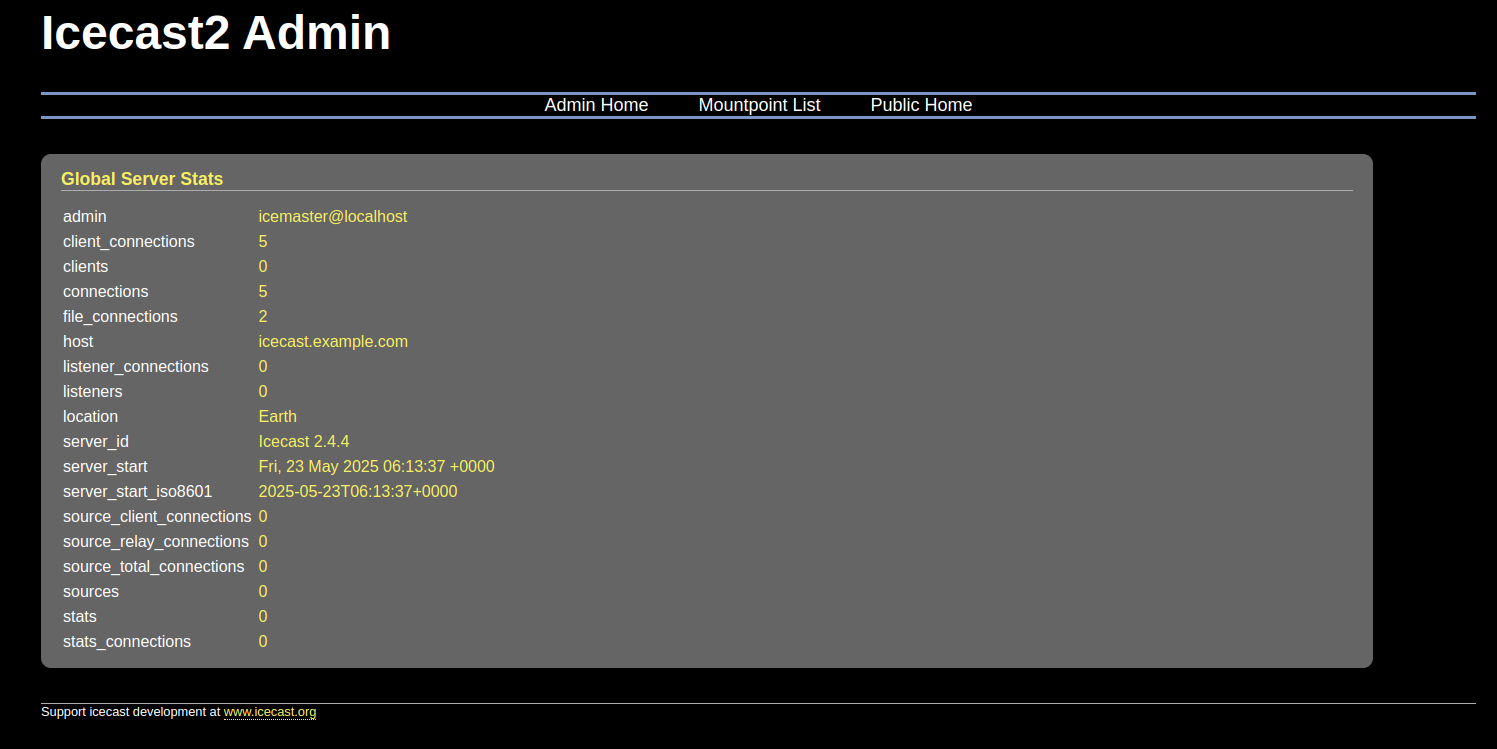
Provide your admin username and password and click on the Sign–in button. You should see your Icecast admin dashboard on the following page:
Conclusion
Congratulations! You have successfully installed and configured the Icecast streaming server on Ubuntu 24.04. You can now install the Icecast application on your computer or mobile devices and access your music from everywhere. Install Icecast on dedicated server hosting from Atlantic.Net and start using it today!
* This post is for informational purposes only and does not constitute professional, legal, financial, or technical advice. Each situation is unique and may require guidance from a qualified professional.
Readers should conduct their own due diligence before making any decisions.