Synapse is a home server implementation of Matrix written in Python. Matrix is an open standard for real-time communication over IP. IT allows people, services, and devices to easily communicate with each other. Matrix Synapse is a great alternative for applications like Slack, Discord, Rocket.chat, Skype and others. You can access the Matrix server through a web browser or other clients like Riot, bots, and bridges.
In this post, we will show you how to deploy Matrix Synapse with Nginx on Debian 12.
Step 1 – Add Matrix Synapse Repository
By default, the Matrix Synapse package is not included in the Debian default repository, so you will need to install it from its official repository.
First, download the Matrix Synapse GPG key.
wget -O /usr/share/keyrings/matrix-org-archive-keyring.gpg https://packages.matrix.org/debian/matrix-org-archive-keyring.gpg
Then, add the Matrix Synapse repository to the APT source file.
echo "deb [signed-by=/usr/share/keyrings/matrix-org-archive-keyring.gpg] https://packages.matrix.org/debian/ $(lsb_release -cs) main" | tee /etc/apt/sources.list.d/matrix-org.list
Next, update the package index using the following command.
apt update -y
Step 2 – Install Matrix Synapse
Now, install the Matrix Synapse package using the following command.
apt install matrix-synapse-py3
You will be asked to provide your domain name as shown below:

Provide your domain name and click on OK. Once Matrix Synapse is installed, start the Matrix Synapse service using the following command.
systemctl start matrix-synapse
You can now verify the status of Matrix Synapse using the following command.
systemctl status matrix-synapse
Output.
● matrix-synapse.service - Synapse Matrix homeserver
     Loaded: loaded (/usr/lib/systemd/system/matrix-synapse.service; enabled; preset: enabled)
     Active: active (running) since Fri 2025-09-04 06:08:58 UTC; 10s ago
    Process: 76117 ExecStartPre=/opt/venvs/matrix-synapse/bin/python -m synapse.app.homeserver --config-path=/etc/matrix-synapse/homeserver.yaml --config-path=/etc/mat>
   Main PID: 76154 (python)
      Tasks: 8 (limit: 629145)
     Memory: 97.1M (peak: 98.6M)
        CPU: 3.994s
     CGroup: /system.slice/matrix-synapse.service
             └─76154 /opt/venvs/matrix-synapse/bin/python -m synapse.app.homeserver --config-path=/etc/matrix-synapse/homeserver.yaml --config-path=/etc/matrix-synapse>

Sept 04 06:08:55 debian matrix-synapse[76117]: Generating signing key file /etc/matrix-synapse/homeserver.signing.key
Sept 04 06:08:57 debian matrix-synapse[76154]: This server is configured to use 'matrix.org' as its trusted key server via the
Sept 04 06:08:57 debian matrix-synapse[76154]: 'trusted_key_servers' config option. 'matrix.org' is a good choice for a key
Sept 04 06:08:57 debian matrix-synapse[76154]: server since it is long-lived, stable and trusted. However, some admins may
Sept 04 06:08:57 debian matrix-synapse[76154]: wish to use another server for this purpose.
Sept 04 06:08:57 debian matrix-synapse[76154]: To suppress this warning and continue using 'matrix.org', admins should set
Sept 04 06:08:57 debian matrix-synapse[76154]: 'suppress_key_server_warning' to 'true' in homeserver.yaml.
Sept 04 06:08:57 debian matrix-synapse[76154]: --------------------------------------------------------------------------------
Sept 04 06:08:57 debian matrix-synapse[76154]: Config is missing macaroon_secret_key
Sept 04 06:08:58 debian systemd[1]: Started matrix-synapse.service - Synapse Matrix homeserver.
At this point, Matrix Synapse is started and listens on port 8008. You can verify it using the command given below:
ss -plnt | grep 8008
Output.
LISTEN 0      50         127.0.0.1:8008      0.0.0.0:*    users:(("python",pid=2170,fd=14))
LISTEN 0      50             [::1]:8008         [::]:*    users:(("python",pid=2170,fd=13))
Step 3 – Configure Matrix Synapse
First, generate the secret key using the following command.
cat /dev/urandom | tr -dc 'a-zA-Z0-9' | fold -w 32 | head -n 1
Output.
c4eEv6cZCc1jXeHGbzFyzGB0RFPp2HfP
Next, edit the Matrix Synapse main configuration file.
nano /etc/matrix-synapse/homeserver.yaml
Change the following lines:
listeners:
- port: 8008
tls: false
type: http
x_forwarded: true
bind_addresses: ['127.0.0.1']

resources:
- names: [client, federation]
compress: false

enable_registration: false
registration_shared_secret: "c4eEv6cZCc1jXeHGbzFyzGB0RFPp2HfP"
Save and close the file, then restart the Matrix Synapse service to reload the changes.
systemctl restart matrix-synapse
Step 4 – Create an Administrative User
Next, you will need to create an admin user to authenticate Matrix Synapse. You can create it using the following command.
register_new_matrix_user -c /etc/matrix-synapse/homeserver.yaml http://localhost:8008
Define your user and password as shown below:
New user localpart [root]: madmin
Password:
Confirm password:
Make admin [no]: yes
Sending registration request...
Success!
Step 5 – Download Let’s Encrypt SSL
We will use the Let’s Encrypt SSL to secure the Matrix Synapse server.
First, install the Nginx web server.
apt install nginx snapd
Next, install the Certbot Let’s Encrypt client using the following commands.
snap install core
snap refresh core
snap install --classic certbot
ln -s /snap/bin/certbot /usr/bin/certbot
Next, download the Let’s Encrypt SSL for your domain.
certbot certonly --nginx --agree-tos --no-eff-email --staple-ocsp --preferred-challenges http -m [email protected] -d matrix.linuxbuz.com
Next, generate the dhparam using the following command.
openssl dhparam -dsaparam -out /etc/ssl/certs/dhparam.pem 4096
Step 6 – Configure Nginx for Matrix Synapse
Next, you will need to configure Nginx as a reverse proxy for Matrix Synapse.
First, edit the Nginx main configuration file.
nano /etc/nginx/nginx.conf
Add the following line after the line http{:
server_names_hash_bucket_size 64;
Next, create an Nginx virtual host configuration file for Matrix Synapse.
nano /etc/nginx/conf.d/synapse.conf
Add the following configurations.
# enforce HTTPS
server {
    # Client port
    listen 80;
    server_name matrix.linuxbuz.com;
    return 301 https://$host$request_uri;
}

server {
    server_name matrix.linuxbuz.com;

    # Client port
    listen 443 ssl http2;
    listen [::]:443 ssl http2;

    # Federation port
    listen 8448 ssl http2 default_server;
    listen [::]:8448 ssl http2 default_server;

    access_log  /var/log/nginx/synapse.access.log;
    error_log   /var/log/nginx/synapse.error.log;

    # TLS configuration
    ssl_certificate /etc/letsencrypt/live/matrix.linuxbuz.com/fullchain.pem;
    ssl_certificate_key /etc/letsencrypt/live/matrix.linuxbuz.com/privkey.pem;
    ssl_trusted_certificate /etc/letsencrypt/live/matrix.linuxbuz.com/chain.pem;
    ssl_protocols TLSv1.2 TLSv1.3;
    ssl_prefer_server_ciphers on;
    ssl_stapling on;
    ssl_stapling_verify on;
    ssl_dhparam /etc/ssl/certs/dhparam.pem;

    location /_matrix {
        proxy_pass http://localhost:8008;
        proxy_set_header X-Forwarded-For $remote_addr;
        # Nginx by default only allows file uploads up to 1M in size
        # Increase client_max_body_size to match max_upload_size defined in homeserver.yaml
        client_max_body_size 10M;
    }
}

# This is used for Matrix Federation
# which is using default TCP port '8448'
server {
    listen 8448 ssl;
    server_name matrix.linuxbuz.com;

    ssl_certificate /etc/letsencrypt/live/matrix.linuxbuz.com/fullchain.pem;
    ssl_certificate_key /etc/letsencrypt/live/matrix.linuxbuz.com/privkey.pem;

    location / {
        proxy_pass http://localhost:8008;
        proxy_set_header X-Forwarded-For $remote_addr;
    }
}
Save and close the file, then reload Nginx to apply the changes.
systemctl restart nginx
Step 7 – Access Matrix Synapse
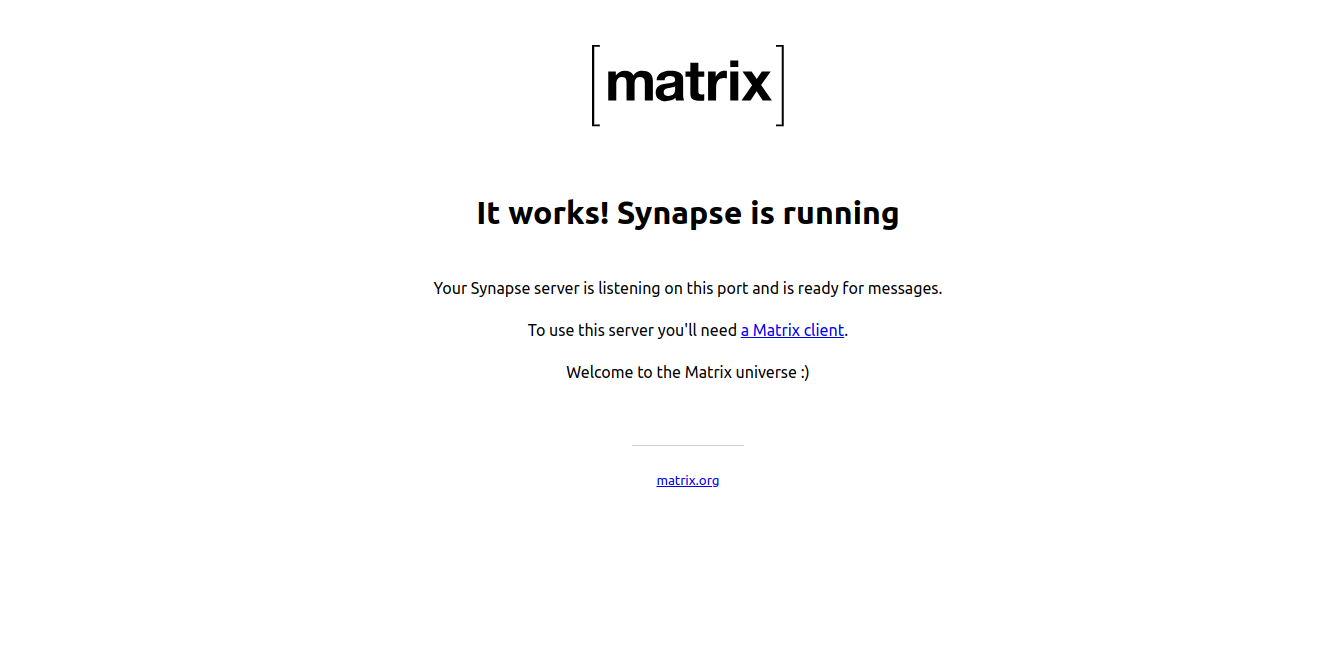
You can now verify the Matrix Synapse installation using the URL https://matrix.linuxbuz.com:8448/_matrix/static/ on your web browser. You should see the following screen:
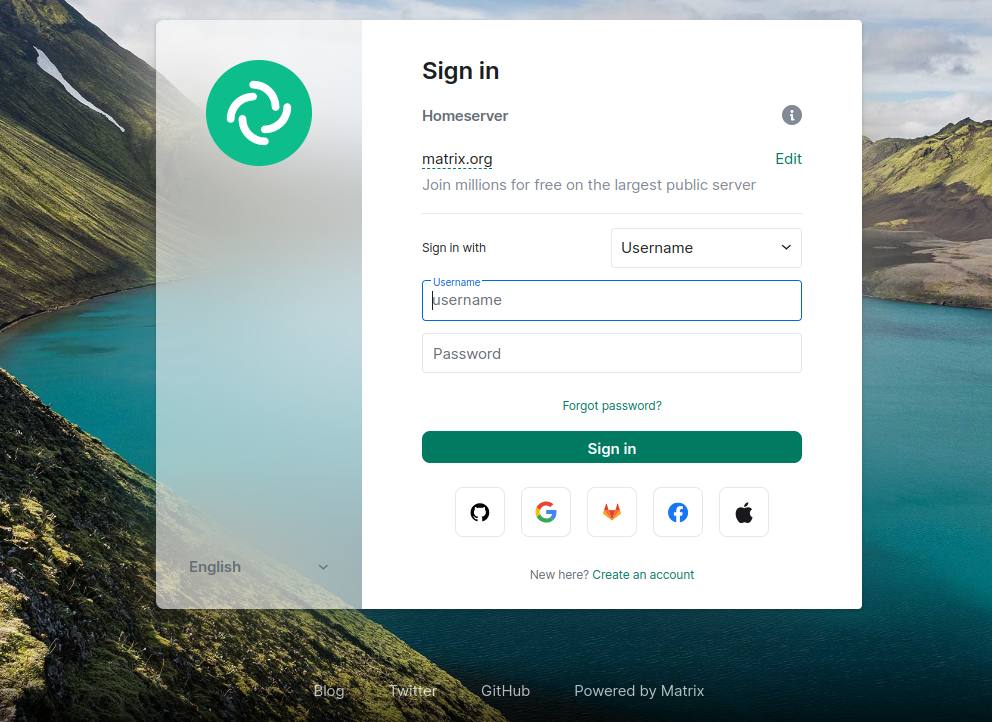
You can also verify your Matrix Synapse using the Riot web-based client https://riot.im/app/#/login. You should see the following screen:
Click on the Edit button. You should see the following screen:
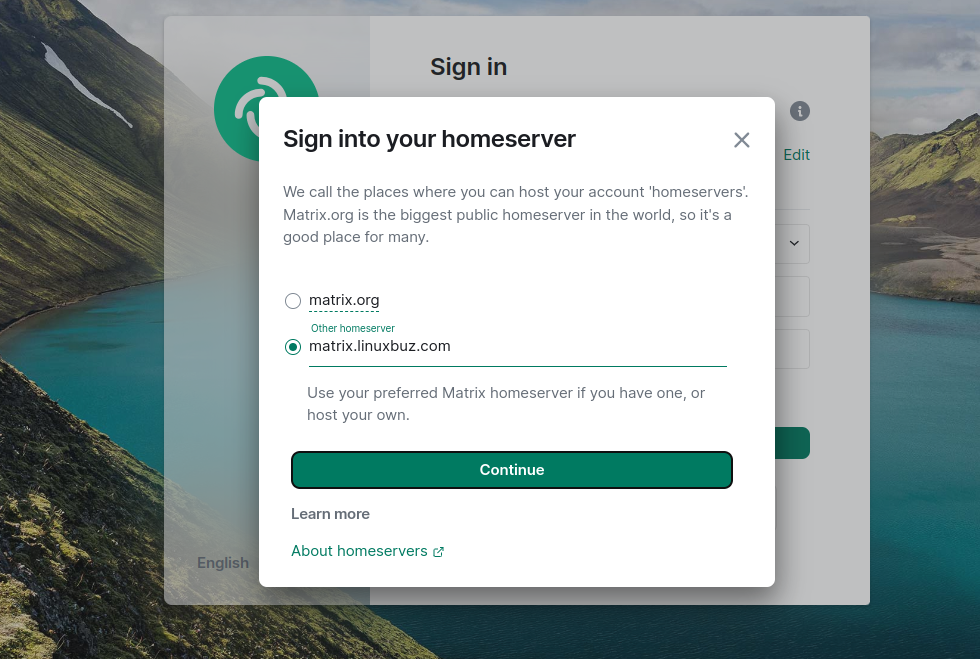
Provide your Matrix server URL and click on the Continue button. You should see the Matrix login page:
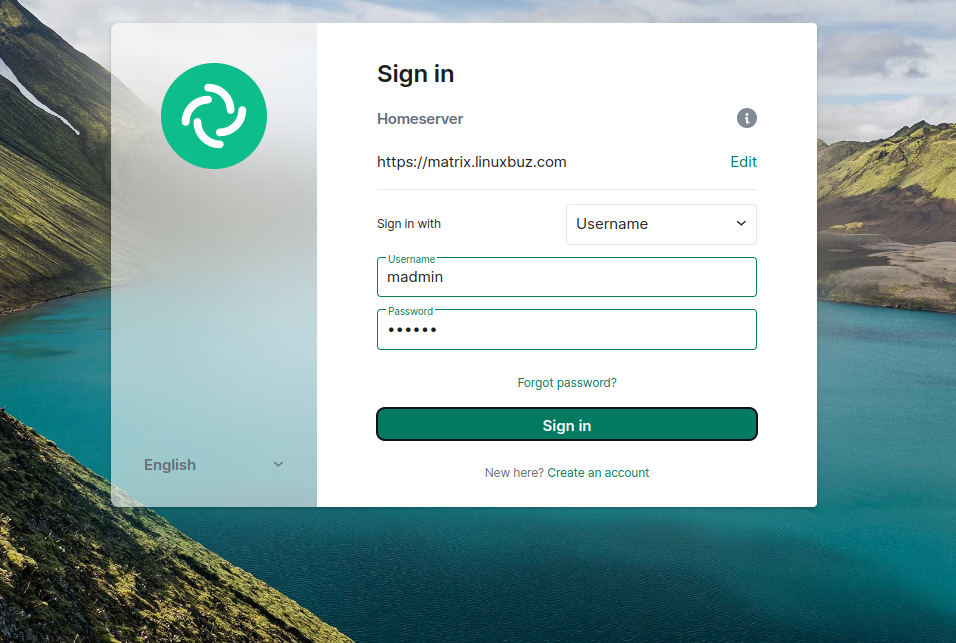
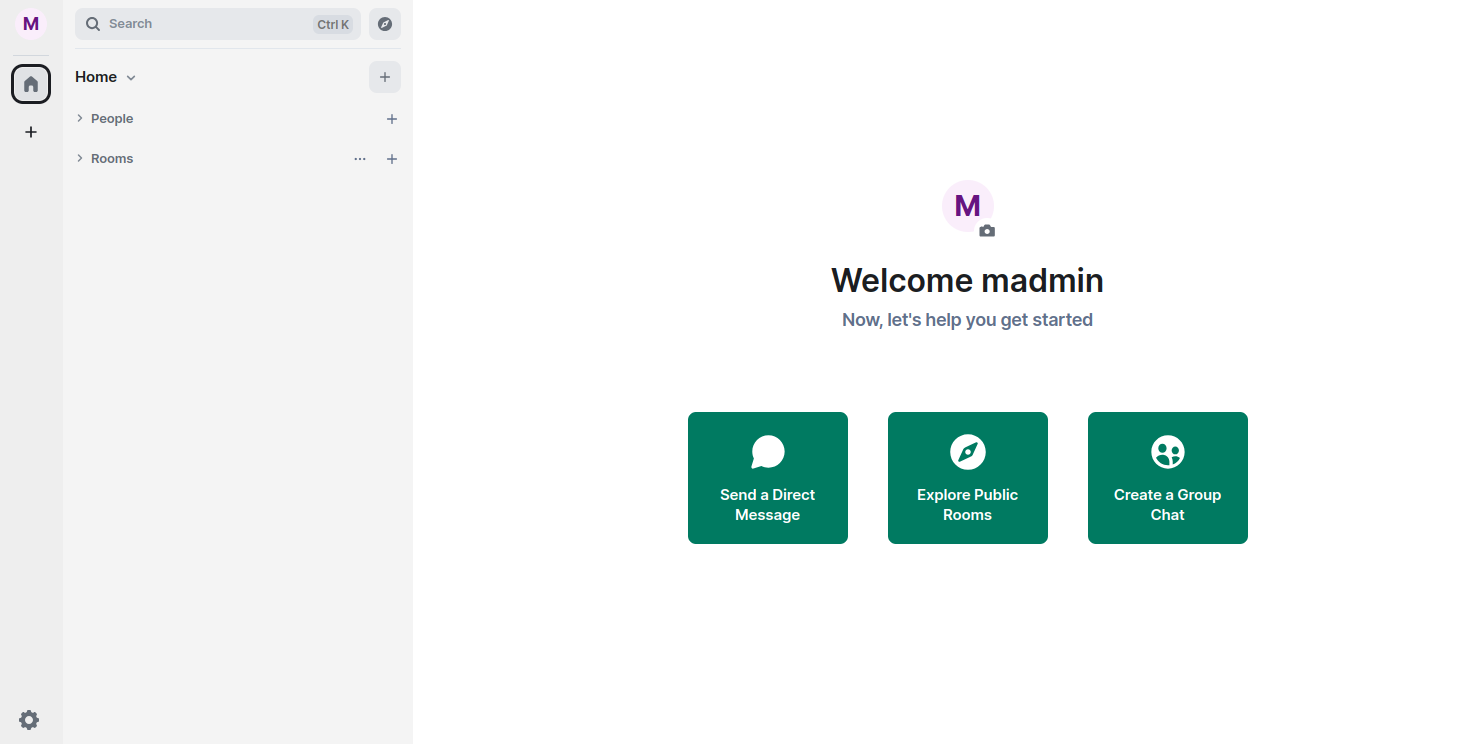
Provide your admin username and password and click on the Sign in button. Once you are connected to the Matrix Synapse server. You should see the following screen:
Conclusion
In the above guide, you learned how to install Matrix Synapse server with Nginx and Let’s Encrypt SSL on Debian 12. You can now easily implement your own communication server in the production environment of your dedicated server.
* This post is for informational purposes only and does not constitute professional, legal, financial, or technical advice. Each situation is unique and may require guidance from a qualified professional.
Readers should conduct their own due diligence before making any decisions.